BIRD PHOTOGRAPHY FOR BEGINNERS -
the very best 5 tips from professional birding expert Hannah Assil
Bird Photography Tips for Beginners
Anyone who enjoys taking photos and watching birds will sooner or later want to photograph birds. Whether in the nearby forest, in your own garden or even on your balcony, you can get many native birds in front of your lens. Especially in the cold season, you can observe the native bird world very well.
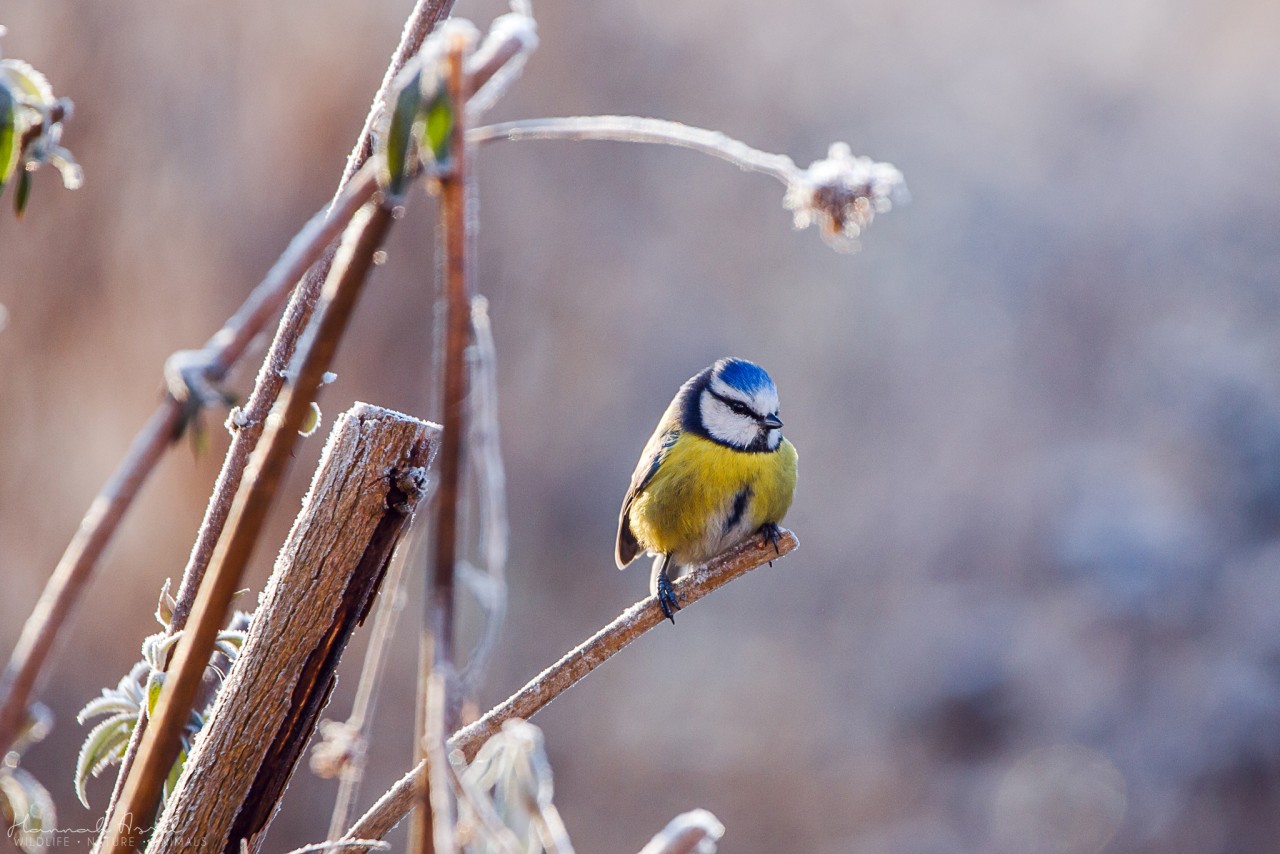
Winter as the best season to photograph birds?
For beginners of bird photography, winter proves to be the best season. With the first snow, birds come to the bird feeder, which ideally should be stocked in advance so that the birds already know where to go when snow falls and frost sets in. For us photographers, bird feeders are a great advantage, as the birds at the feeder are quite brave and much more likely to tolerate our presence. So if you've always wanted to get a taste of the world of wildlife photography, or if you've been dying to photograph birds, winter is the time to do it.
Well-considered equipment quickly brings first successes in bird photography
The basis for success in entering the world of wildlife photography is a few basic considerations regarding your equipment. In bird photography, choosing the right lens is almost more important than choosing the camera itself. After all, a telephoto lens is a must for these shy animals!
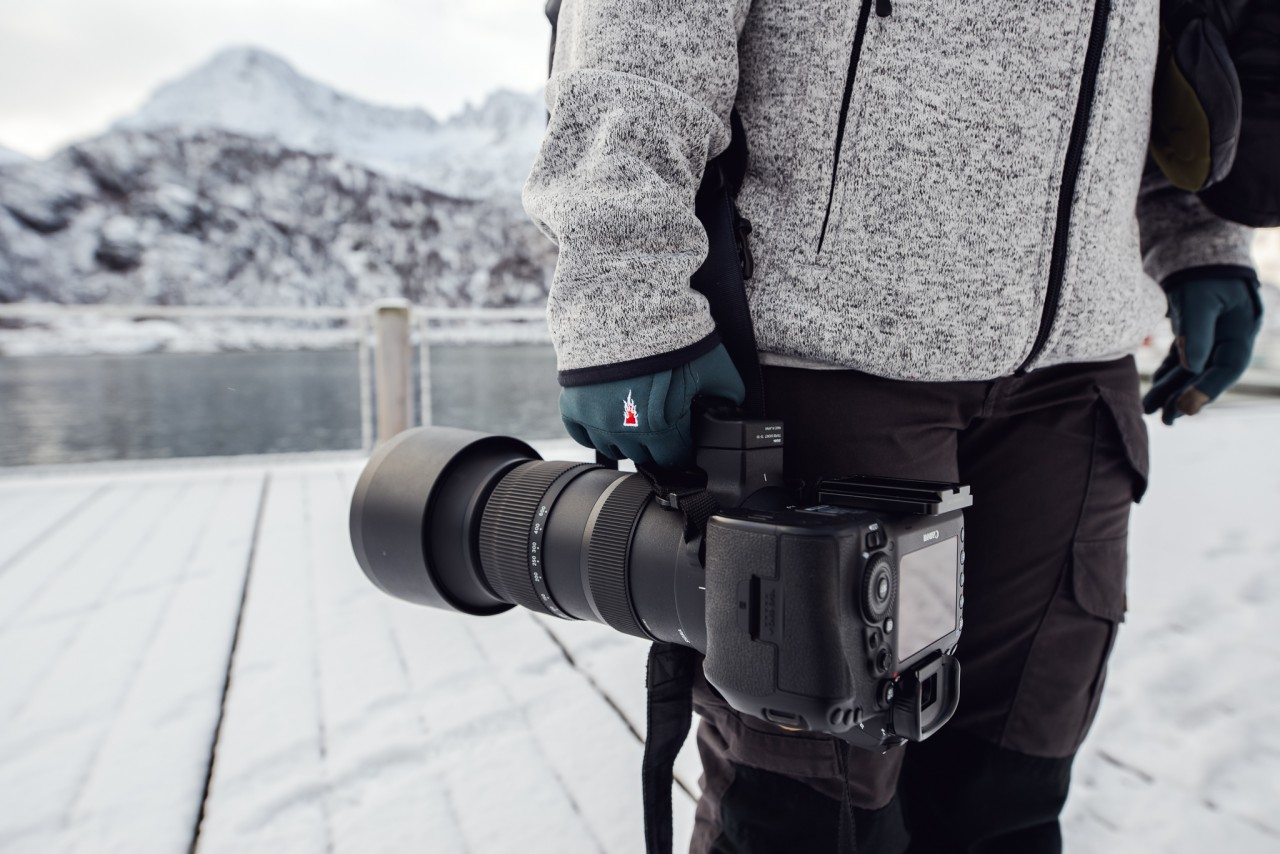
Lens: Besides light, nothing is more important in photography than the right lens for the situation. In bird and wildlife photography you need a telephoto lens. Even with a 70-200mm lens you can achieve good results at the bird feeder, but to get a bird really full-frame on the picture, longer focal lengths are advantageous. I personally recommend the Sigma 150-600mm Contemporary. It is not too heavy and has a great price-performance ratio. Almost all my pictures were taken with this lens.
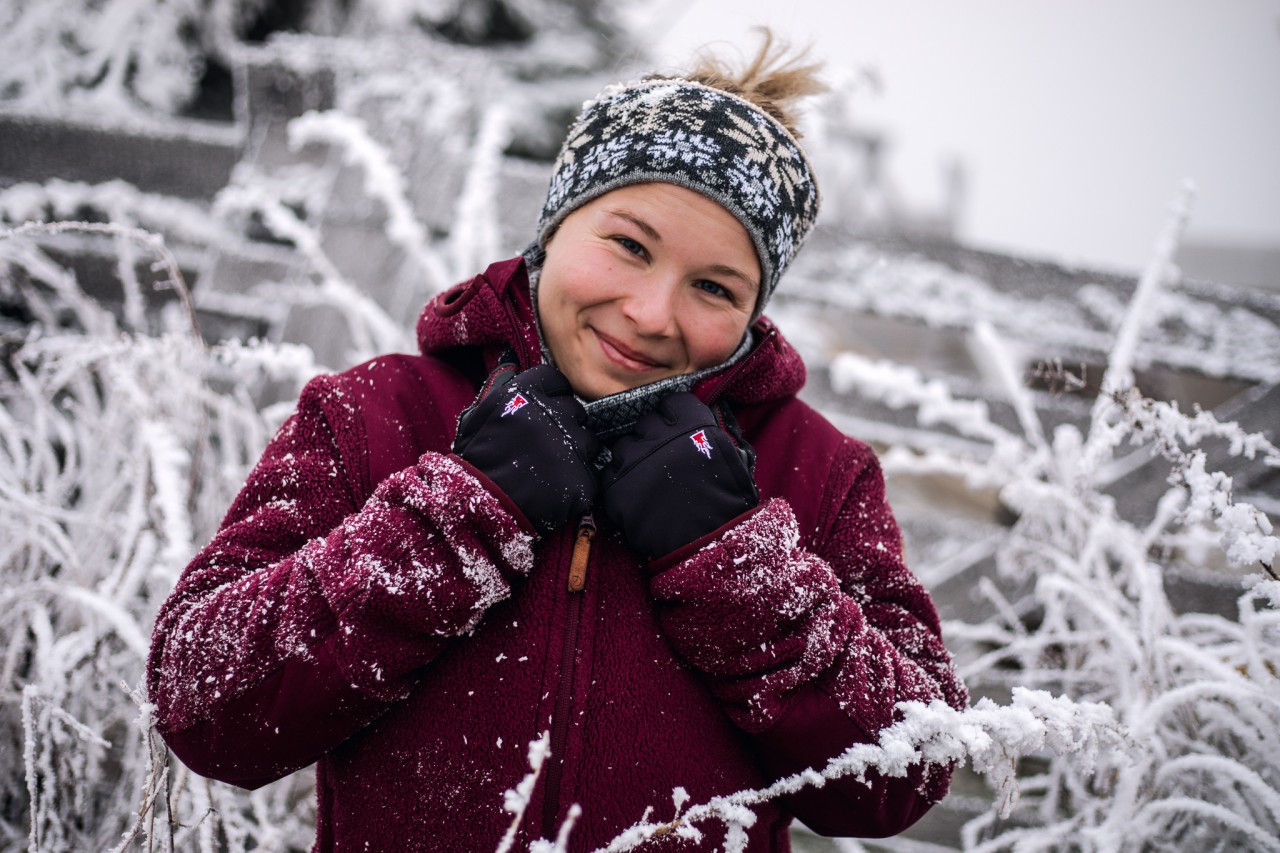
Clothing: When photographing birds, you will have to stay outside in the cold for a long time. Hence, staying warm with the right clothing is crucial for your stamina. I often feel quite constrained in thick jackets, having not enough flexibility to photograph, and so I'm a big fan of the layered look. Everyone has to decide for themselves how many layers they need, but as a bottom layer I recommend merino underwear. It keeps you super warm and doesn't scratch. Merino wool is also known that you hardly ever have to wash it. It has self-cleaning qualities and doesn't absorb odours, as the wool has a scaly surface that makes it harder for bacteria to adhere to. In addition, wool absorbs moisture in the form of water vapour before it condenses into sweat on the surface of the skin. Merino underwear is available in different warmth ratings, depending on how sensitive you are to cold. When it gets really cold, my bottom layer is a long-sleeved shirt and leggings.
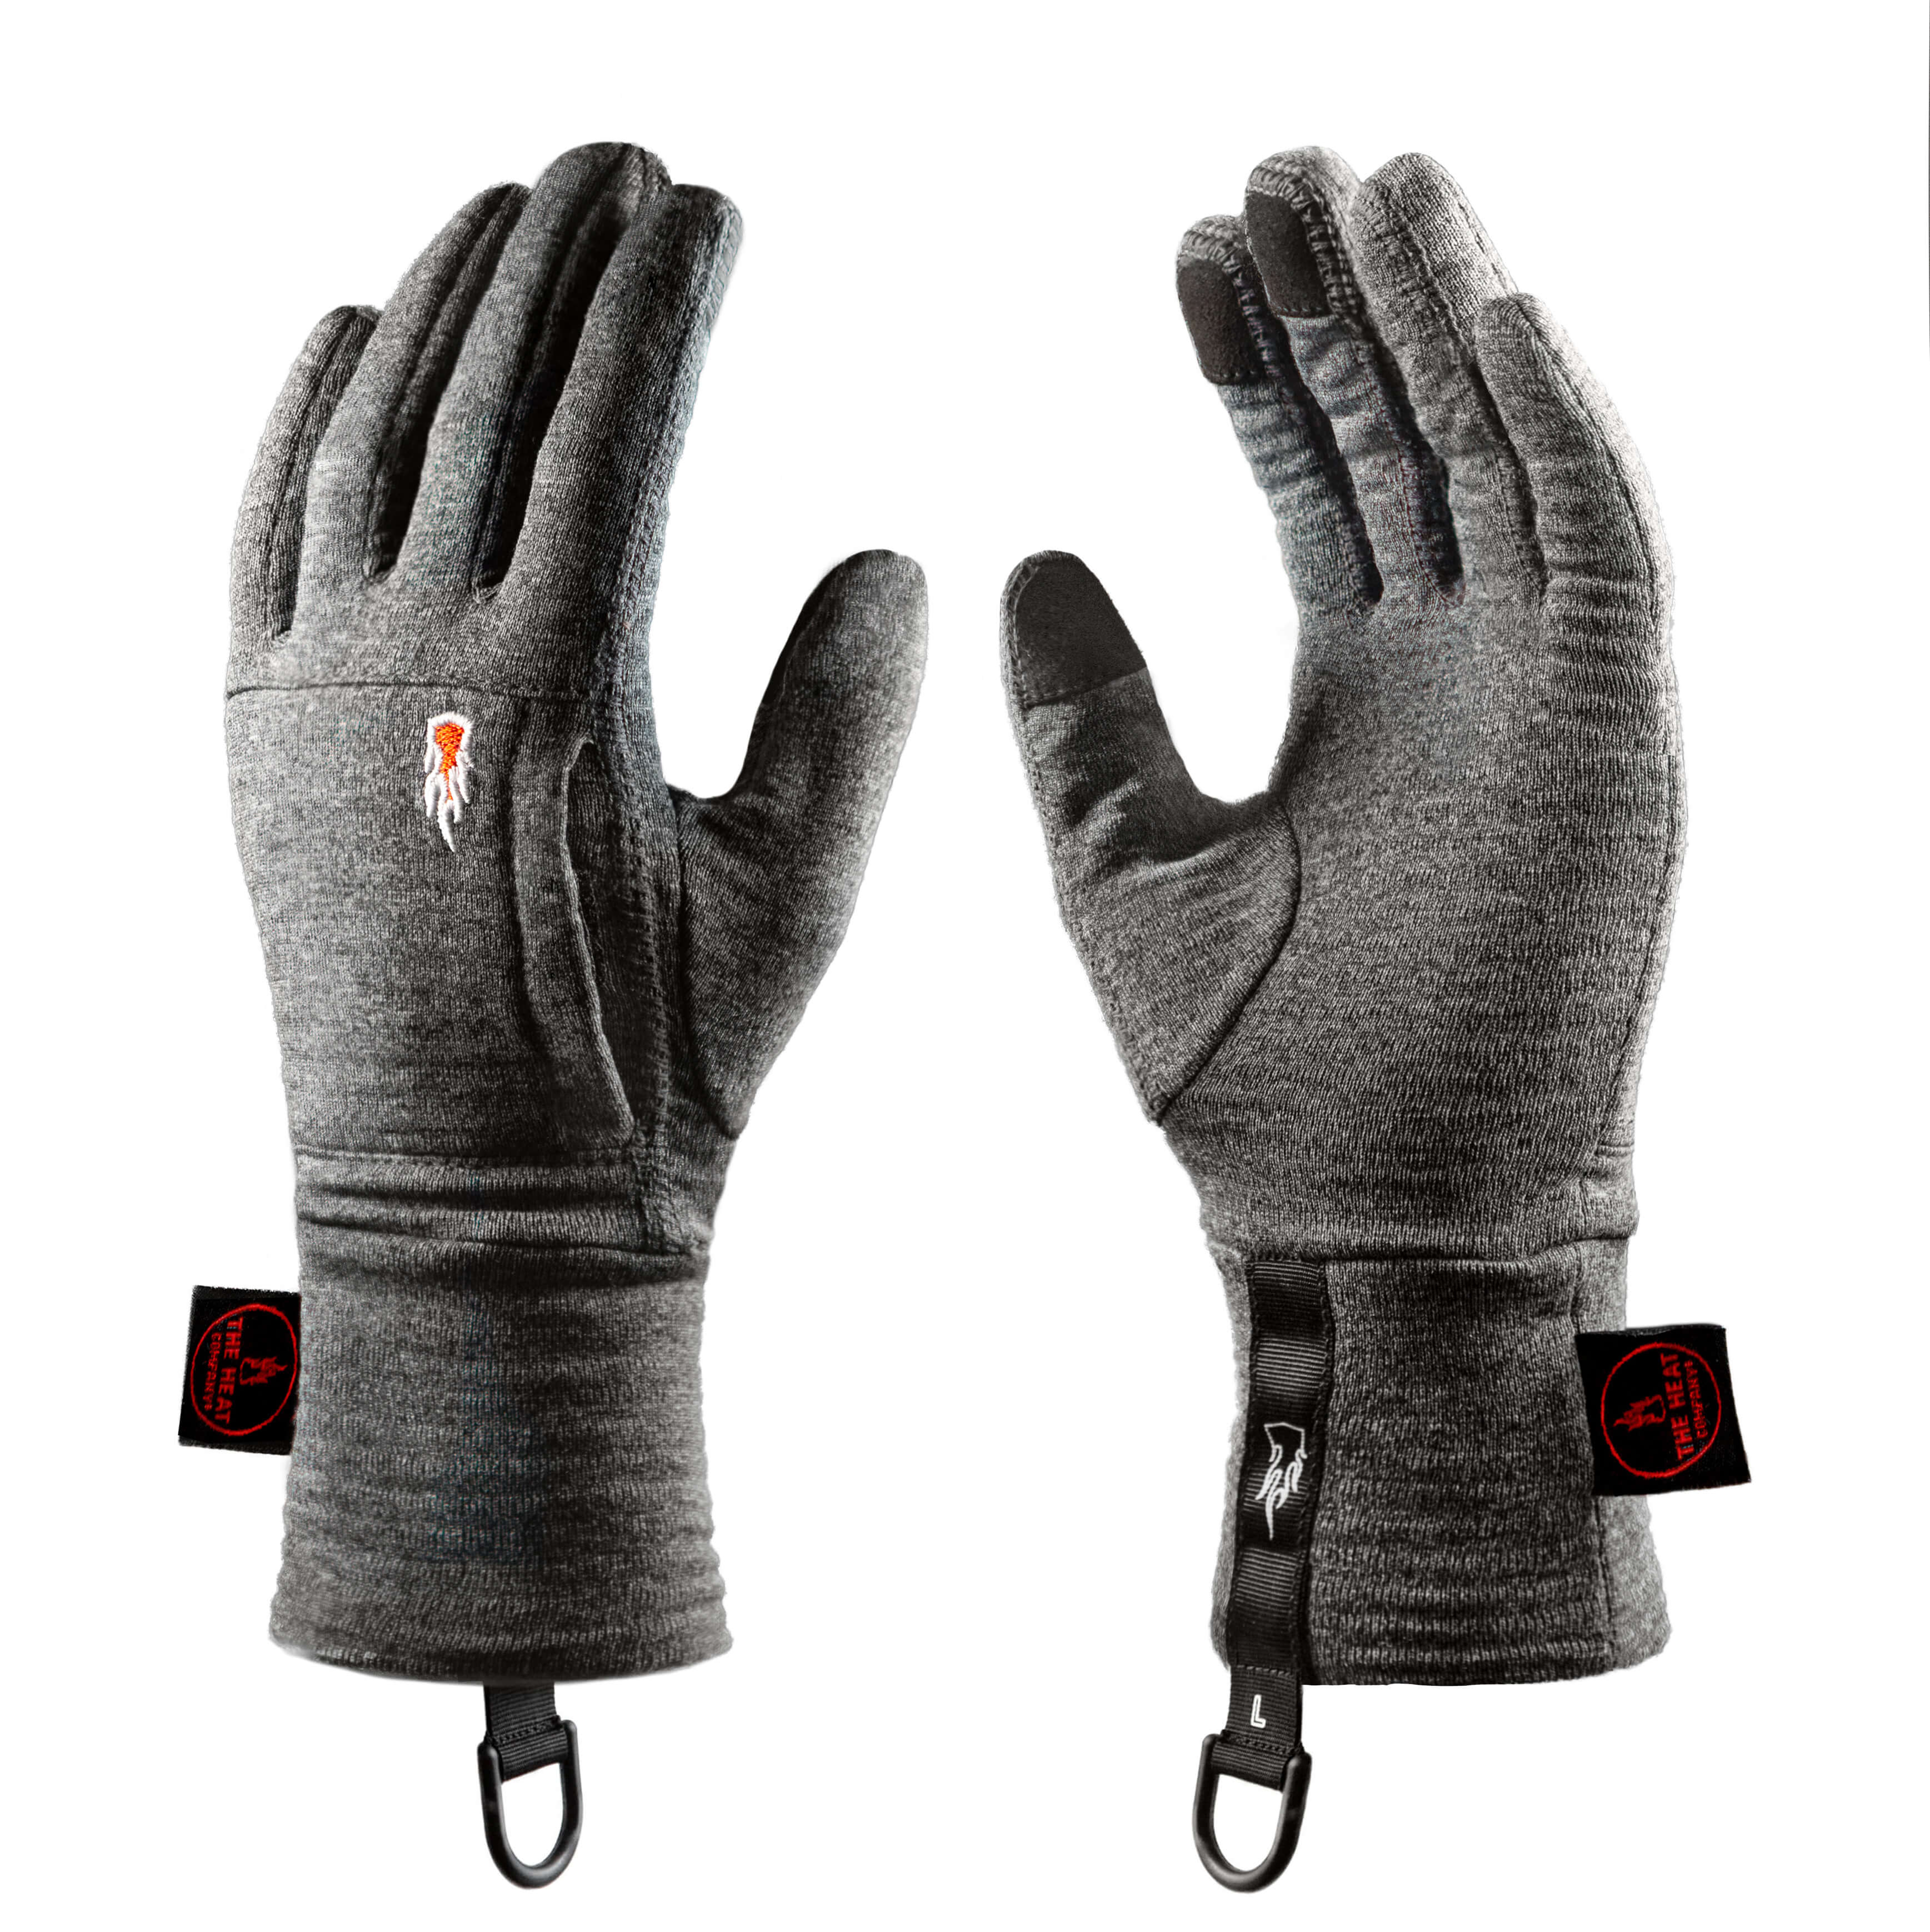
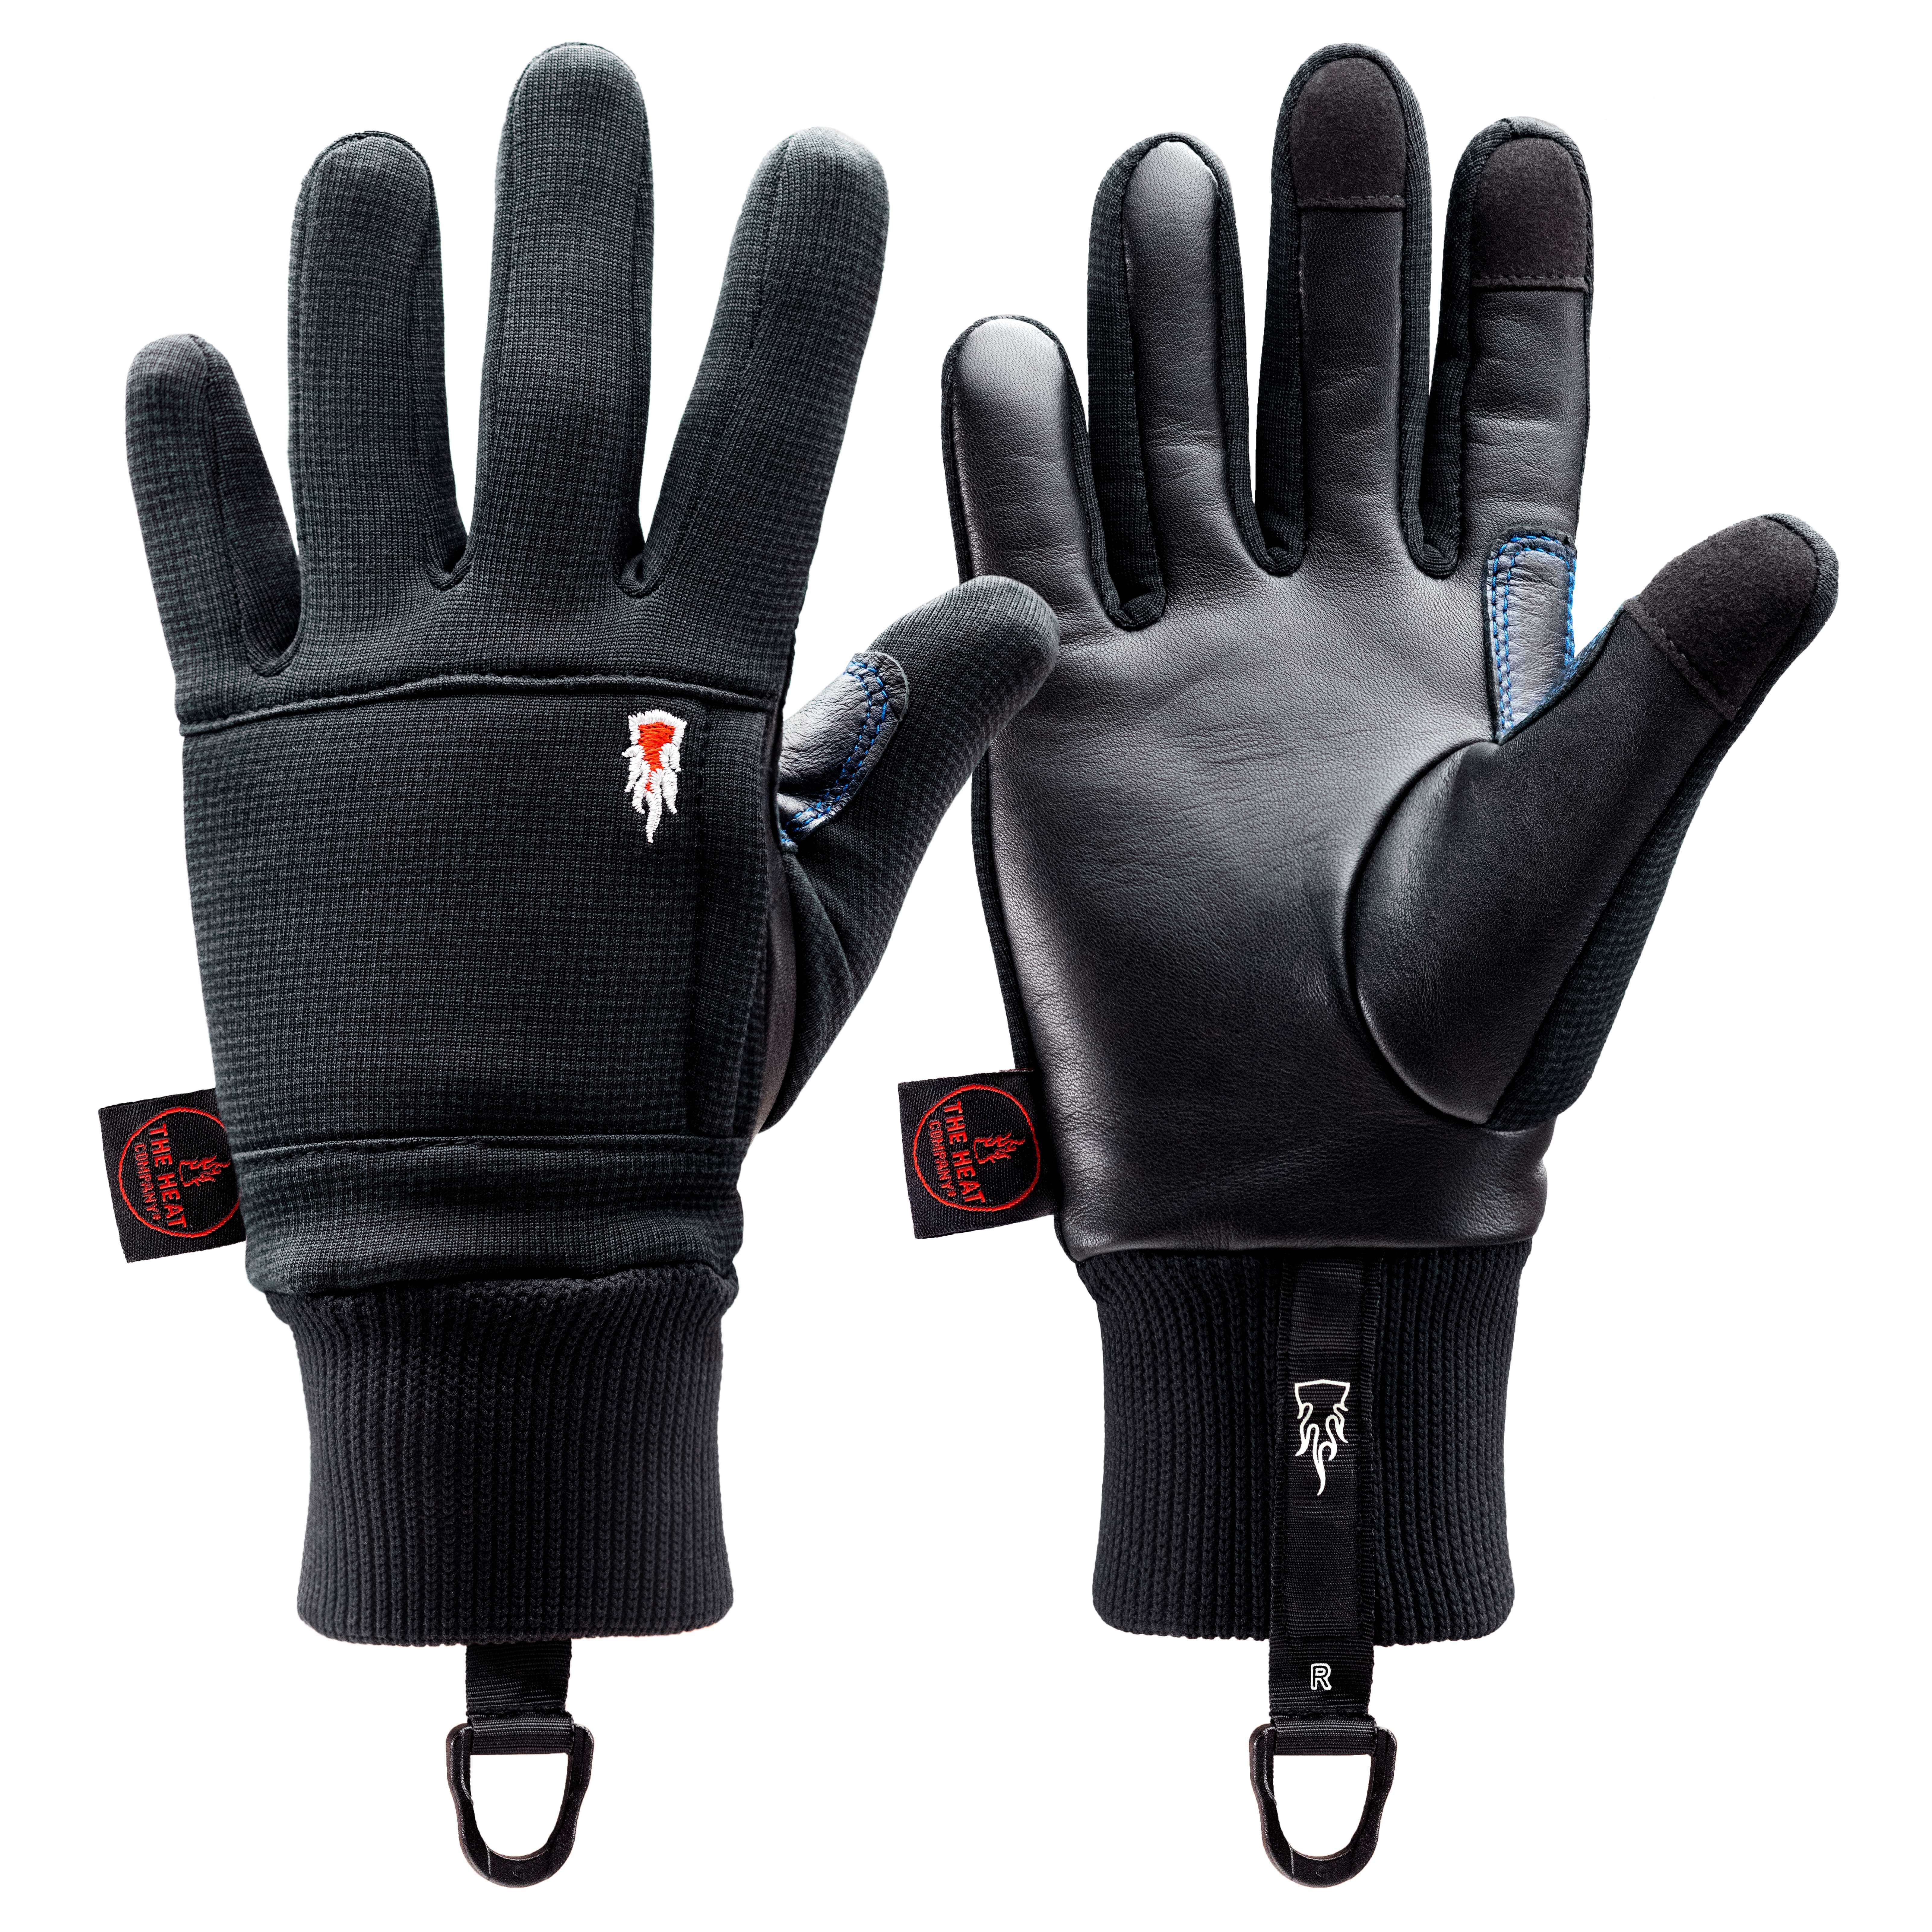
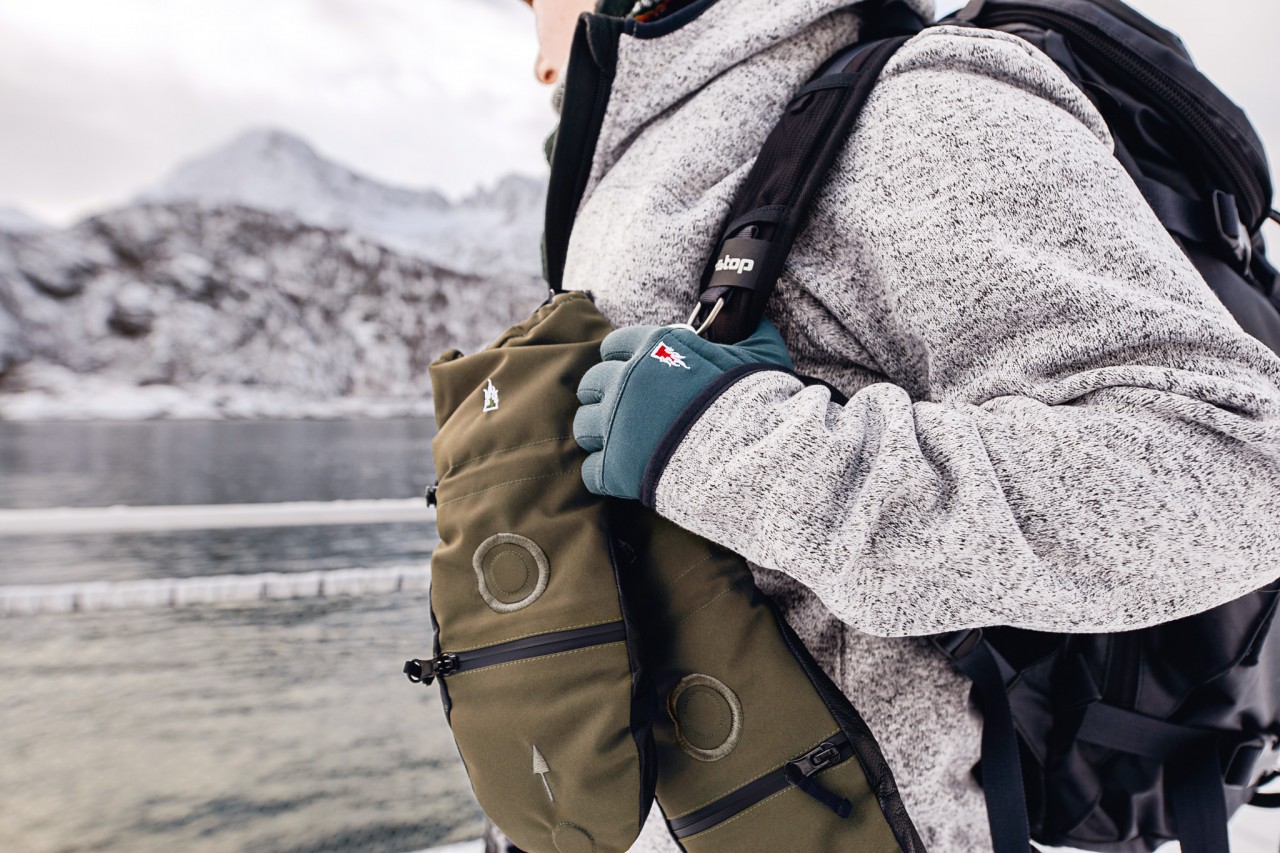
Gloves: No part of the body is as exposed to the cold when photographing as our hands, but at the same time they are essential and therefore must not be neglected. For a long time I resisted gloves because they were either too thin and didn't do any good anyway, or so bulky that I no longer had any feeling with them, or they were far too big for my short fingers. But these problems came to a happy end a few years ago when I discovered the gloves from THE HEAT COMPANY. Finally there was the perfect solution to my problem and I became a real glove fan.My absolute favourite is the DURABLE LINER PRO. It's my favourite because it's not too cold, but not too warm either and fits like a second skin. If you're not a fan of leather, you can go for the WIND PRO LINER or MERINO LINER PRO, which have a silicone print on the palm for a better grip. For the transition from the warm to the cold season, I can also recommend the thin MERINO LINER LIGHT, which also fit perfectly under the other SHELL mitten gloves. When it gets really cold, it's best to put on mittens as well.Photographing with mittens?
Yes, you heard right, because with the SHELLs from THE HEAT COMPANY you are super flexible, because you can simply fold the mitten part and the thumb back and so you still have your freedom of movement while releasing and adjusting the camera.
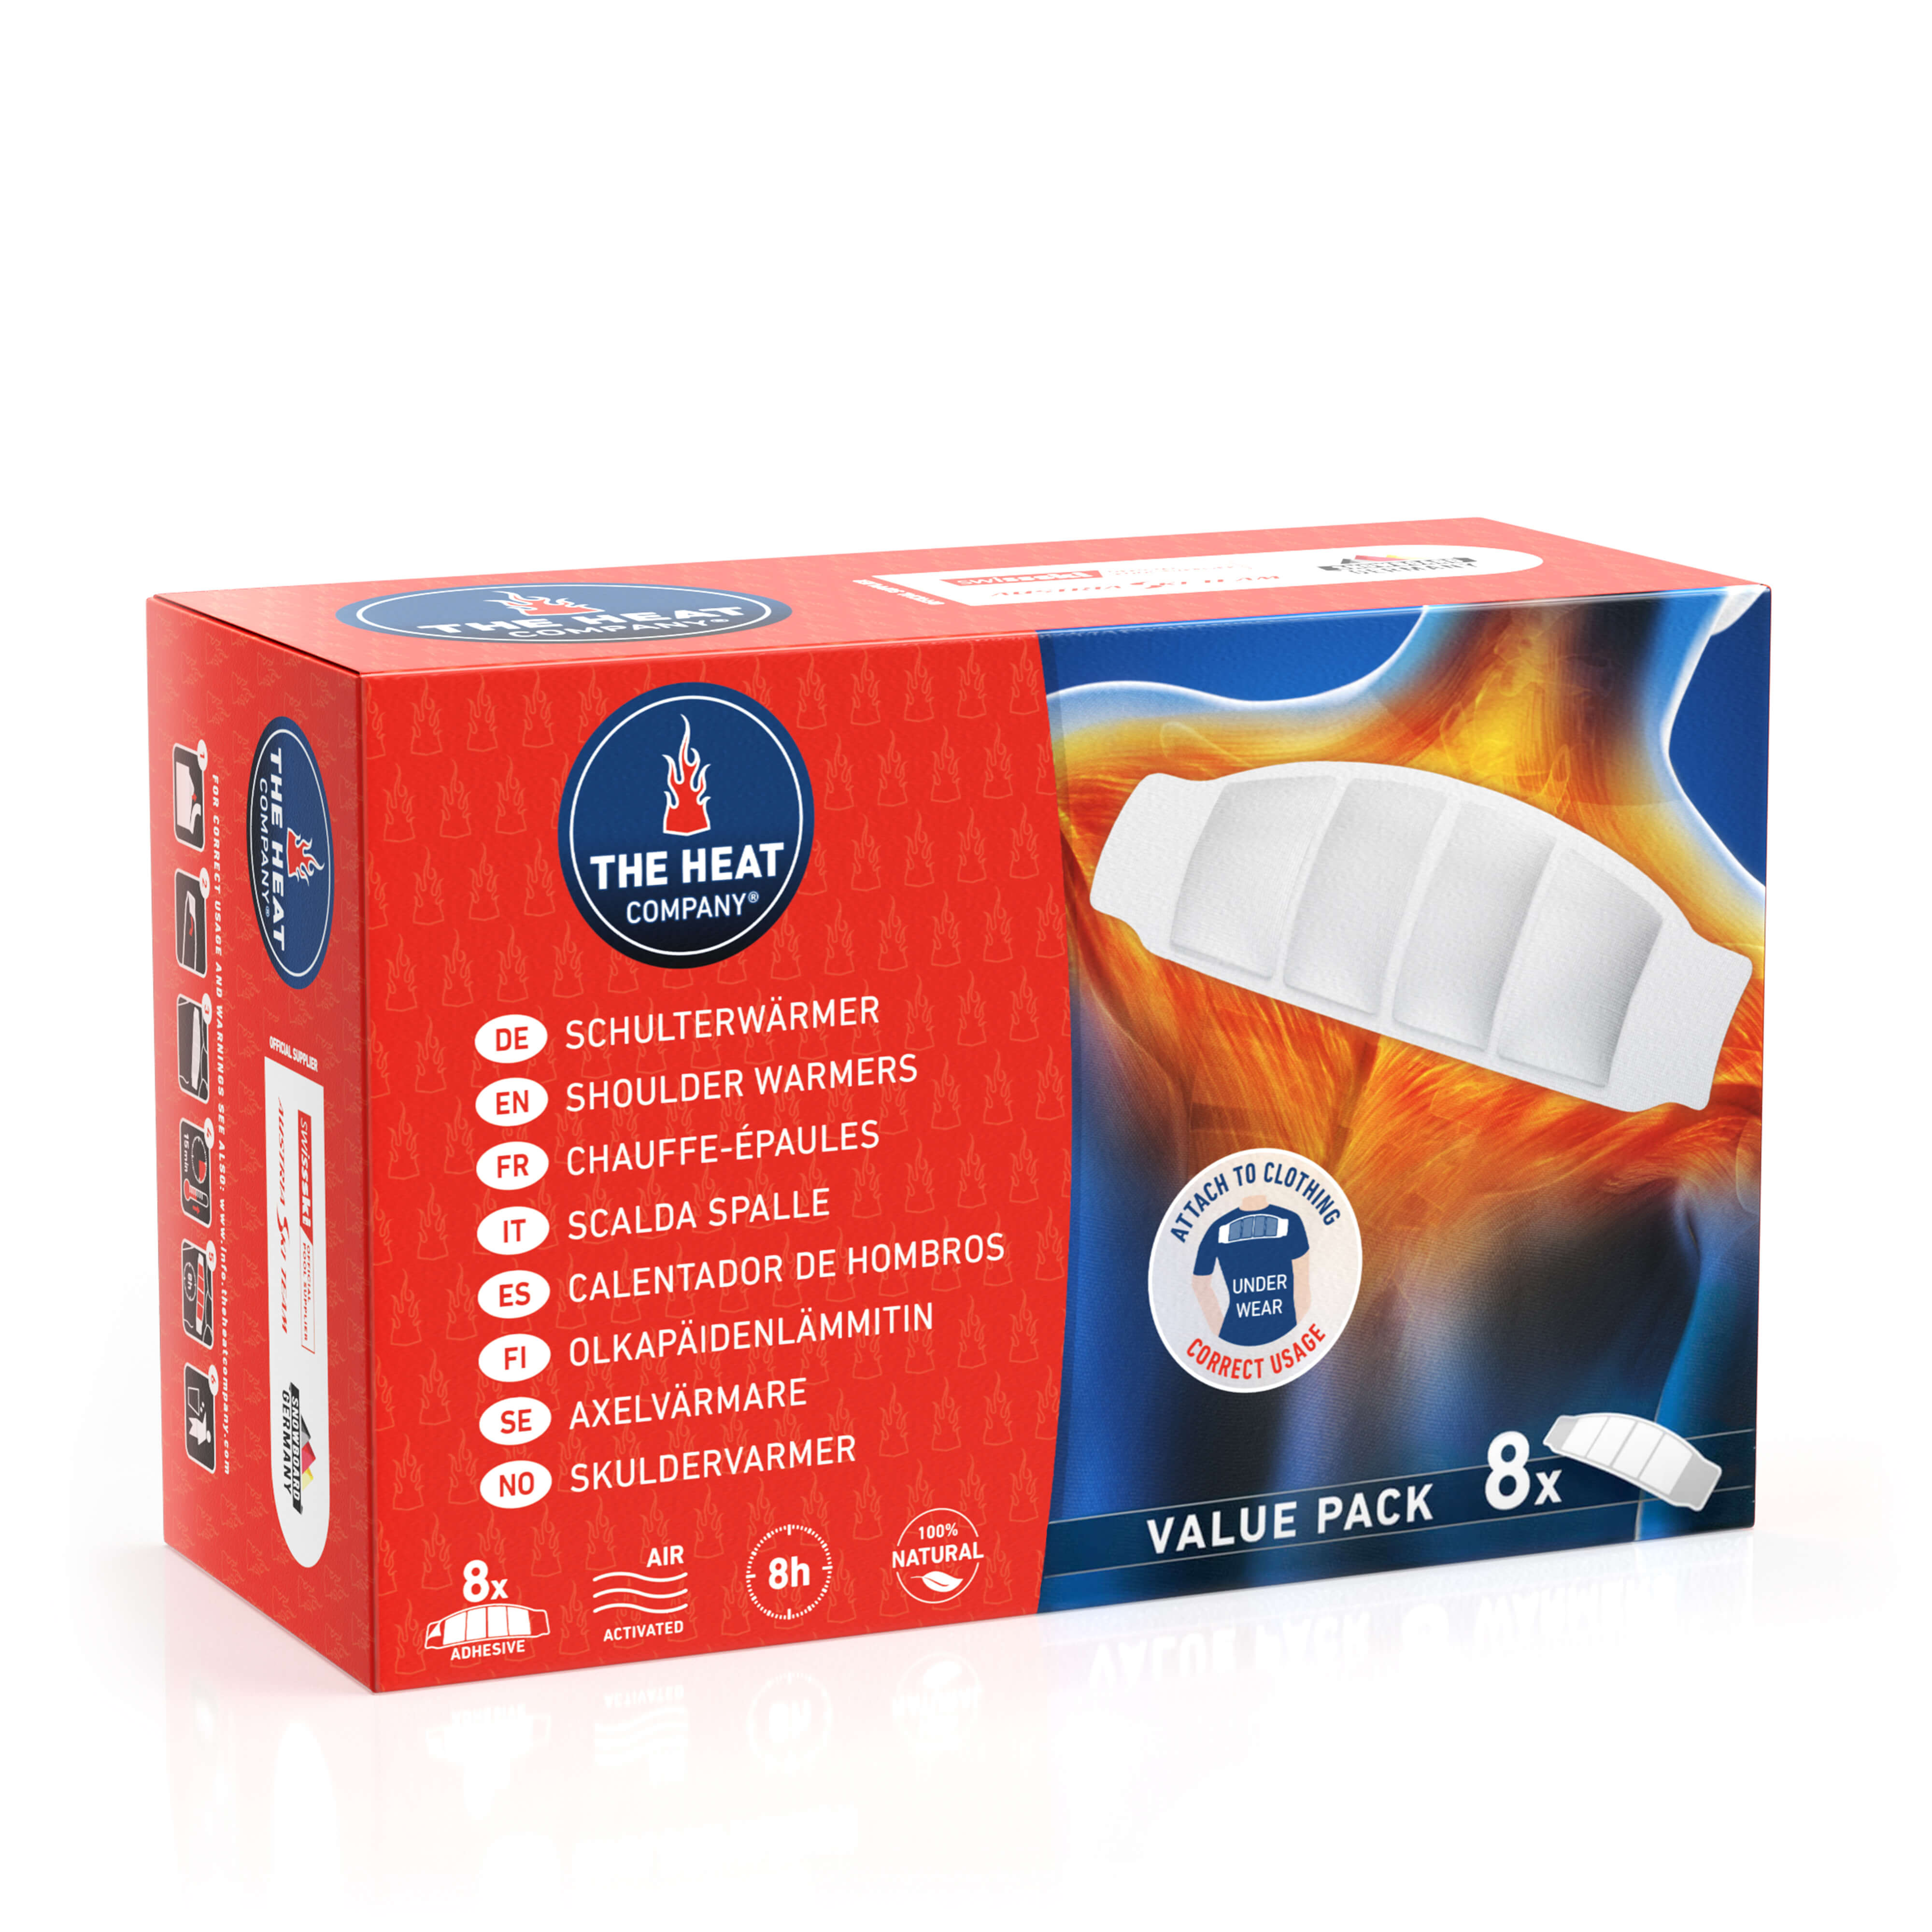
Warming pads: If you spend a lot of time waiting outside, you're bound to get cold at some point, even with the best clothing. But there is a solution for that too, namely warmers. For cold toes there are foot- and insole warmers and hand warmers for freezing fingers. Did you know that the gloves from THE HEAT COMPANY come with a separate pocket where you can insert them? Pretty great! In addition, there are of course warming pads, that are suitable for every other part of the body.

Protect batteries and accumulators in the cold
Batteries drain much faster in the cold. Carry them close to your body and add a multi-warmer. on top of them to keep them warm. This way you will also be warmer and you won't get a nasty surprise when you change the battery.
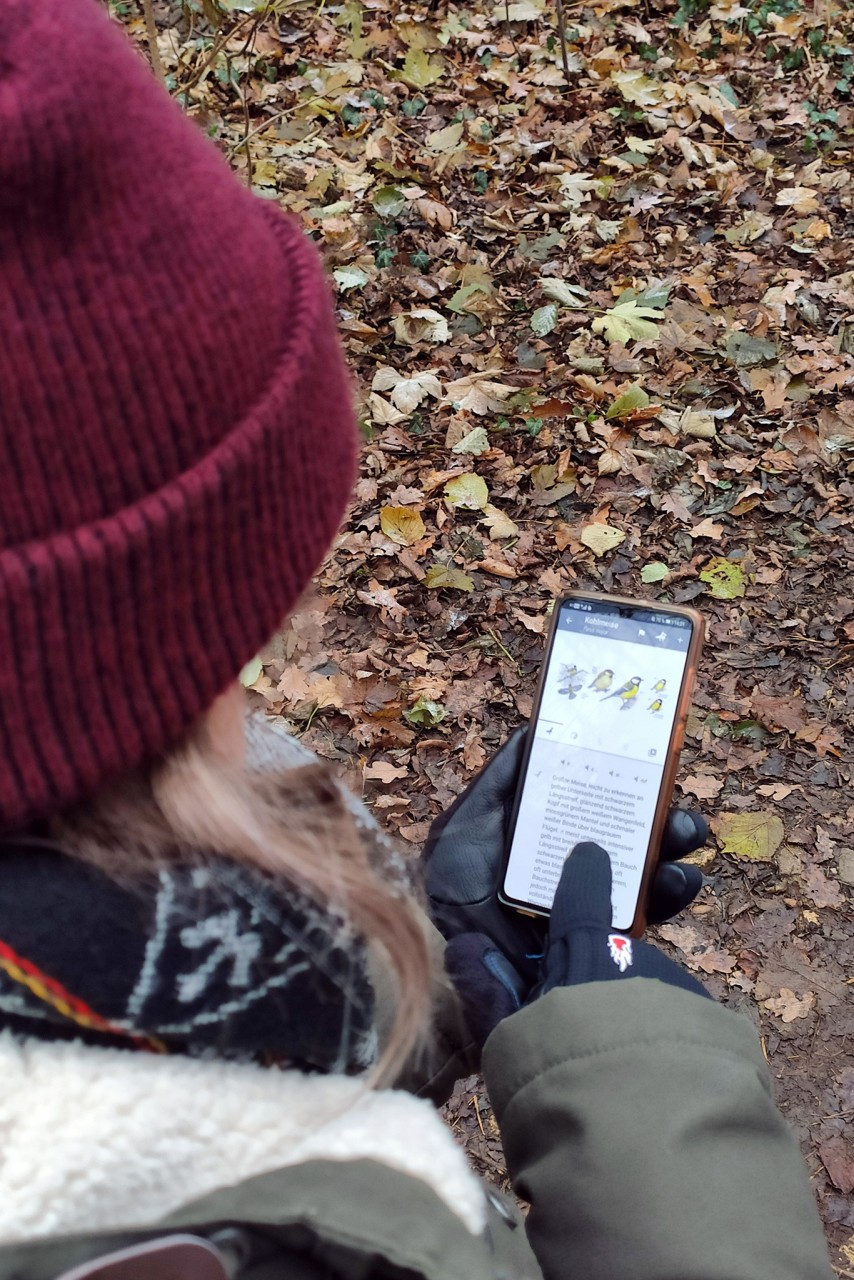
Apps: Especially if you are just starting out with bird photography and are perhaps not so familiar with the native bird species, apps can be a great help. I recommend the Kosmos app"Bird Guide". It is the companion piece to the book of the same name and is very detailed and you can even search for colours there. Thanks to the touchscreen-capable fingertips of your liner gloves , you can operate your smartphone without any problems and you won't get cold fingers.If you only hear a bird and would like to know which bird it is, I can also recommend the app "BirdNET".


Your most important quality - patience, patience and patience again
Patience is the name of the game. In no other field of photography you have to be as patient as in wildlife and bird photography. Sometimes you may only wait 5 minutes for the first birds to appear in front of your camera, but sometimes it can take several hours. So you should definitely be prepared and not get discouraged, because you never know if a bird might show up a couple of minutes later after all. The only arguments for pulling down the tents are if the light is too bad or if you already have plenty of pictures. You should be perfectly prepared for the cold by now thanks to the tips from the first part. A thermos flask with tea will fill long waiting times and keep you warm.
5 Star Hotel - Offer a culinary highlight
Especially in winter, birds are drawn to the vicinity of humans in search of food. With some good bird food you can attract different species to your observation point. But beware: not all bird food is the same! My many years of experience in bird feeding have shown me that birds are real gourmets and the number of visitors depends on the quality and variety of the food. There are also birds that prefer to eat from the ground than from a hanging feeder.
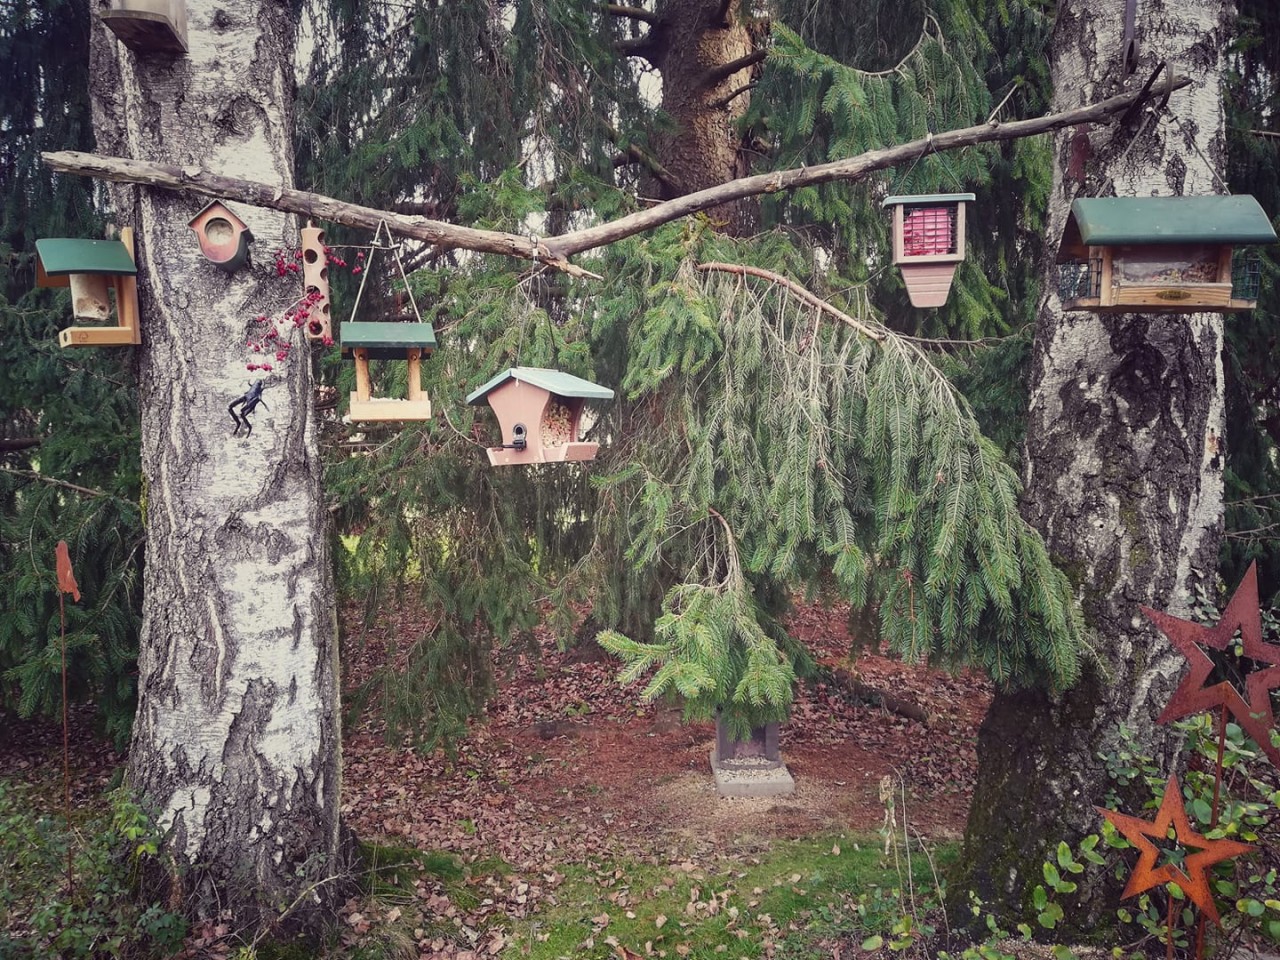
Location: Your feeder should be close to trees, bushes and hedges where the birds like to stop before heading for the food and quickly find cover should an uninvited guest pass by. In addition, you can then photograph them perfectly at these "perches", as the motif is more beautiful here than at the feeder itself. The feeding station should also be clearly arranged so that predators, such as cats, cannot hide underneath.
Bird feeders:Hygiene is particularly important when feeding birds, which is why I'm a big fan of feeders or grease feeders made of recycled plastic or metal (available at Vivara). These are very easy to clean and more durable than wooden feeders. For bottom feeders, I would also recommend ones made of recycled plastic or those made of wood concrete, as they are insensitive to moisture.
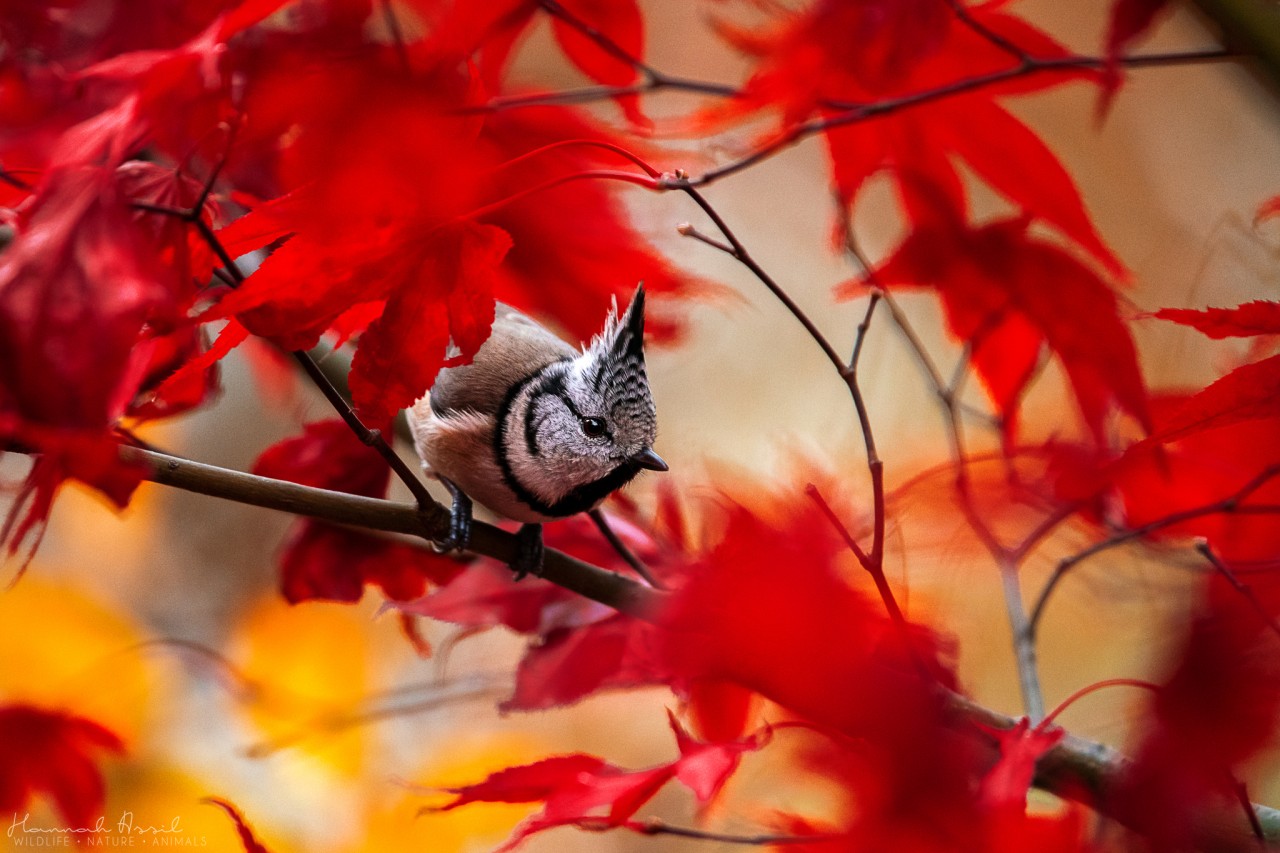
Types of food: You should definitely offer a varied menu for your birds. You can choose any seed mixture for the feeder. I look for a high-energy food (sunflower seeds, chopped peanuts, broken oats, broken maize, hemp seeds, etc.). Dried mealworms are a special treat. These can be used to lure one or two birds out of their reserve, such as the crested tit. Mealworms are sometimes included in some seed mixes or can be purchased separately.In addition to seed mixes, you should also offer fat food. There is a wide range of food types, such as the well-known corn dumplings or energy suet cakes in various "flavours" (berries, insects, mealworms, seeds, etc.). The more colourful the selection, the more diverse the bird species.


When luck meets the right preparation - technique
I have already mentioned that trees, bushes and hedges should be nearby. So choose a place that is visually appealing and where there are also good lighting conditions. The place where you want to shoot should have a calm background and not too many disturbing elements such as branches hanging across the picture. You can also drape branches and twigs yourself near the feeders for the birds to land on. Additionally, it is beneficial if your chosen location is not too dark in the morning or afternoon so that you have enough light to photograph, as these times have the best sun angle for this.Also make sure that the spot you want to photograph is not too high up. The sooner you can shoot at eye level, the more beautiful the picture will be.
WATCHING BIRDS FROM THE GROUND
If you have a ground feeder, you can also lie down on the ground (with a mat) to be at eye level with the bird species that like to pick food from the ground.
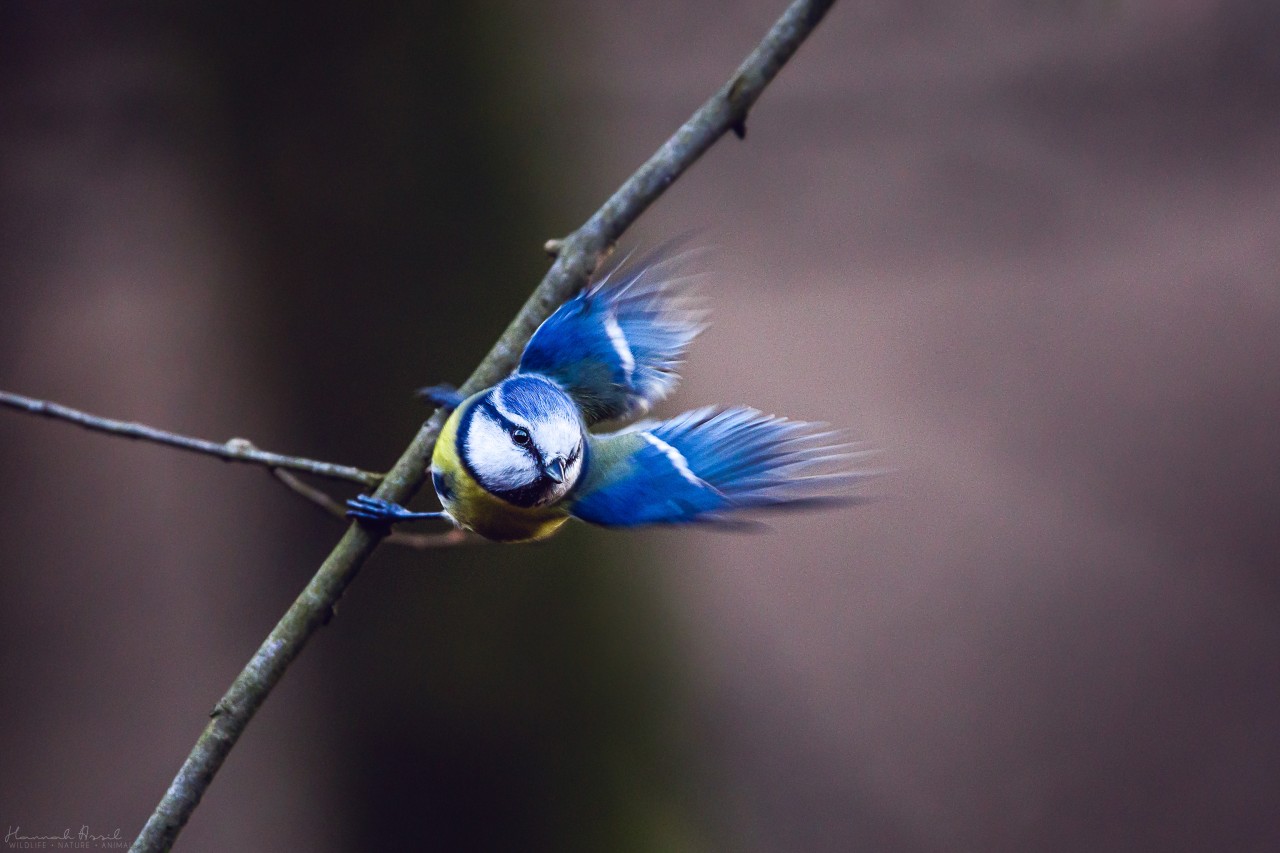
To ensure that the subjects are nicely cropped and you have a soft background, you should shoot with the largest aperture (smallest f-number). This blurs the background and puts the focus on the bird. Depending on what your lighting conditions allow, I also recommend a fast shutter speed, because this way you can photograph the birds on approach or during take-off without them being out of focus.
ADDITIONAL TIP: SAMPLE PHOTO
Always take a test photo to check your settings. If a bird comes when your settings are wrong, you will quickly become frustrated.
Finally out into the wilderness
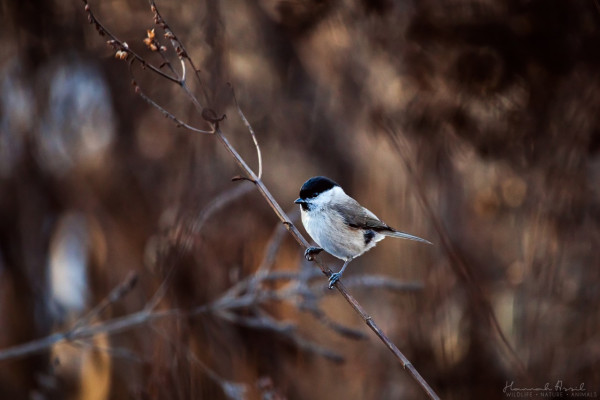
The first steps have been taken and you have already gained some experience in bird photography at your feeding site. You have learned how a bird behaves just before it flies off and also how tolerant they are of your movements and when it becomes too much for them. Now it's time to get out into the wild and into the forest.Through your observations, you will have noticed that birds are most active in the early morning and evening, and this is not only the case at the feeder. So don't plan your photo trip over midday.The most important thing I want you to take away is: Get to know the animals you want to photograph!The probability of seeing a Crested Tit on Lake Neusiedl is as small as the probability of finding a Bearded Tit in a coniferous forest. Get a good bird book or app (see above) to find out about the species.This also applies to the bird feeder. You need to know what the birds you want to photograph like to eat, because that's the only way to attract them to your feeder.


It's your turn!
Well, did you get the craving to set up a bird feeder and go on a photo hunt? These 5 tips have prepared you perfectly for bird photography in winter. If the bird fever really takes hold of you and you develop into a true birder, then I can also recommend my "Birding Booklet". The Birding Booklet is for all birder, ornithologists and those who want to become one. In this booklet you can enter which bird you have seen, which you "only" have a photo of and which you have already photographed well. You can even distinguish between females, males and young birds. Further back in the booklet you will find a total counter, so that you not only know which species you have already seen, but also how many there are in total. The list inside the booklet refers to the bird species in German-speaking countries, but for all travel-loving ornithologists and birder there are blank pages at the back of the booklet where you can enter your own bird species.
I wish you a lot of joy in nature, beautiful light and of course a lot of luck and stamina! Your Hannah
About the Author:
I am in love with nature from the tips of my toes to the tips of my hair. As the daughter of a biologist, I was sensitised to nature at a young age. At some point I realised that I could also pass on this love and understanding to other people and that it was my destiny to pursue this professionally. Thus began my journey as a nature educator and wildlife photographer, with birdlife being a particularly high priority.Thanks to my photography, I get to work with a wide variety of organisations and national parks, contributing to a better understanding of nature. Meanwhile, I am also a national park ranger and mountain hiking guide to show you nature in all its beautiful facets.
To Hannah Assil's website: www.hannahassil.at
Hannah's Social Media: