Winter Photography: 5 Tips for Stunning Snow Photos
Winter offers unique conditions for stunning photographs: crisp, clear air, magical light created by the low winter sun, and fascinating textures of frost and ice. We are Karin and Markus, founders of Fotonomaden, and we are constantly exploring the world with our cameras. Along the way, we not only capture memorable moments but also gather valuable experience and practical tips that we're happy to share with fellow photographers. In this article, we will show 5 simple tips for winter photography – from easy ideas for beginners using a smartphone or camera to creative approaches for more advanced photographers. We also share which photography gloves and equipment have proven themselves in winter conditions and what you should pay special attention to in cold temperatures.
Spoiler Alert: The biggest challenge in winter photography is often not the subject – but the cold.
Tip 1: Choose a Clear Focal Point
A successful photo needs a clear focal point. Before taking a shot, choose a subject that the viewer’s eye can naturally focus on. This main subject should appear as sharp as possible in your image. Without a clear focal point, the viewer’s eye tends to wander through the image without settling anywhere.
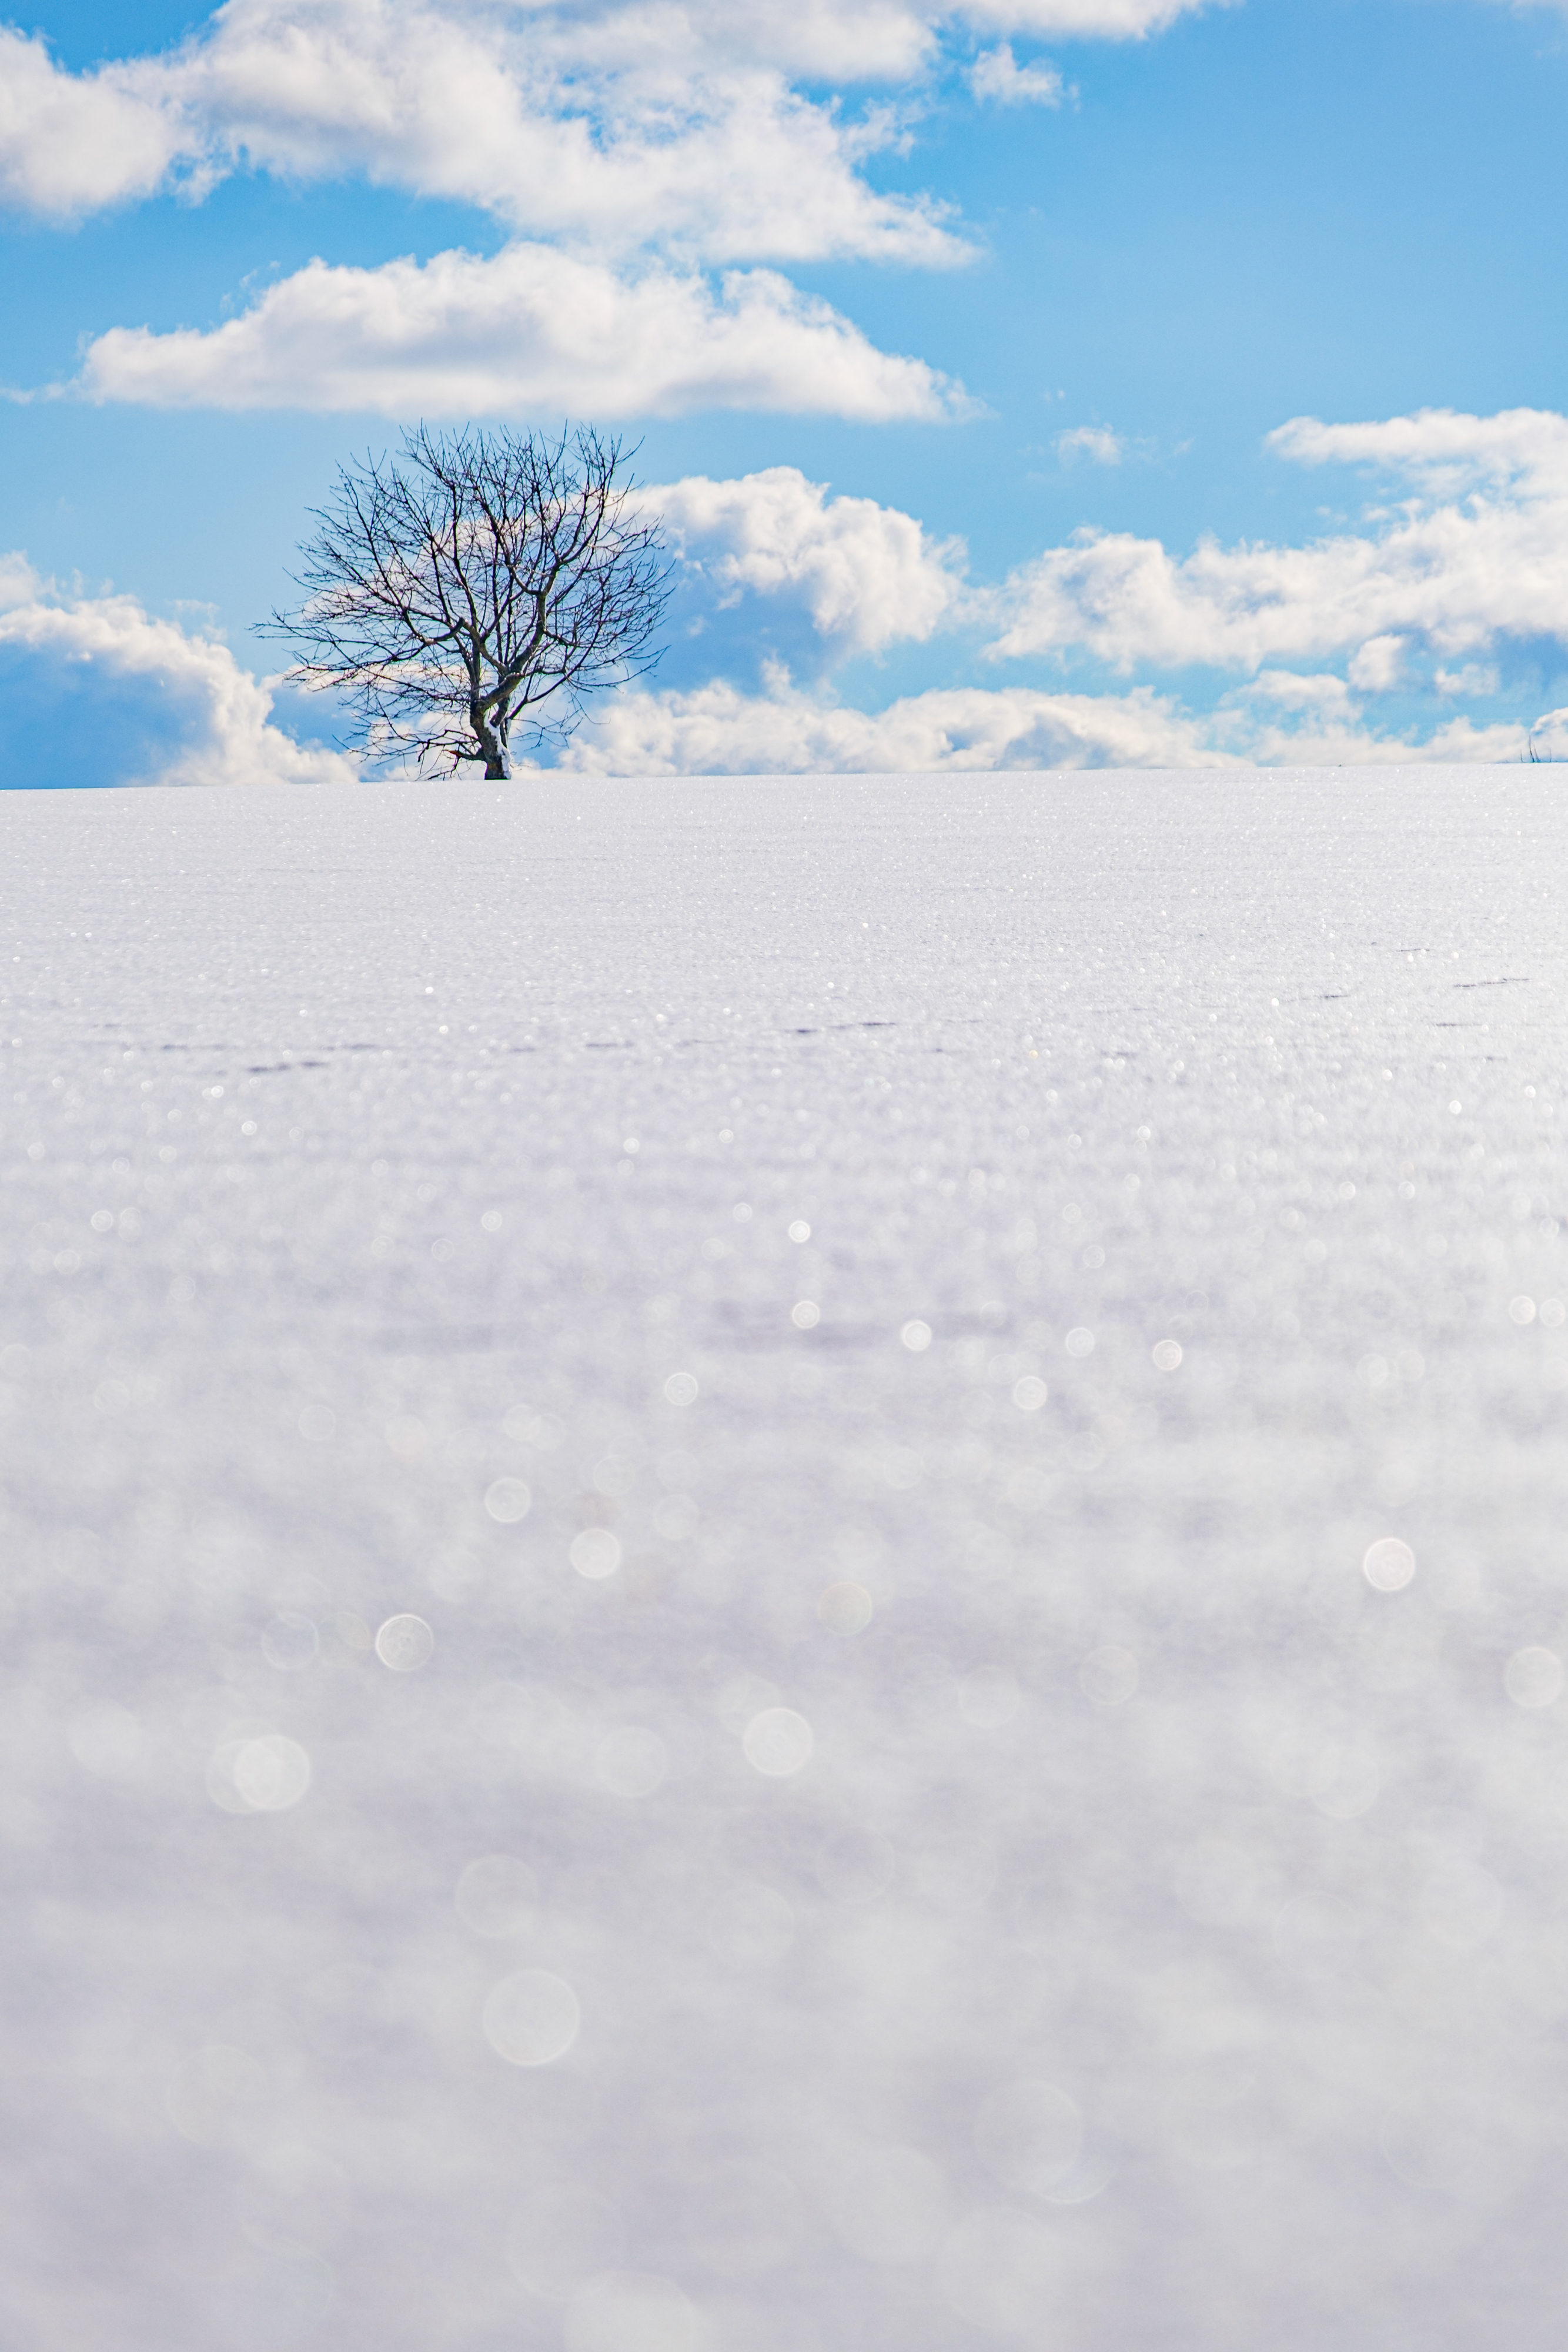
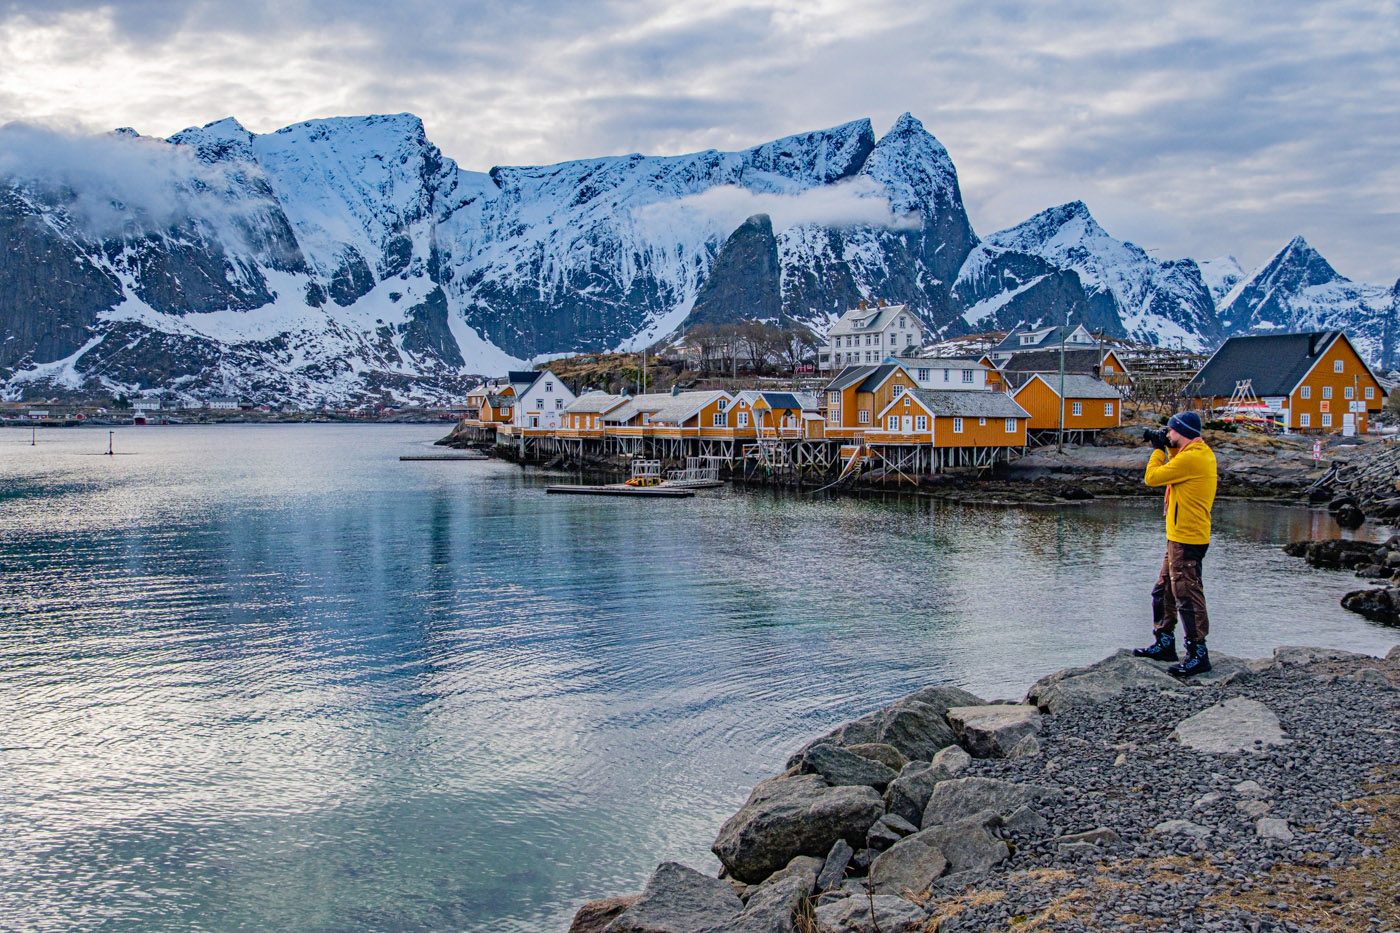
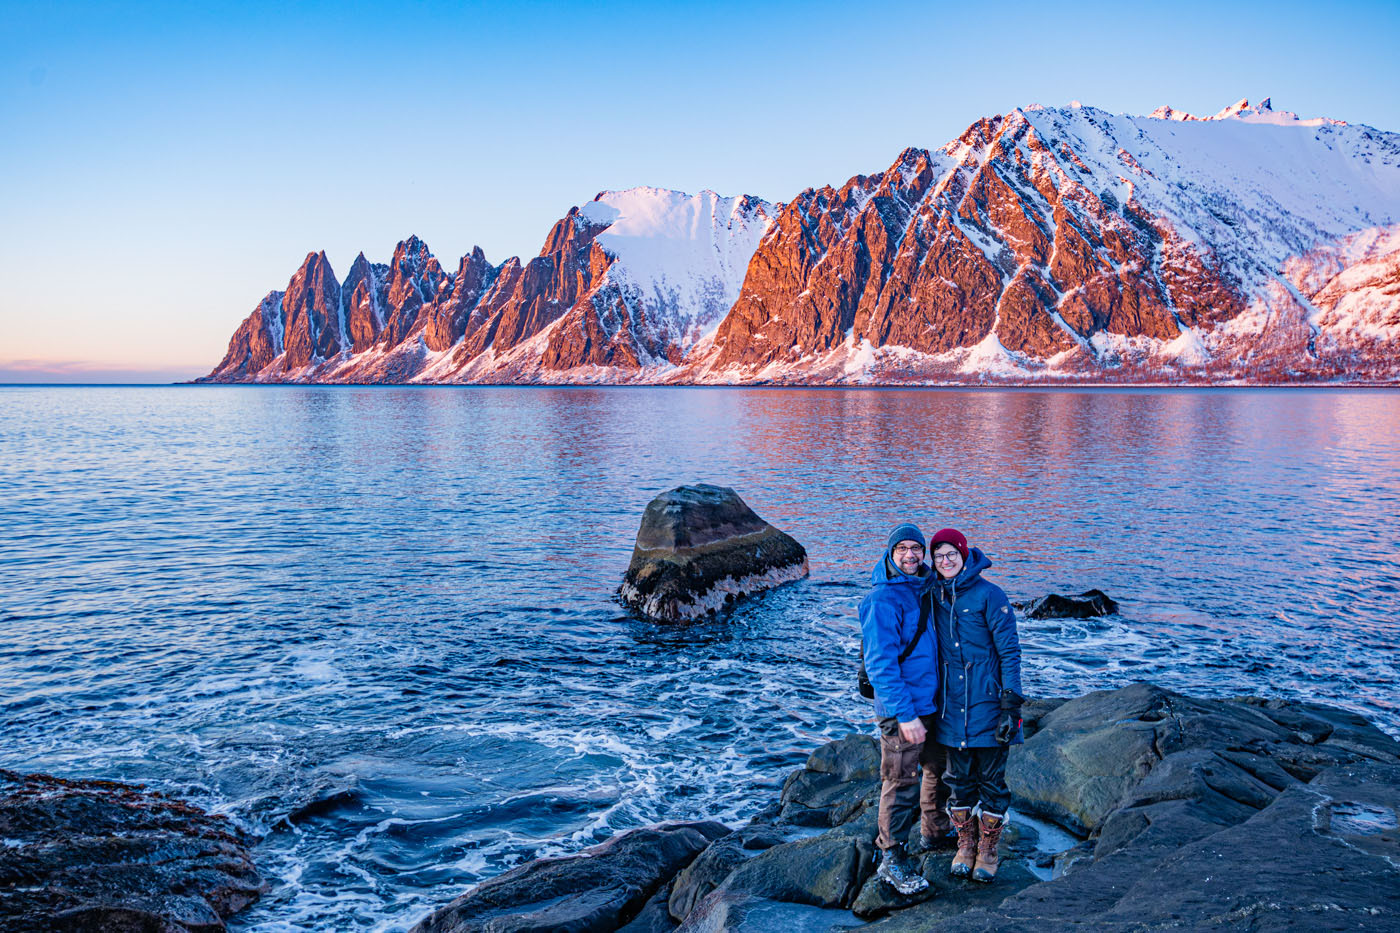
In winter photography, strong focal points may be a striking tree, a distinctive rock, a person wearing a colorful winter jacket, or elements like a sled or a pair of skis.
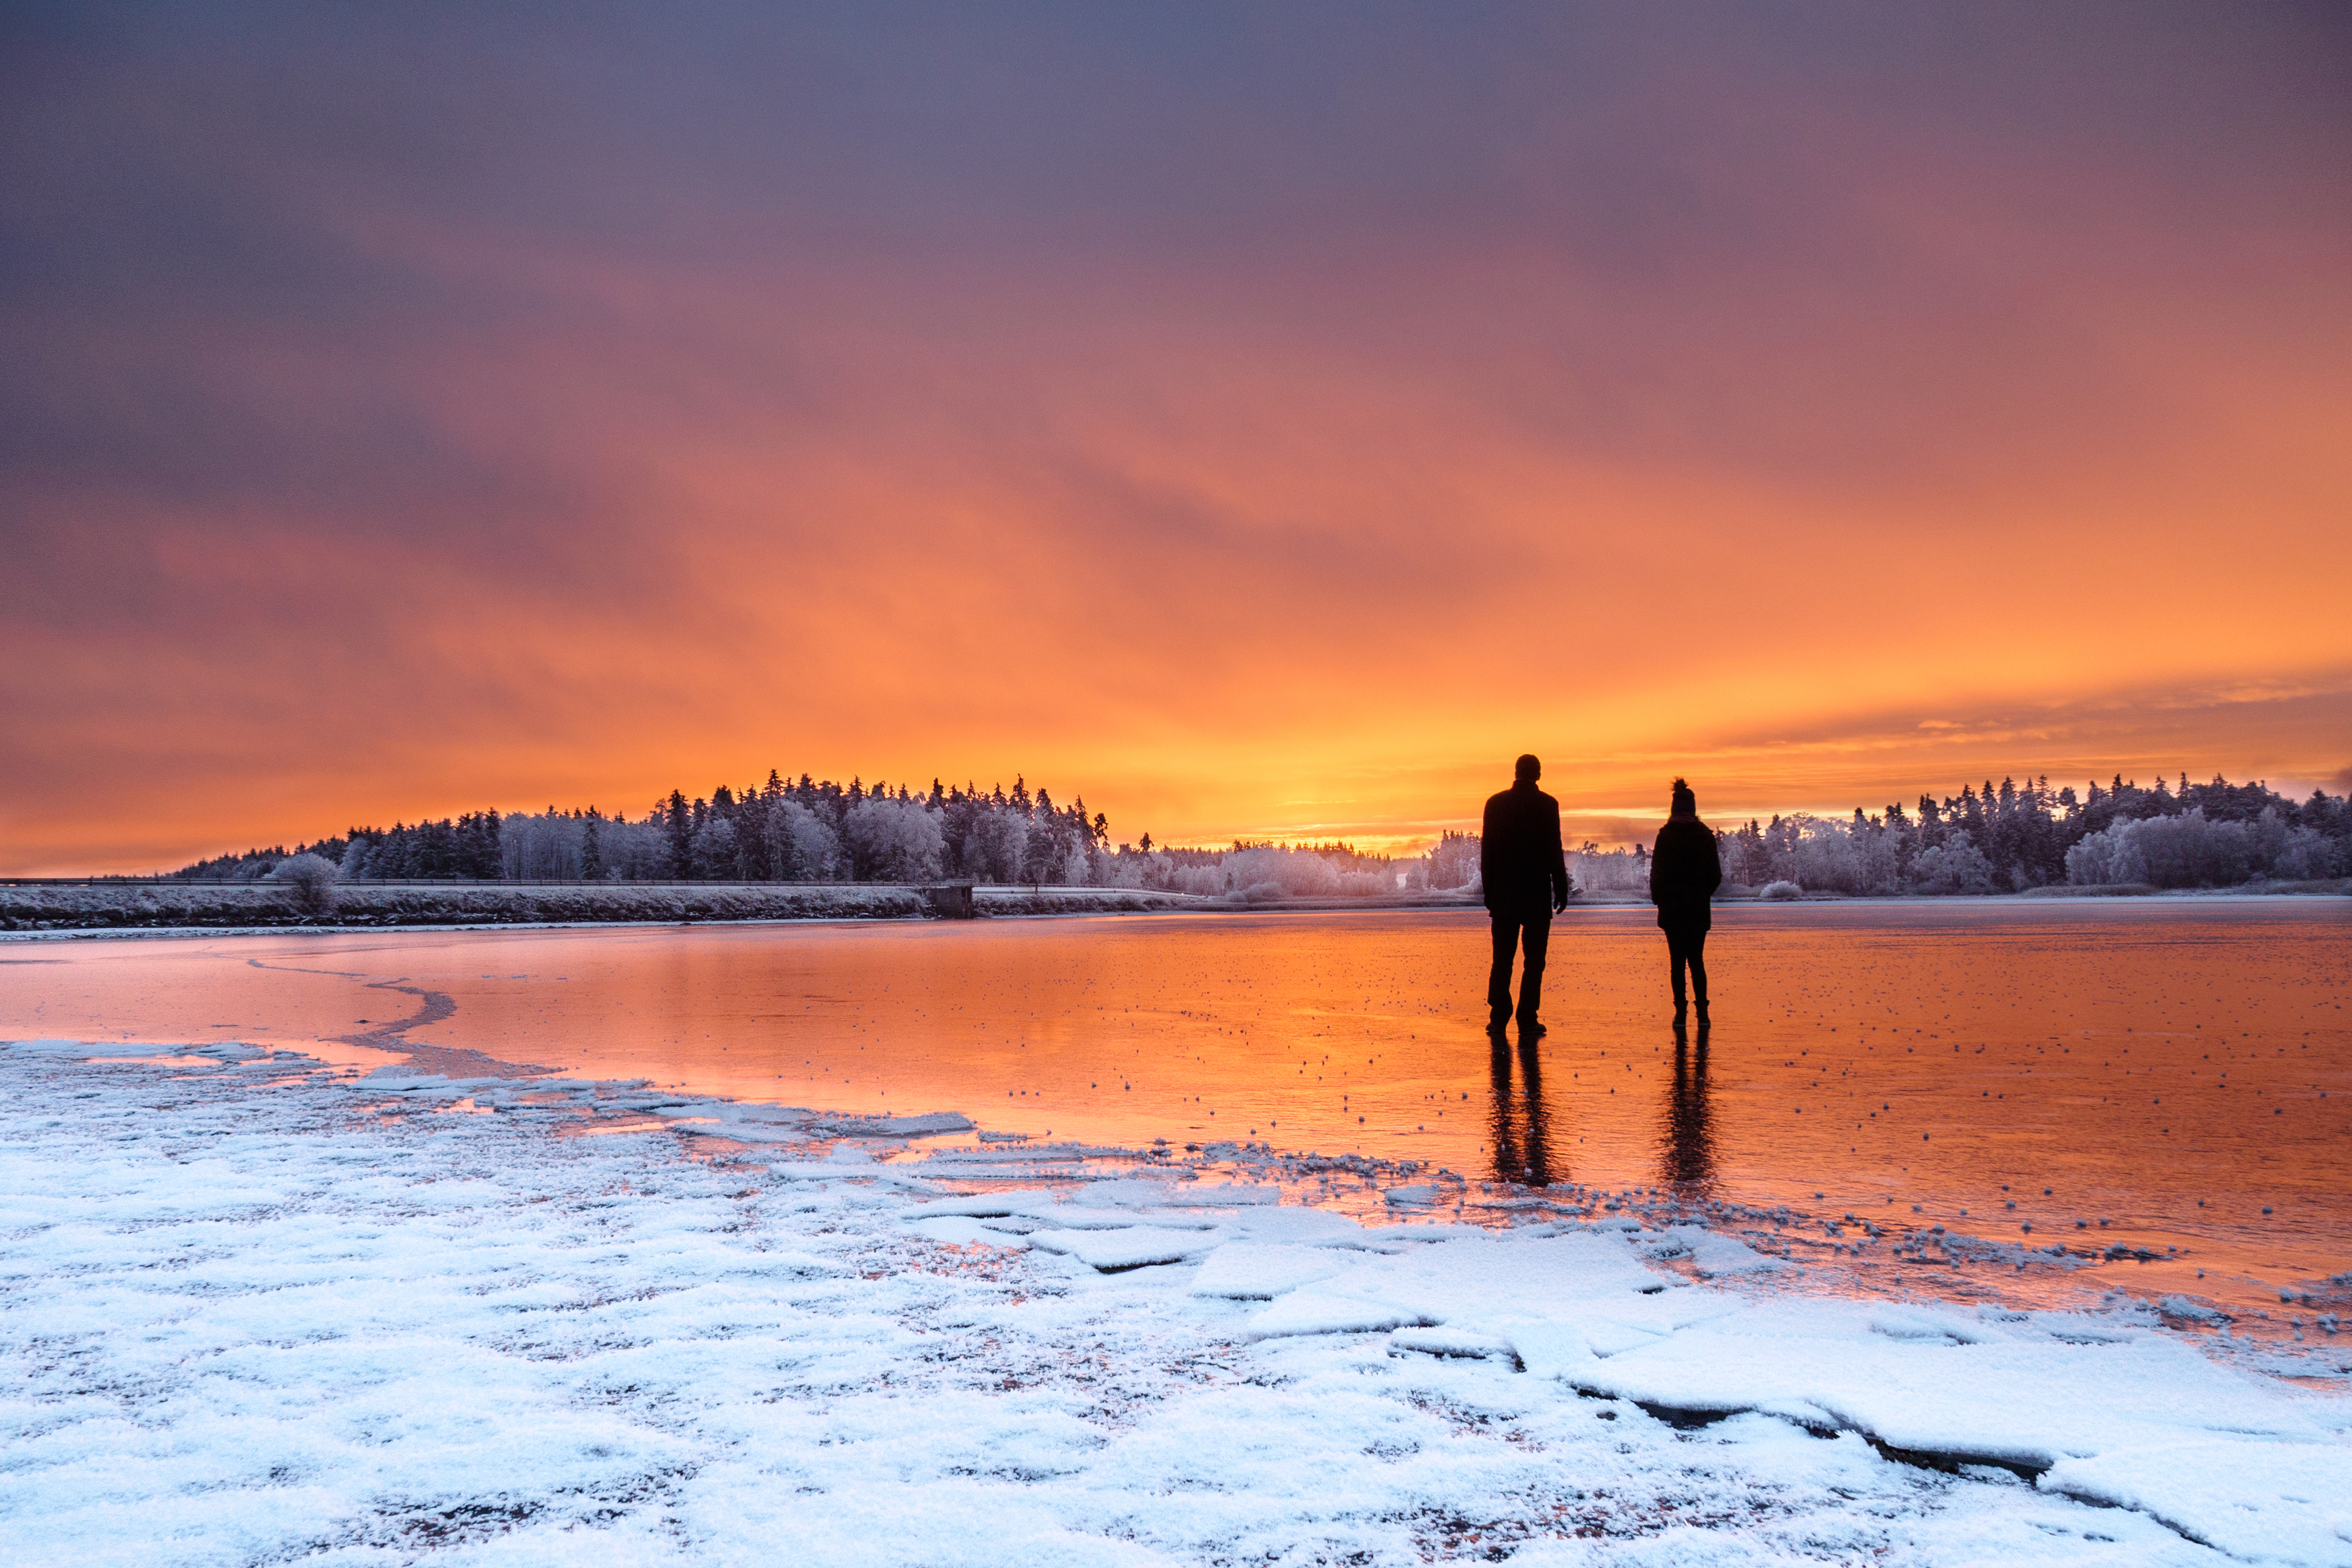
Try placing people small within the frame. They act as a sense of scale, showing how massive mountains, tall trees, or vast landscapes really are.
Tip 2: Add Color to Your Winter Photos
Want to bring more life to your winter photos? Then try adding colorful elements to your shots. Evergreen plants, colorful berries or leaves, blue water, or vibrant sunrises and sunsets work particularly well.
Make the most of natural light and shoot at the right time of day. During the so-called “golden hour,” the landscape is bathed in warm light – with yellow, orange, and red tones creating a striking contrast against the white snow.
Online, you can find free “golden hour calculators” that show you exactly when the golden hour occurs in the morning and evening at your chosen location.
Take some time in advance to find good viewpoints and interesting compositions. When the golden light arrives, you can capture the best shots in a relaxed way. During longer waiting periods, it’s important to stay warm: hand warmers and toe warmers can be real lifesavers, and warm photography gloves also help keep your fingers responsive.
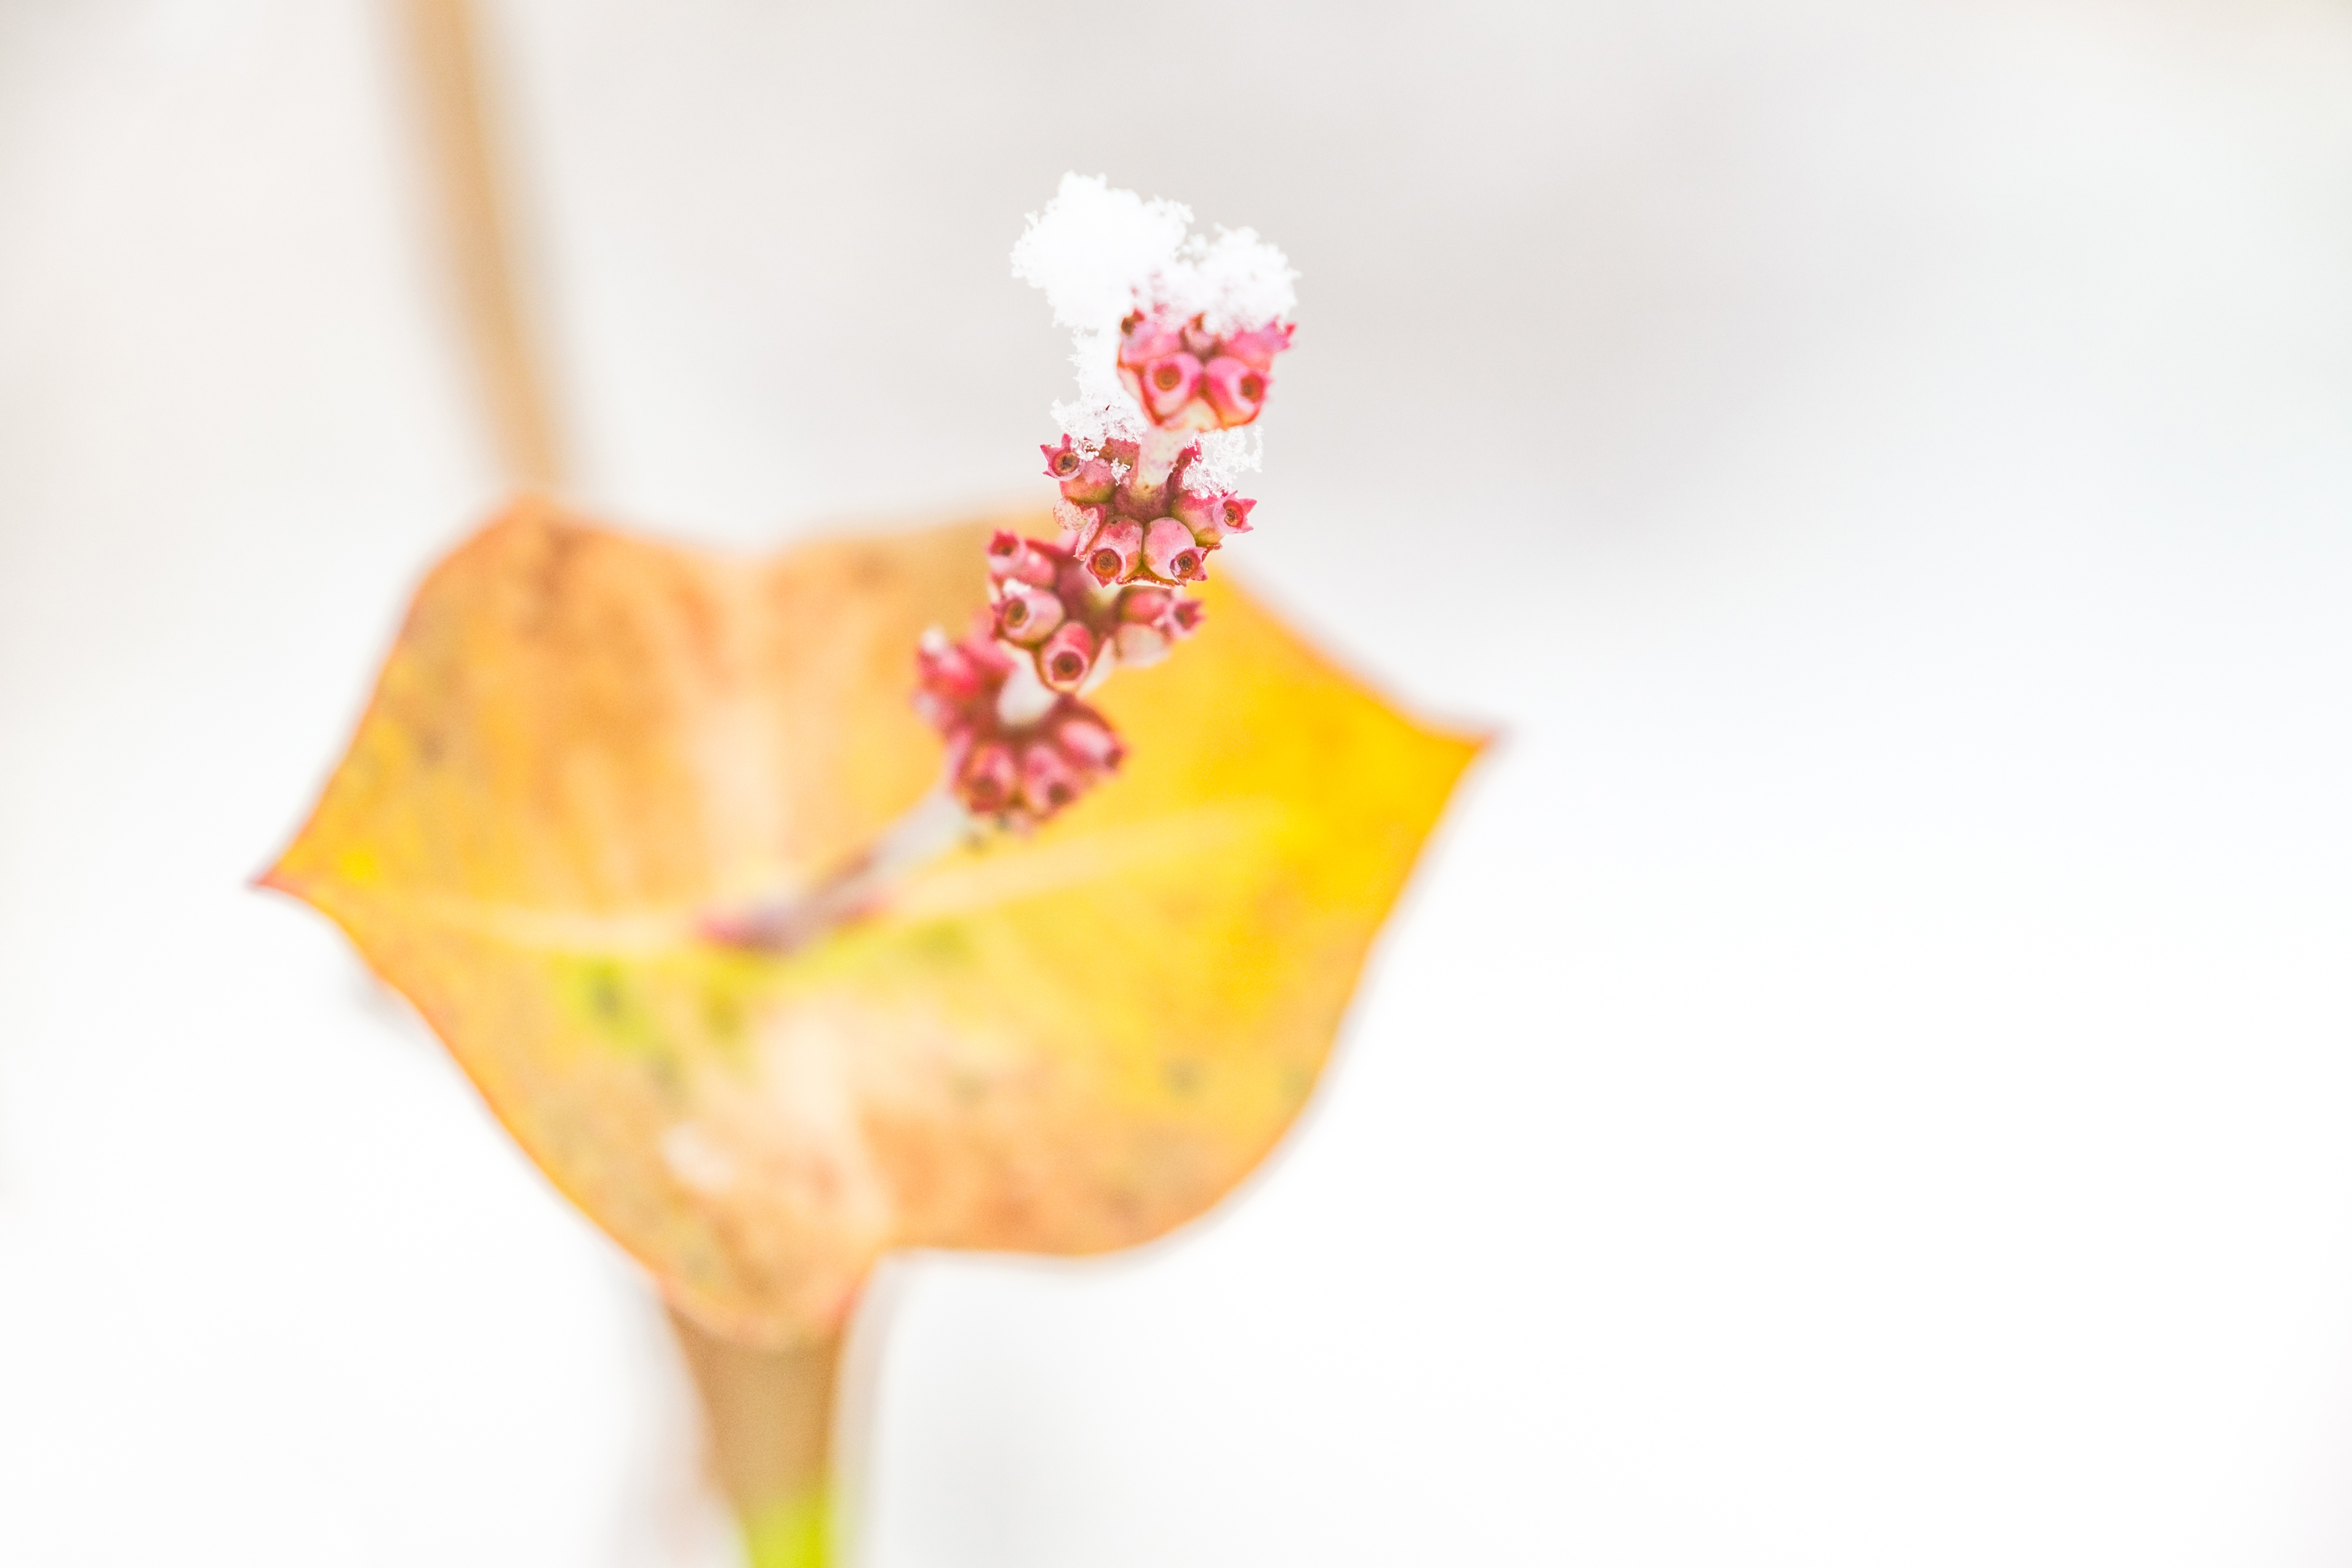
Tip 3: Less is More: Discover the Small Details in Your Winter Photography
Even apparently bare and colorless winter landscapes can reveal interesting subjects when you take a closer look. We often try to capture the entire scene in one image. However, the more elements you include, the less anything truly stands out. Less is often more.
Here’s our tip: focus on the small details next time you’re out shooting in winter. Even your own garden can offer beautiful subjects – especially when it’s covered in snow. And if the weather doesn’t play along, just look up: an overcast sky can work perfectly as a clean, calm background.

Tip for Beginners:
Get down to eye level with your subject and use the macro mode (flower icon) on your camera. Make sure there is some distance (about 20–30 cm) between your subject and the background, and keep the background as clean as possible – for example, the sky if you crouch down and shoot upwards. This will create a nicely blurred background and help your subject stand out clearly. Busy branches or strong light-dark contrasts can easily distract from your main focal point.
Tip for Advanced Photographers:
Shoot with a wide aperture through bushes or leaves to frame your subject with soft, blurred color accents (middle image of the rose). Alternatively, you can also experiment with multiple exposures (right image).


Tip 4: Black and White Winter Photography: Discover Shapes and Patterns
Dried leaves, berries, seed heads, and flowers are perfect for black-and-white photography. Make sure to keep the background clean and uniform. Ice formations along rivers also offer plenty of creative opportunities.
Advanced Tip:
Try experimenting with high-key and low-key photography (see images below, center and right). For high key, use a bright background such as snow or the sky; for low key, choose a dark background, for example a forest. You can learn more about how this works in our black-and-white nature photography online course .


Tip 5: How to Protect Yourself and Your Gear from the Cold
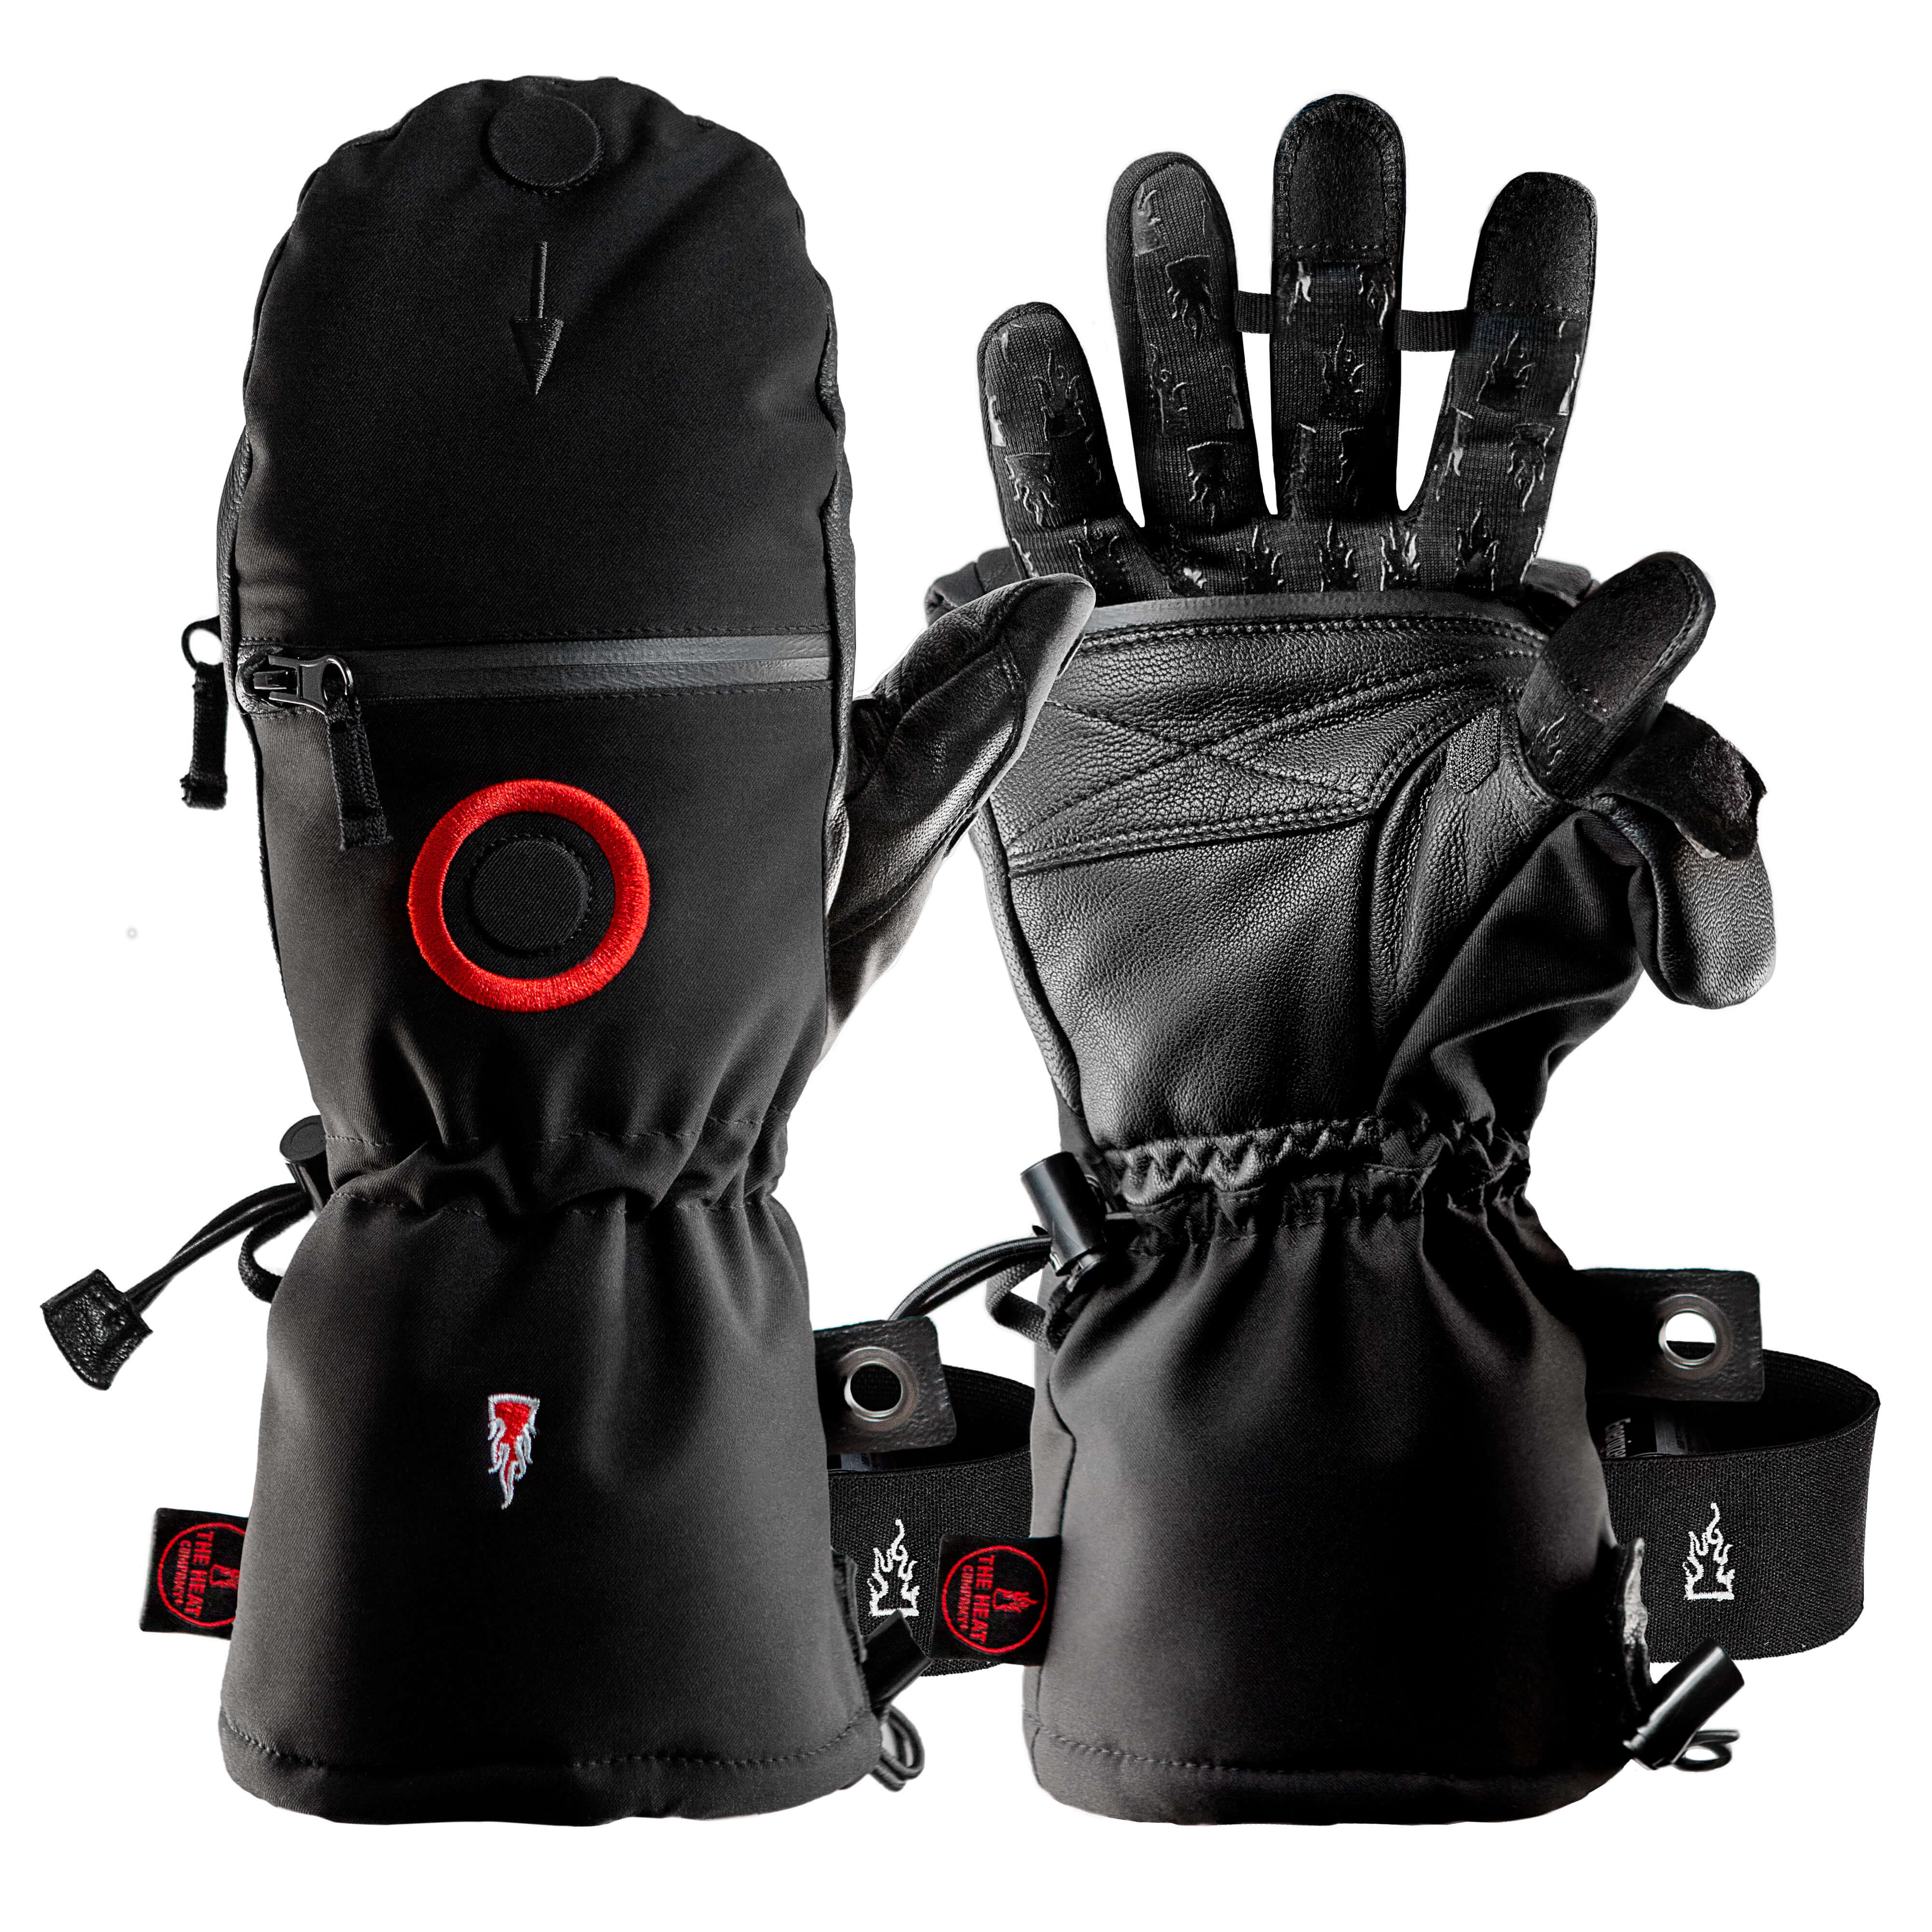
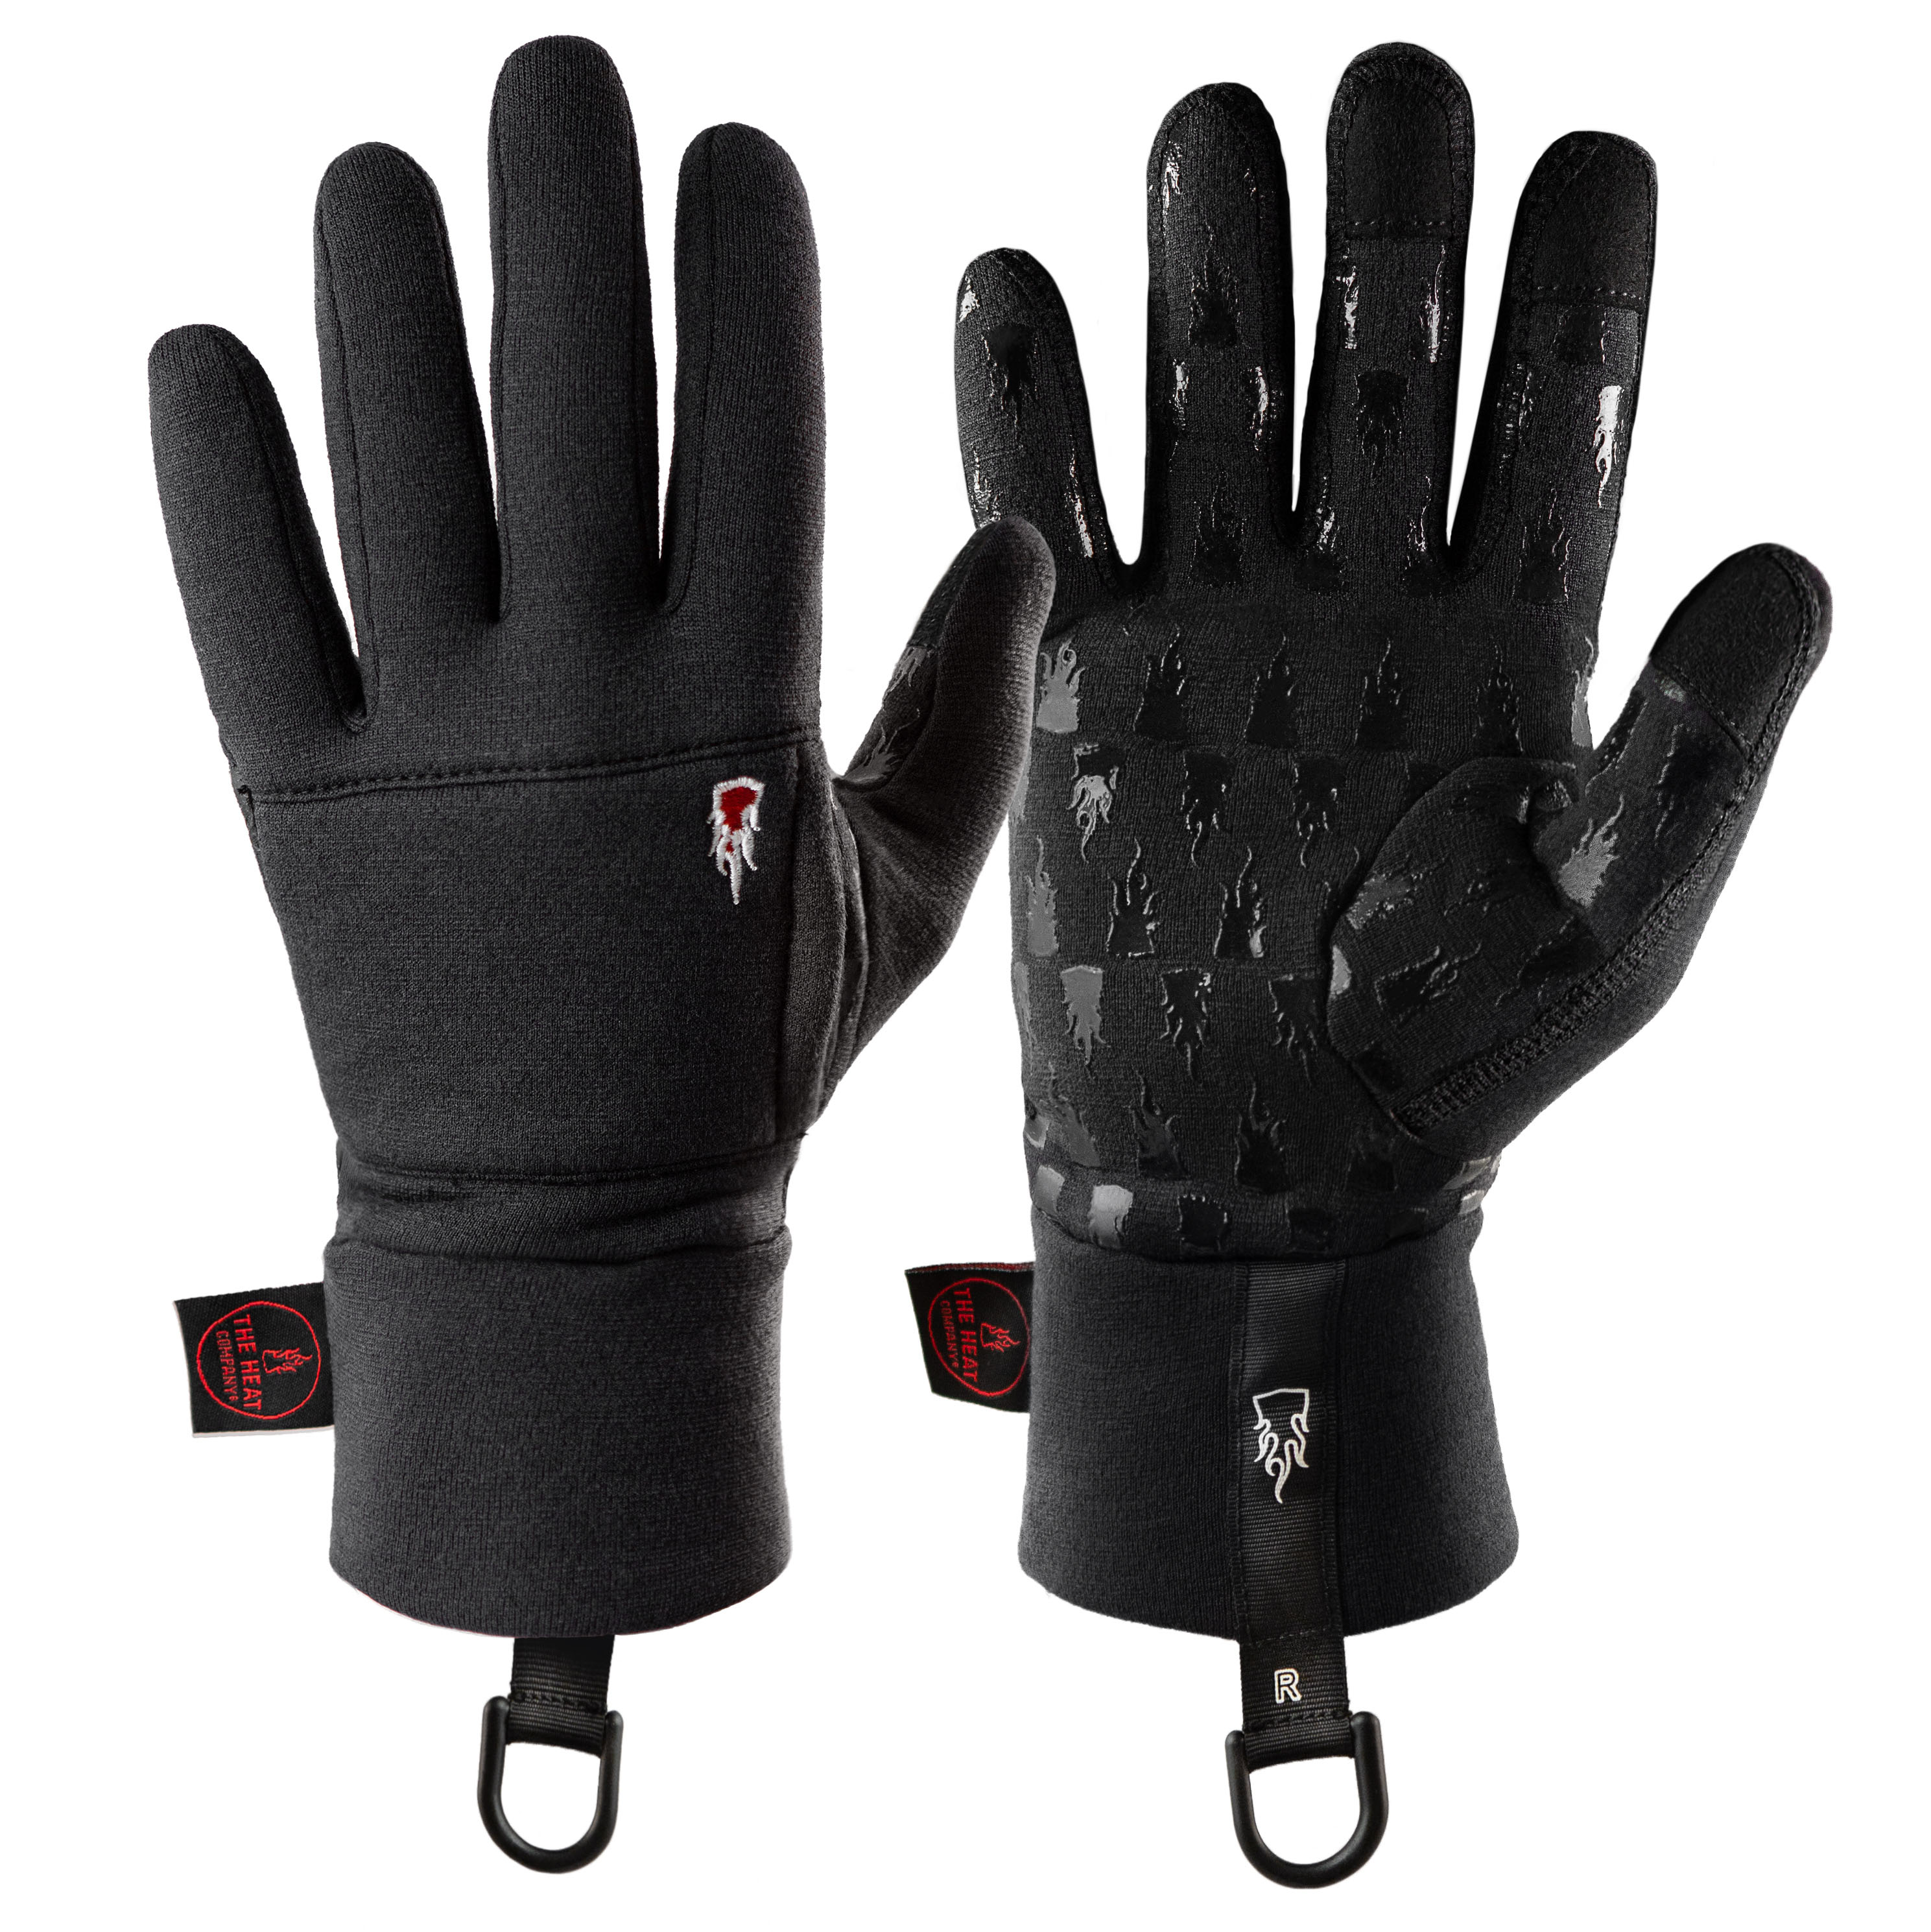
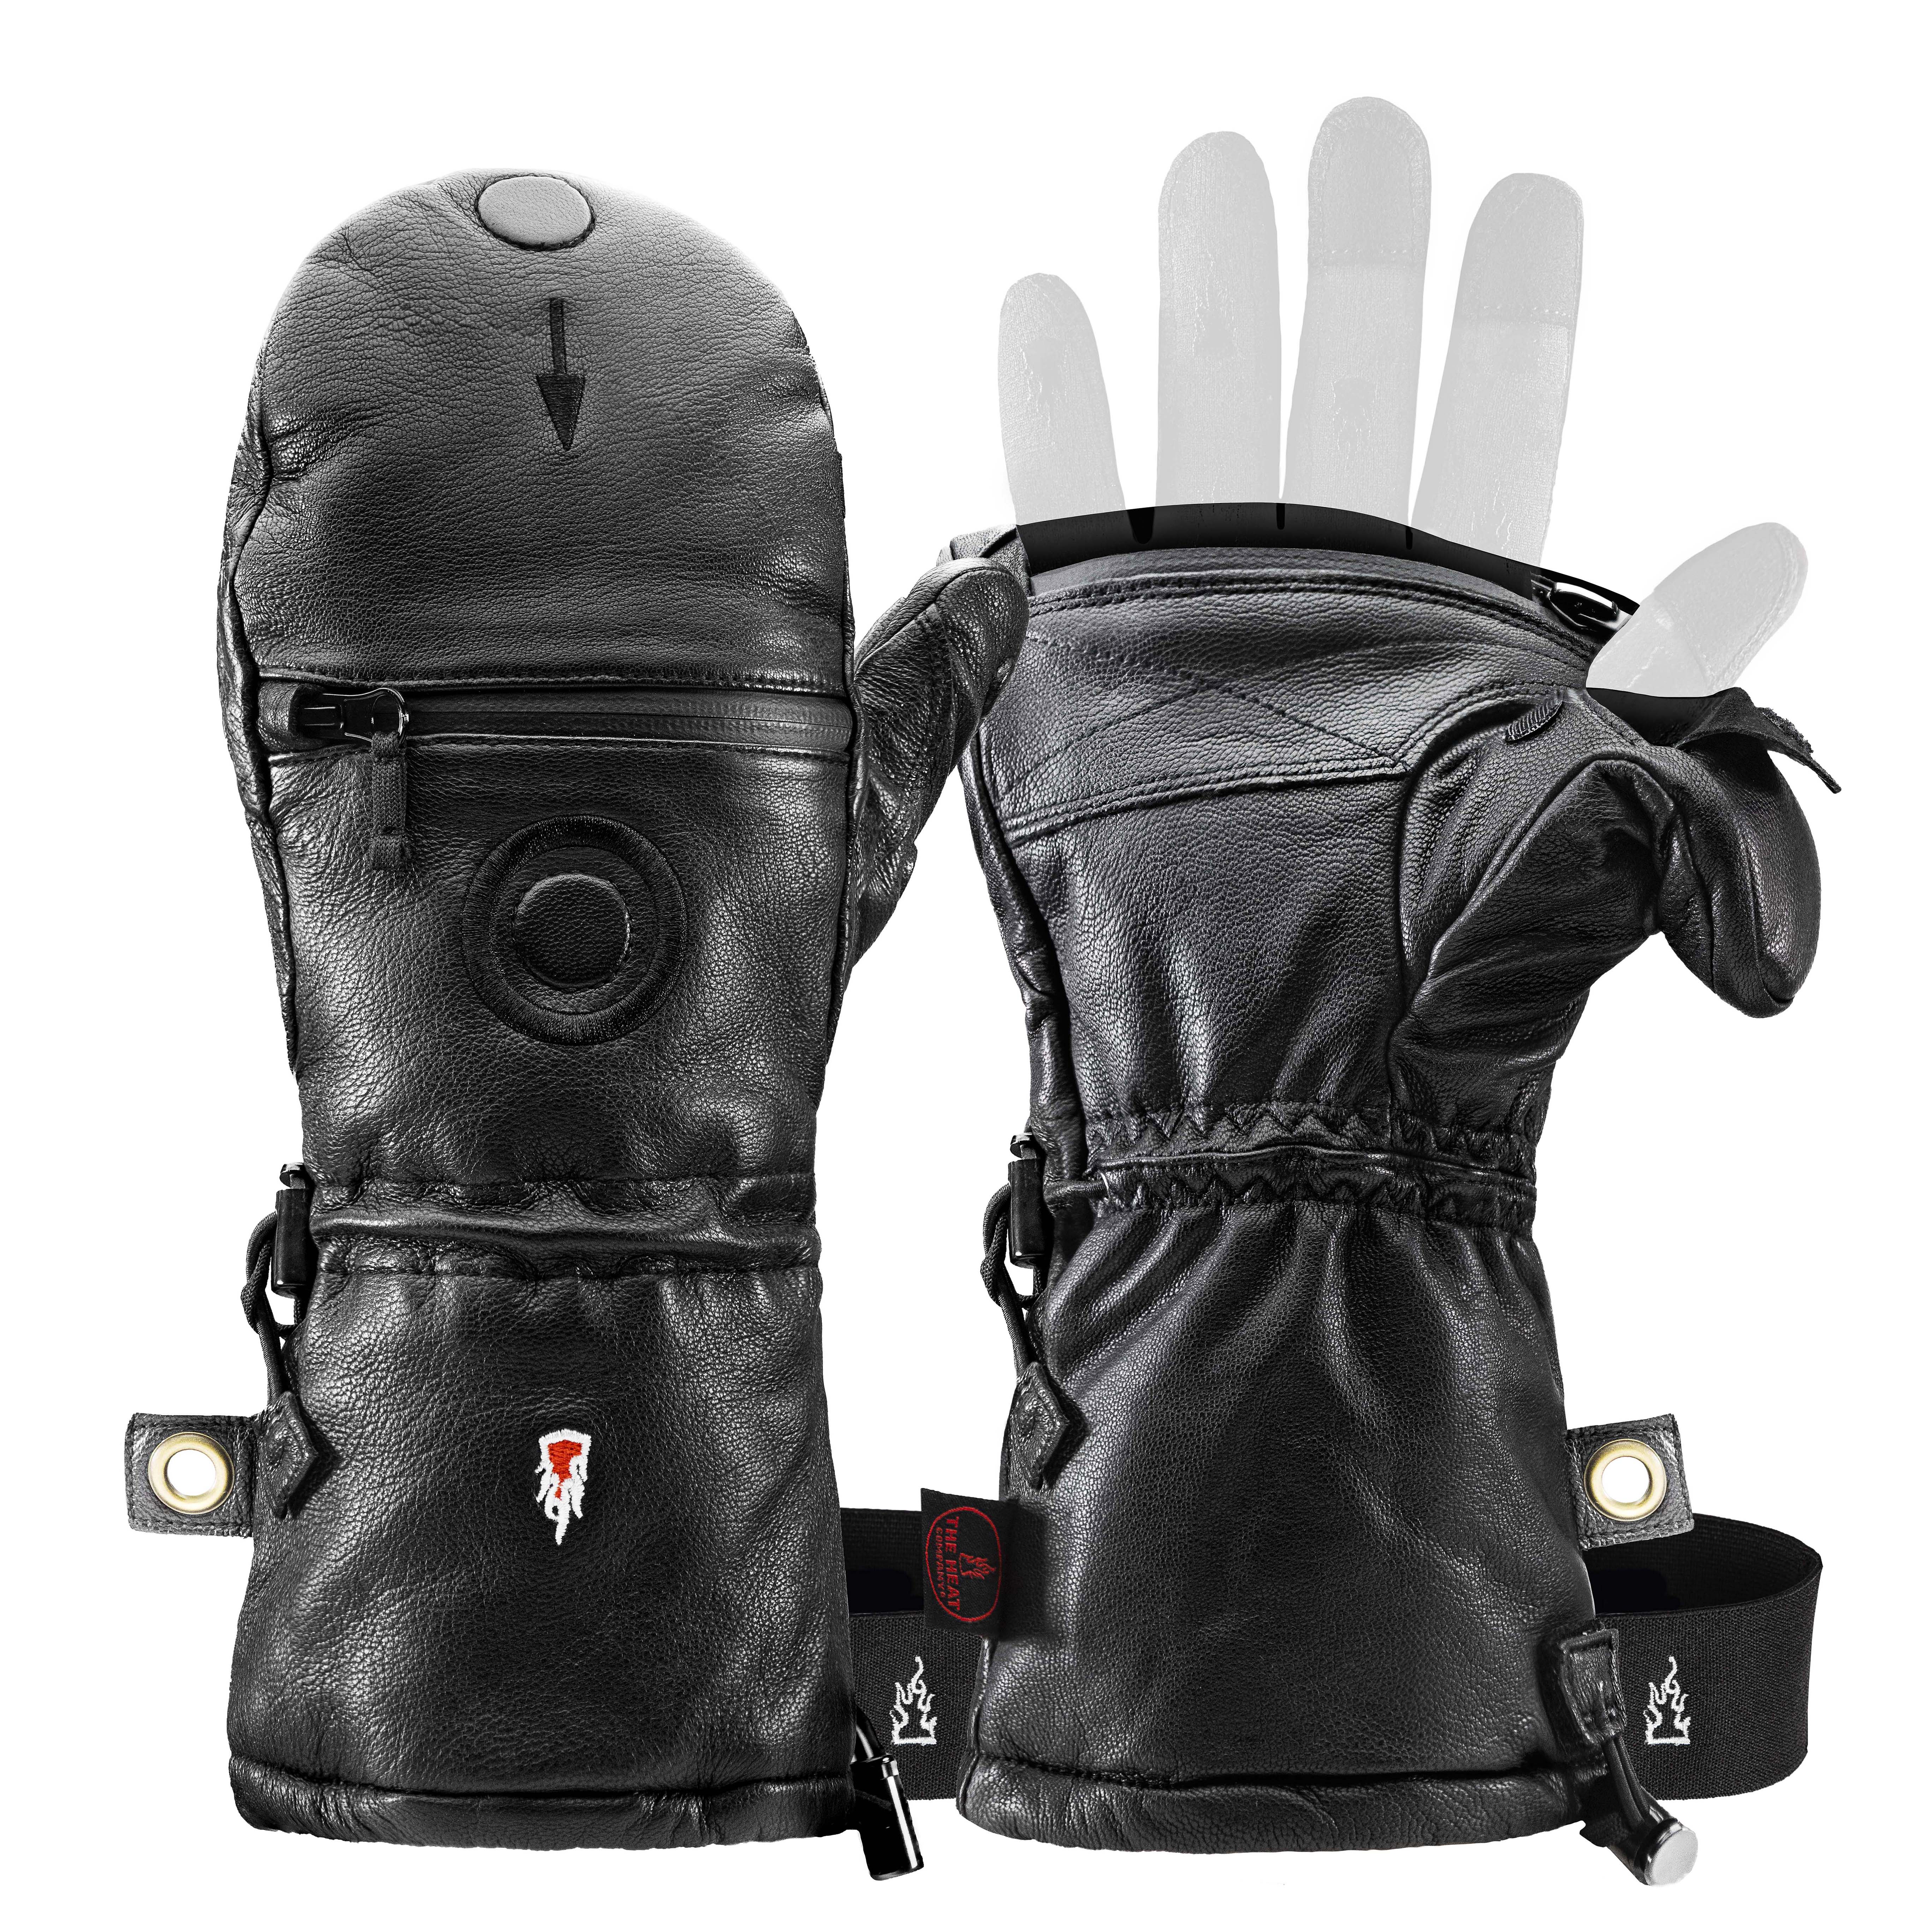
Warm hands are essential in winter so you can operate your camera with ease. We’ve relied on THE HEAT COMPANY gloves for years. Thanks to the modular HEAT LAYER SYSTEM with LINER, SHELL, and POLAR HOOD, you can combine your gloves individually depending on the conditions and your personal sensitivity to cold. On particularly cold days, hand warmers provide additional warmth and can be inserted into the integrated pockets of the LINER and SHELL mittens. For nature photography, outdoor pants with reinforced seat and knees have also proven especially practical – allowing you to kneel down or even lie on the ground to find the perfect perspective. For warm feet, we also swear by THE HEAT COMPANY toe warmers:


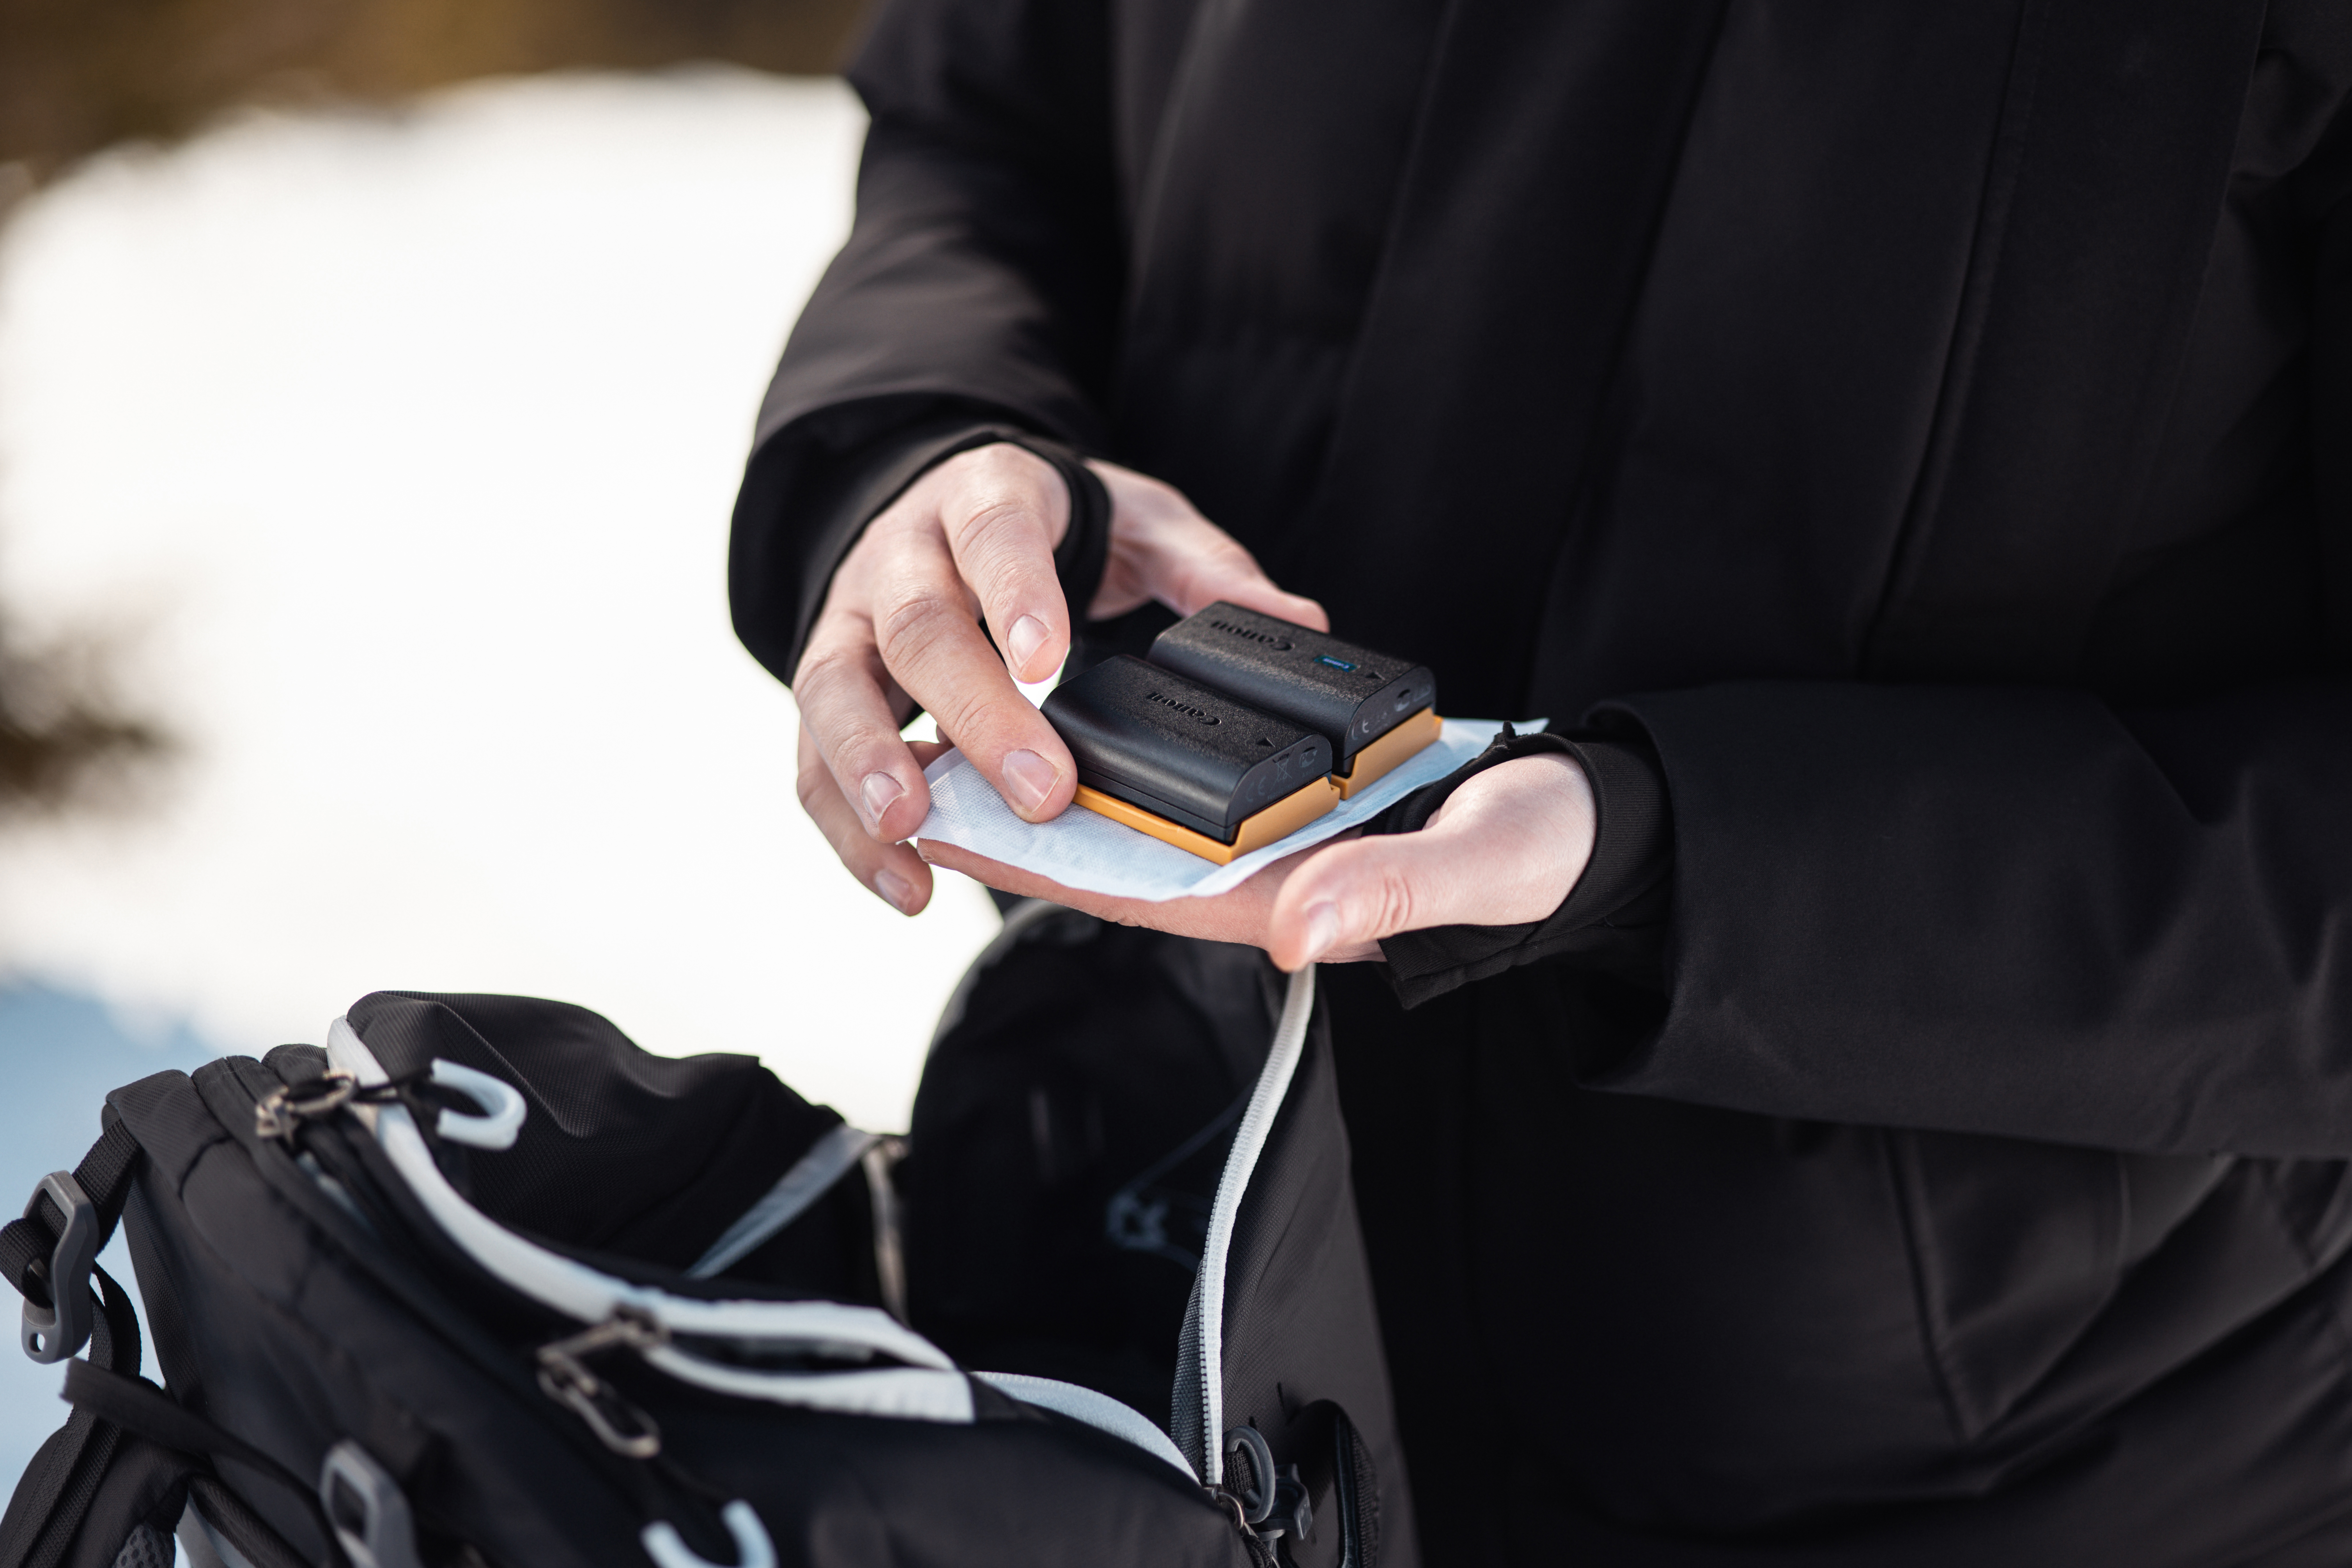
We’ve all been there: you head out with fully charged batteries – and after a short time, the battery icon is already blinking. In cold temperatures, batteries drain much faster than usual. Carry your camera in a backpack or bag until you start shooting. Keep your batteries as close to your body as possible and always bring spares. Outdoor warmers , placed next to your batteries in your camera bag, can also help extend their runtime noticeably.
PRO TIP:
"Don’t take your camera straight into a warm room after shooting. Rapid temperature changes can cause condensation, which may damage the electronics. Instead, let your equipment acclimatize in a cooler area, such as a hallway or garage. If you have a small desiccant pouch, place it in your camera bag and wait until your gear has adjusted to room temperature. Alternatively, you can put your camera in a plastic bag – this way, condensation will form on the bag rather than directly on your equipment."
Looking for more tips? Discover more winter photography tips in our e-book. https://www.fotonomaden.com/winterfotografie-e-book/
About the Authors:
We are Karin & Markus, photography coaches and passionate nature and travel photographers. Our specialty is turning our photography knowledge into clear and easy-to-understand insights.
Karin and Markus's Favorites