Winter Photography in Iceland & Norway: Tips, Settings & Locations
Winter photography in the far north – especially in Iceland and Norway – offers truly unique conditions: extreme cold, dramatic light, and landscapes found only in places like the Lofoten Islands or the vast expanses of Iceland. This combination is exactly what makes this region, for me, Arnold Schaffer – professional photographer and photo tour leader from Austria – one of the most exciting places to shoot.
Yet as breathtaking as these scenes are, the conditions can be equally demanding. A photography trip to the north therefore requires careful preparation and the right equipment. One essential piece of gear are warm, functional photography gloves, allowing you to handle your camera precisely and reliably even in freezing temperatures.
Since I rarely encounter truly spectacular winter landscapes in my home country in the east of Austria, I regularly travel to the far north during the winter months – to Iceland and the Lofoten Islands, two of the best regions for winter photography in Europe. Both regions are easy to reach and offer an incredible variety of subjects, from rugged coastlines and frozen lakes to dramatic mountain landscapes and northern lights.
I also share my experience through photography tours, where I guide participants to the best locations and conditions on site – for example during my Iceland photography tour.
Photographing Iceland in Winter: Locations, Light and Photo Subjects
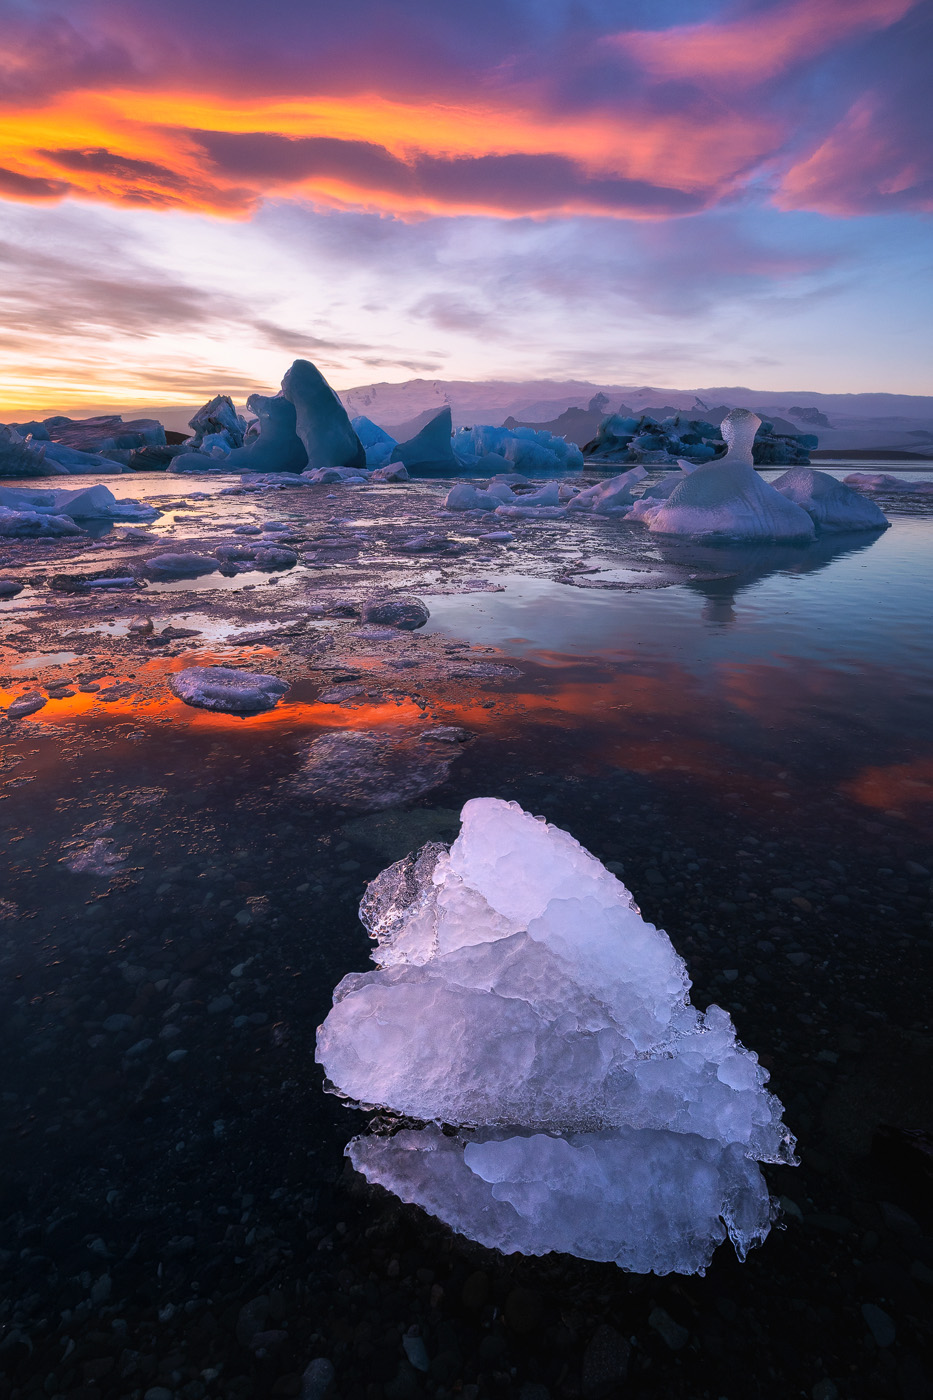
Iceland is a paradise for photographers, offering an incredible range of subjects – from rugged coastlines and glaciers to ice caves, frozen waterfalls, and snow-covered mountains. What makes it so special is the combination of ice, light, and movement, especially along black sand beaches with ice fragments washed ashore.


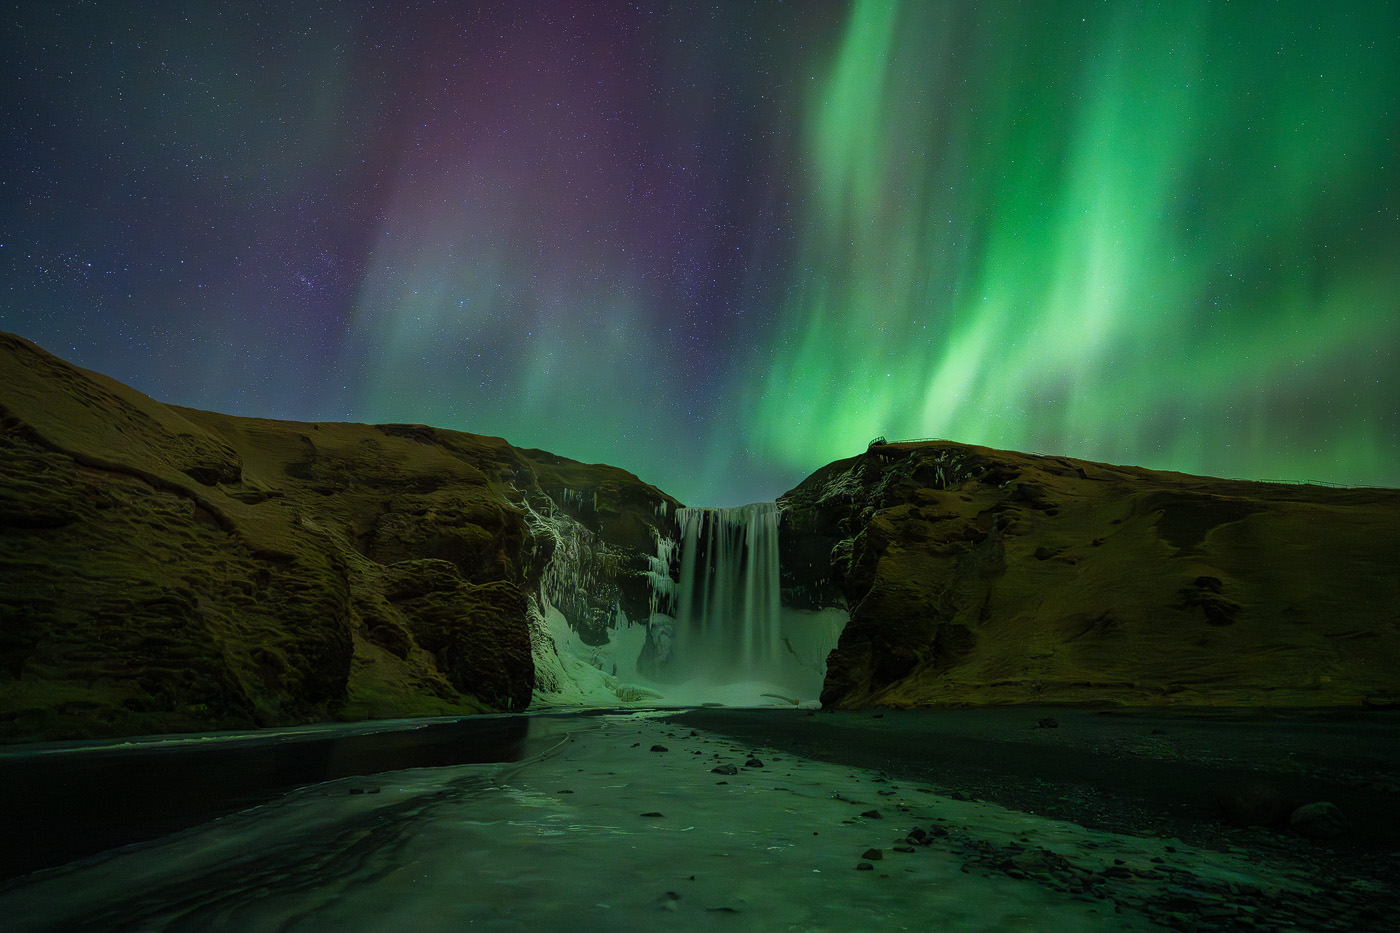
Iceland is also one of the best places in the world to photograph the northern lights. With a bit of luck and the right conditions, you can capture images here that are hard to replicate anywhere else.
The Lofoten Islands in Winter: Dramatic Landscapes and Unique Light
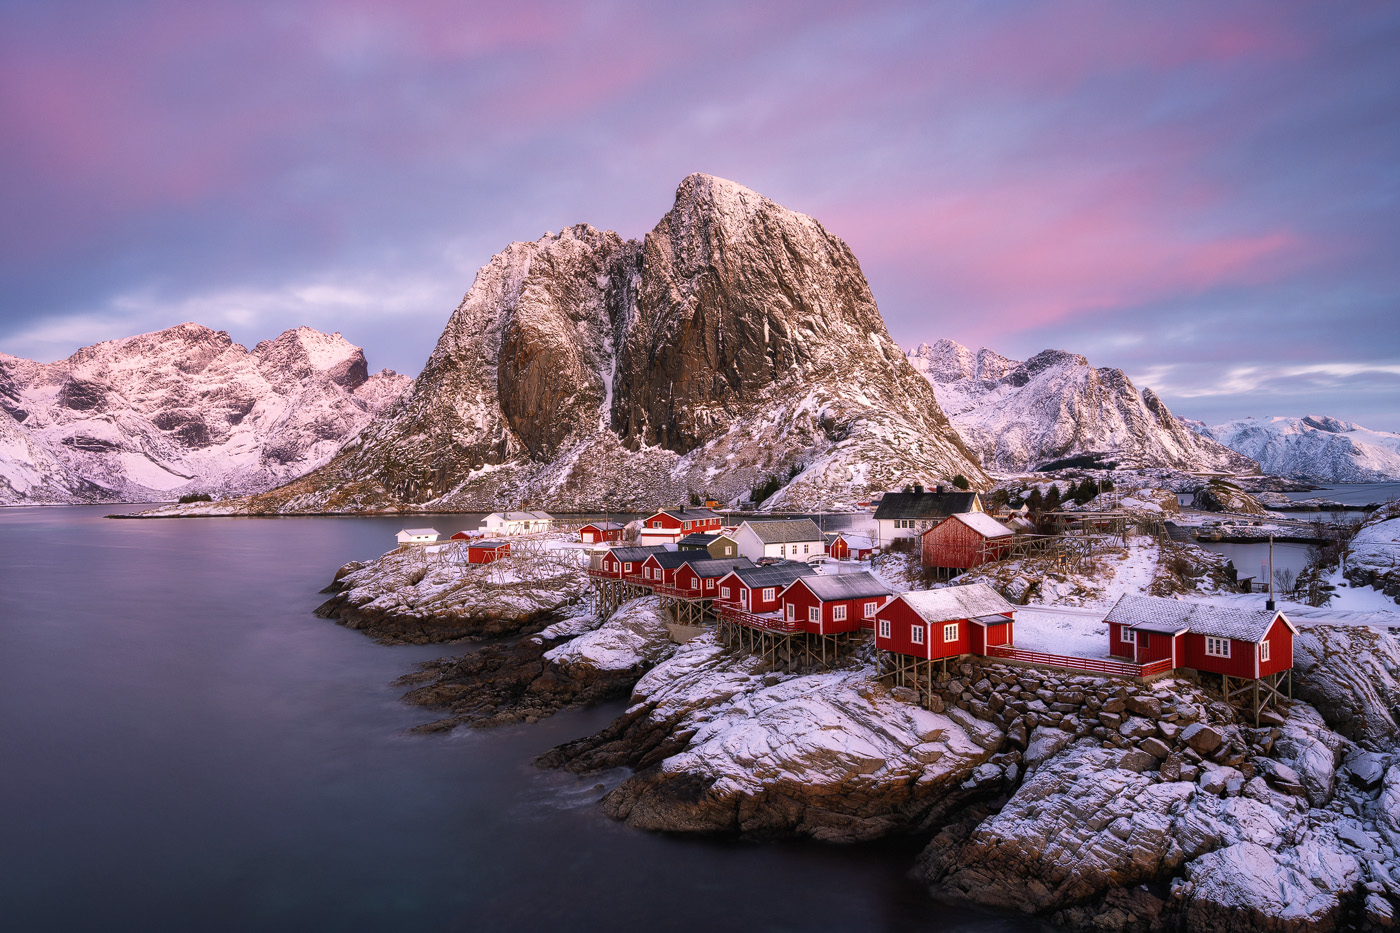
The Lofoten Islands in Norway are among the most impressive destinations for winter photography. This island group offers a unique combination of rugged mountains, deep fjords, and picturesque fishing villages that blend perfectly into the winter landscape.
One of the things that makes the Lofoten so special is the constantly changing weather. Within minutes, new lighting conditions can transform an entire scene. This dynamic creates truly unique photographic opportunities – from soft pastel tones in the morning to dramatic light during incoming storms.


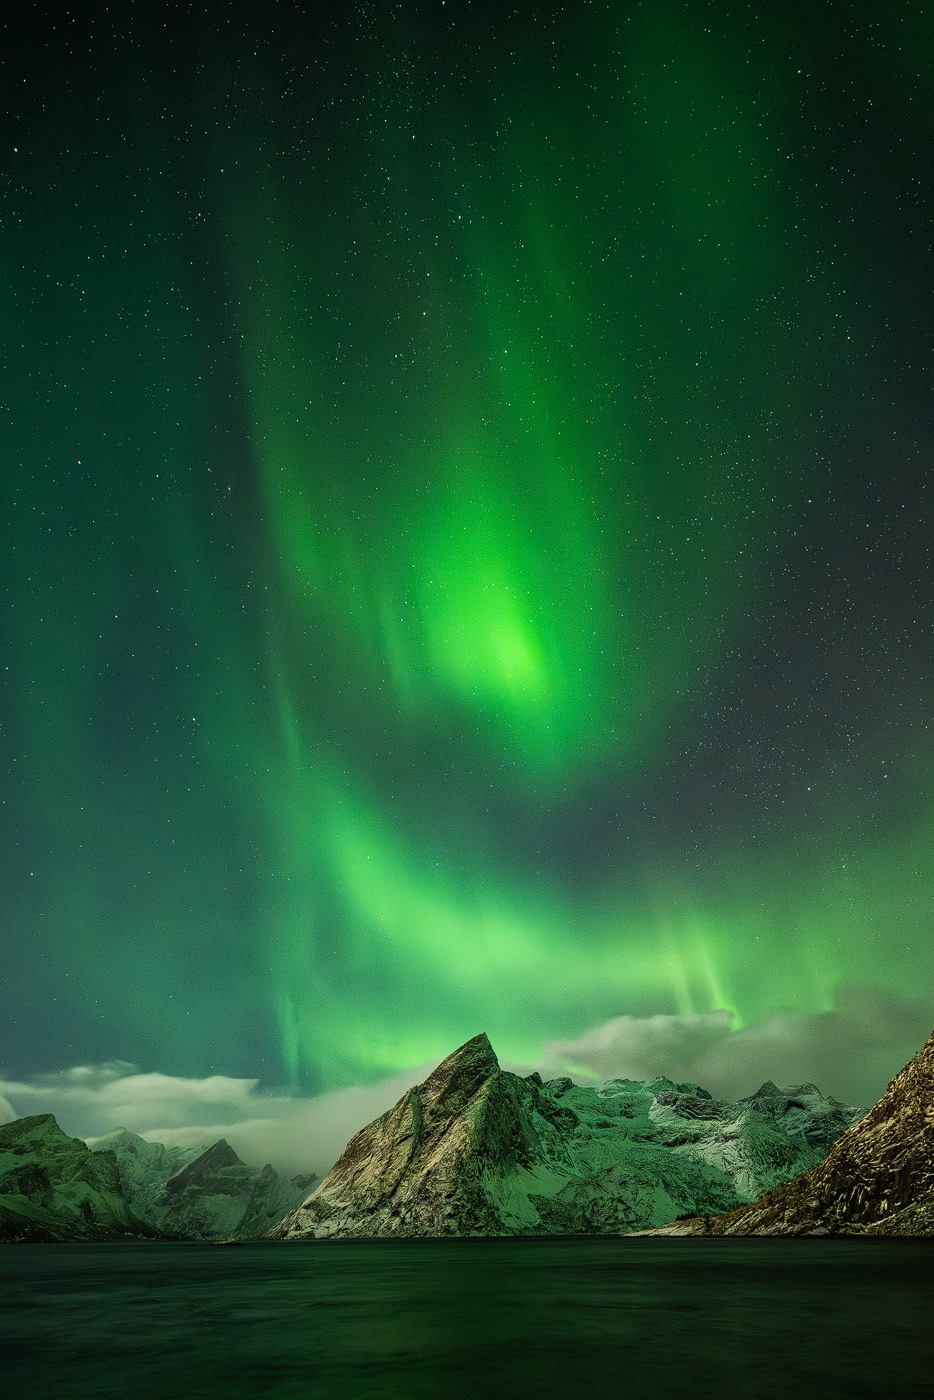
The Lofoten are also an excellent location for northern lights photography. Thanks to their coastal setting, auroras can often be captured with striking foregrounds such as beaches, mountains, or traditional red fishing cabins.


My Go-To Camera Settings for Snow and Ice
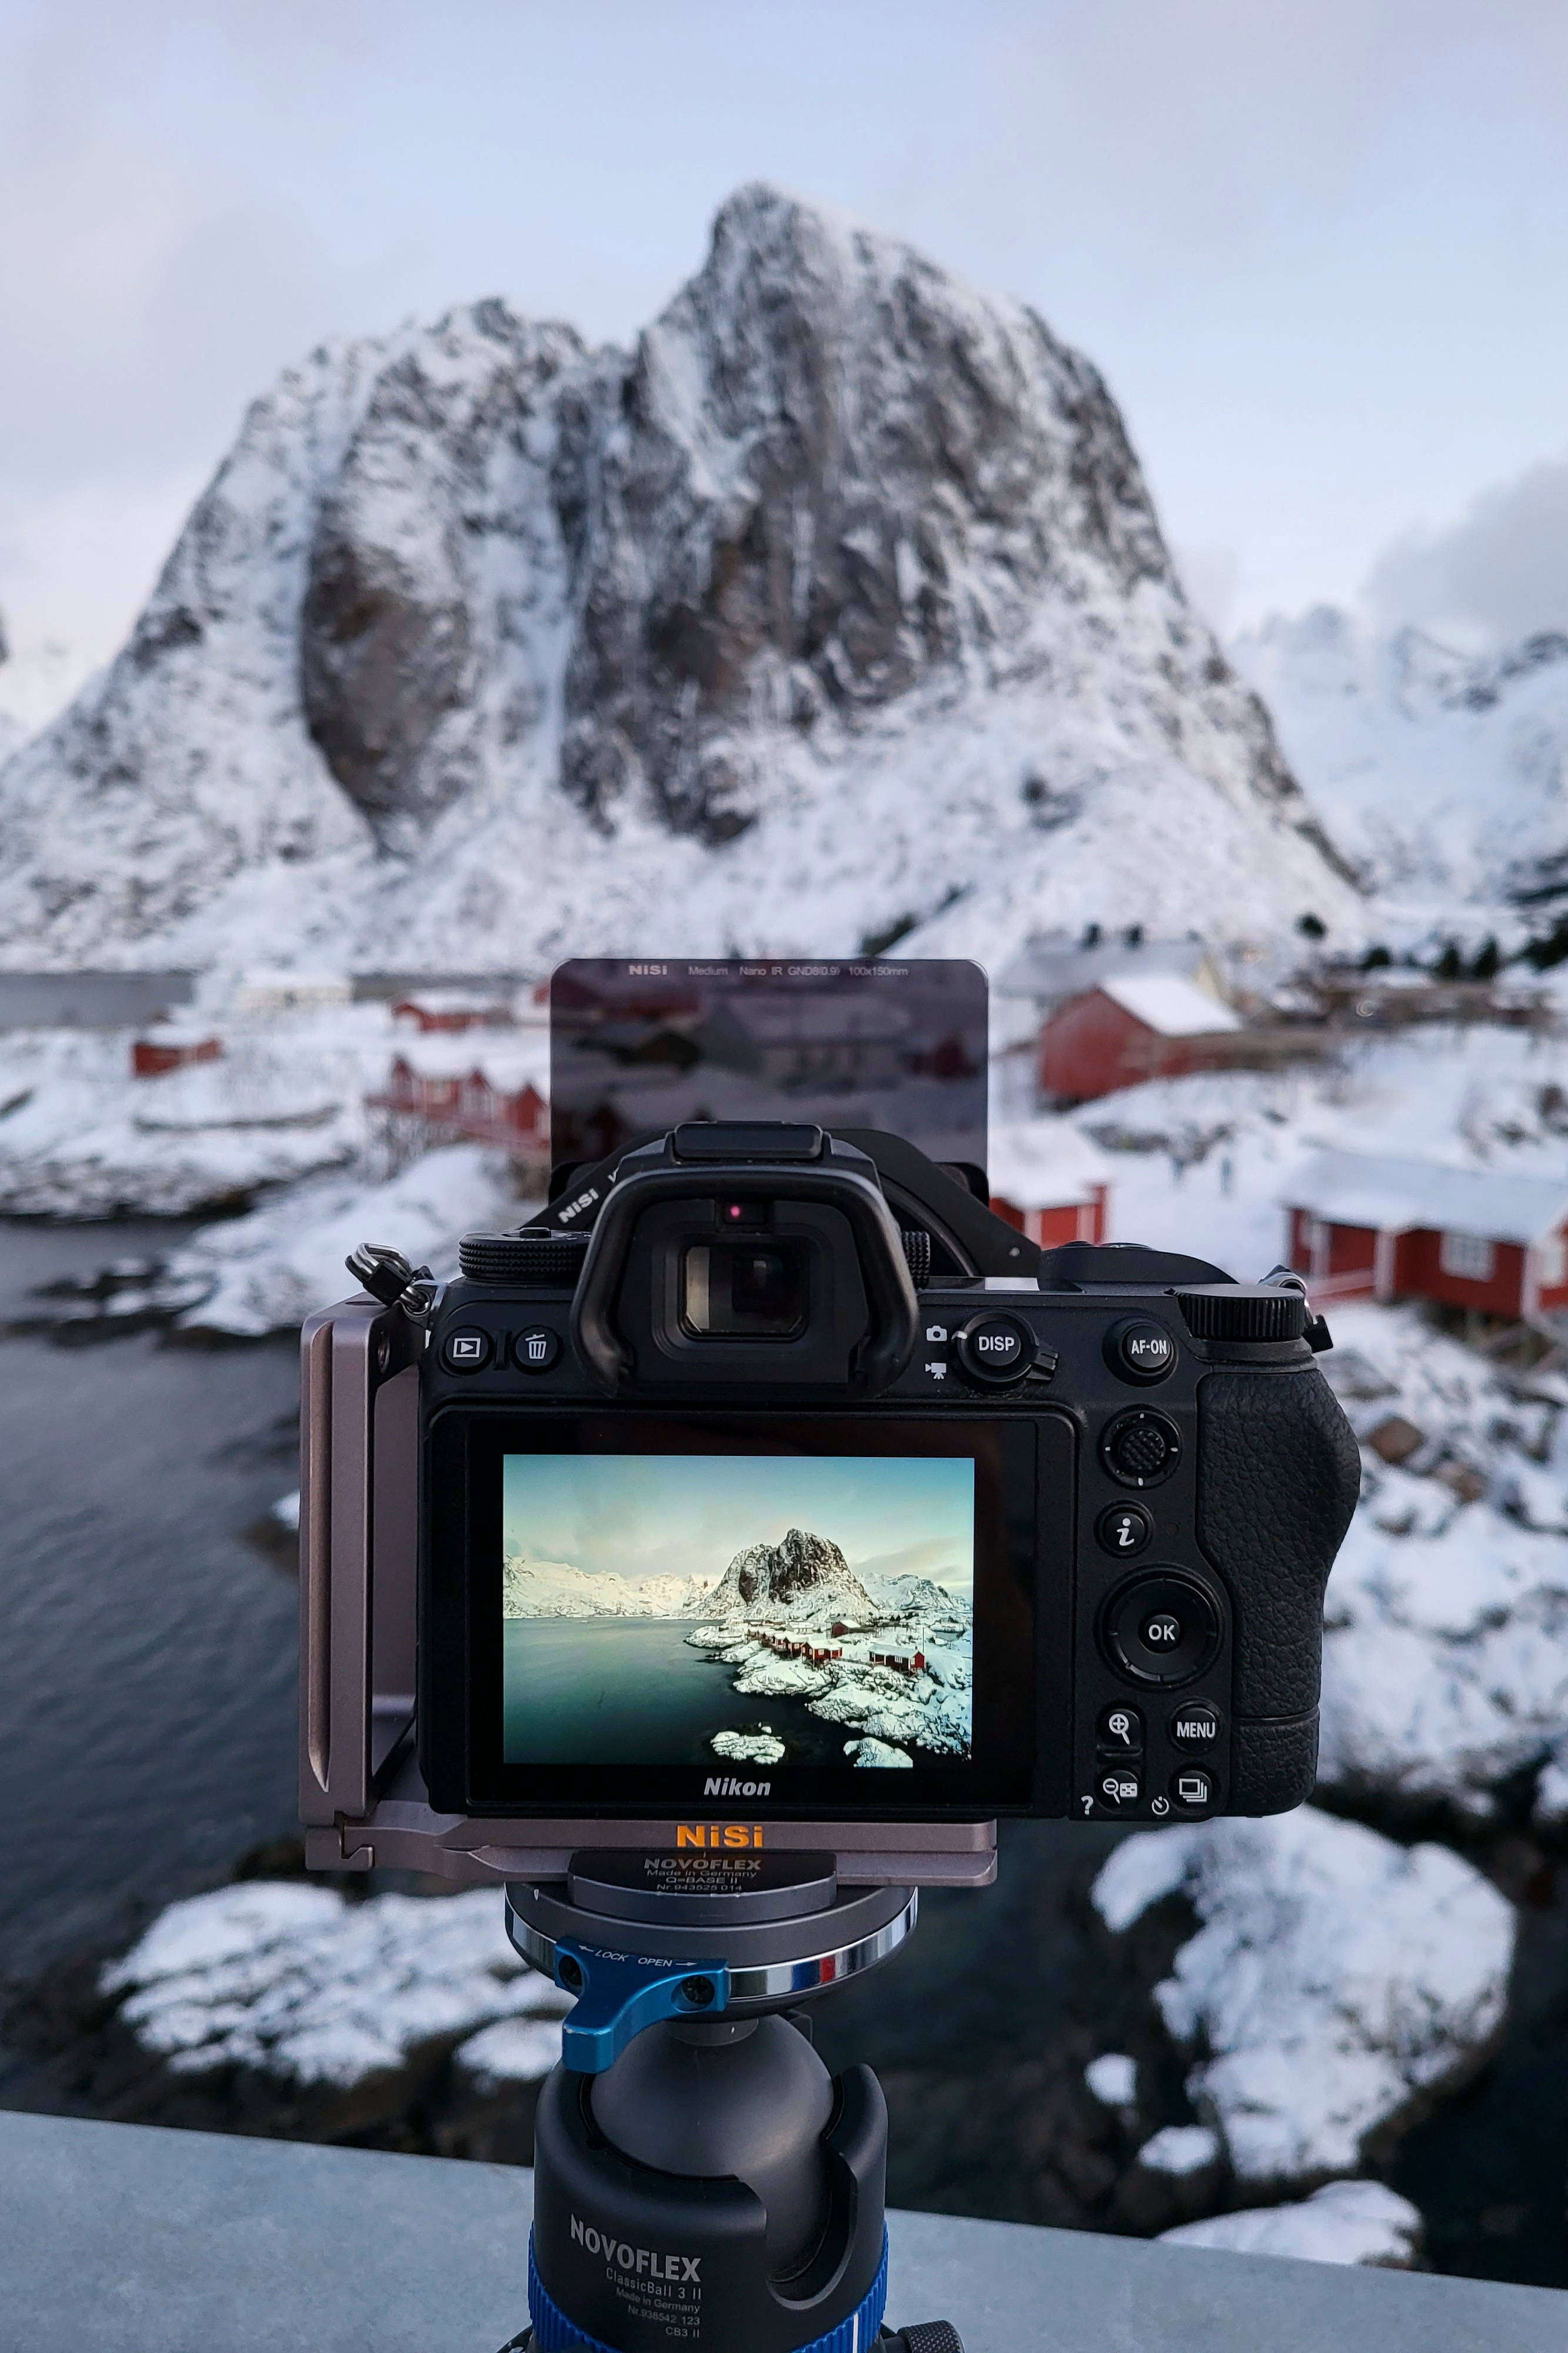
Photographing in snow and ice can be challenging, as bright conditions often cause the camera to underexpose. This can result in dull or color-shifted images. Large white areas can also make focusing more difficult.
My Go-To Camera Settings for Snow and Ice:
• Adjust exposure: Avoid underexposure by setting exposure compensation to around +0.7 to +2.0
• Use the histogram: Check your exposure using the histogram – it can reach the right edge but shouldn’t spike sharply
• Switch metering mode: If matrix metering doesn’t work well, try spot metering
• Focus precisely: Autofocus needs contrast – choose a defined point such as a dark rock, tree, or shadow in the snow

Pro tip:
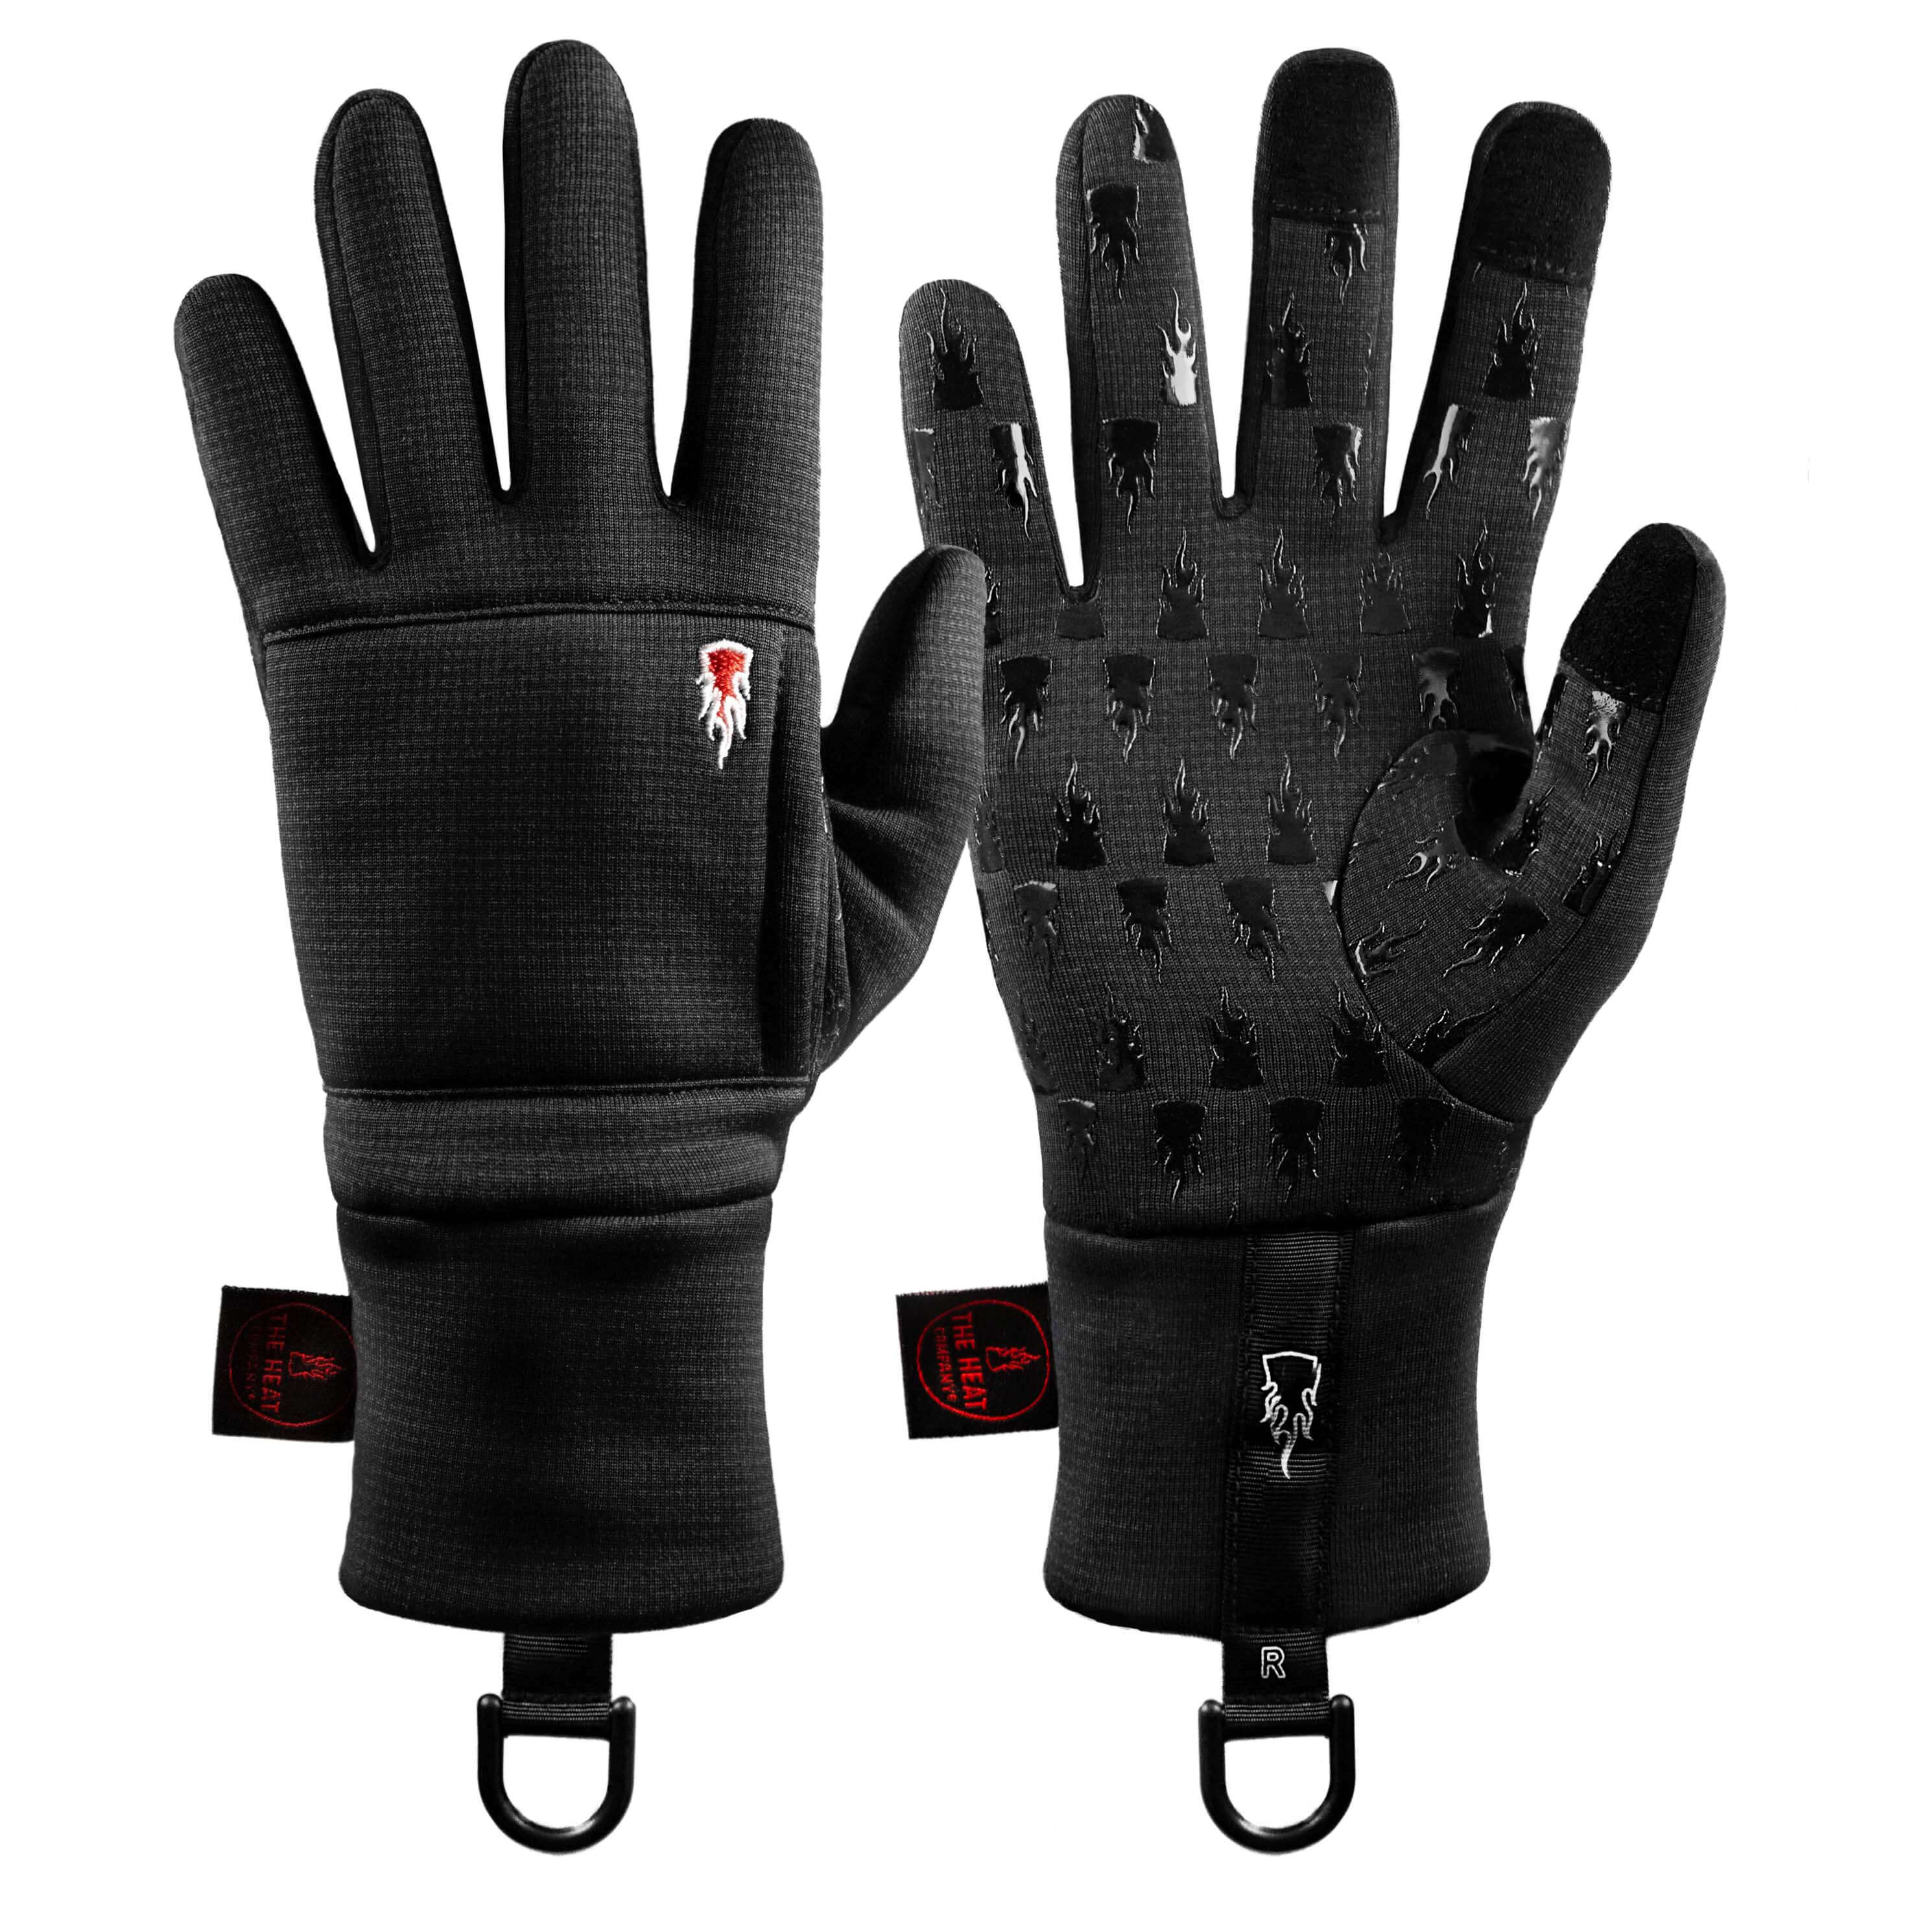
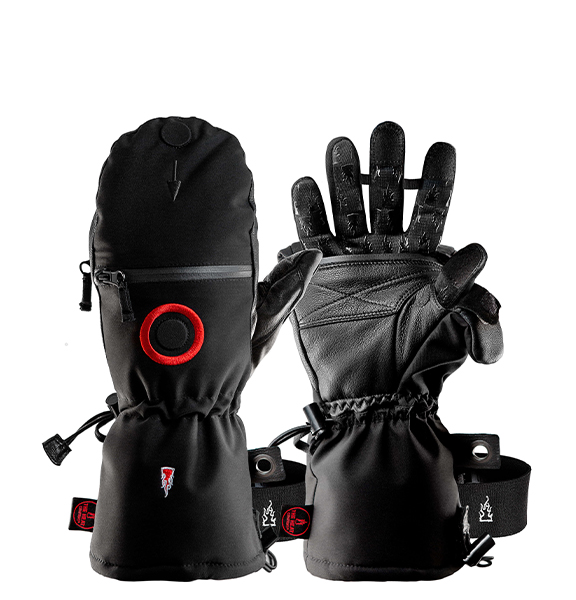
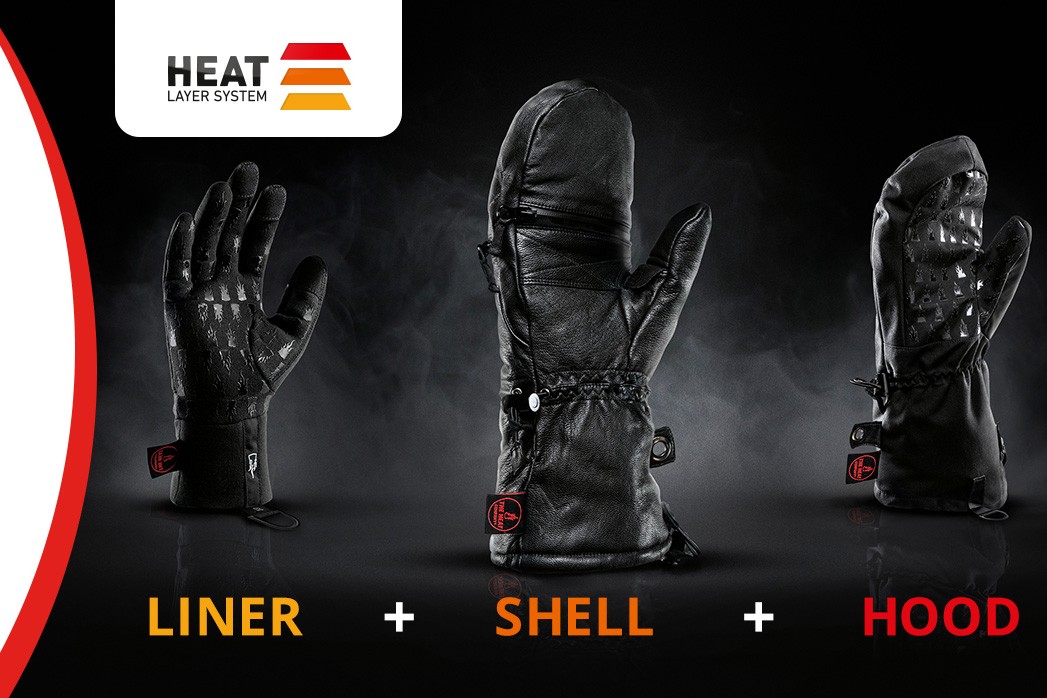
To quickly adjust your settings even in cold conditions, gloves with touchscreen functionality are essential. I’ve relied for years on the HEAT LAYER SYSTEM by THE HEAT COMPANY: the touchscreen LINER gloves as the first layer provide the necessary dexterity, while additional layers – the SHELL mitten and the POLAR HOOD overglove – offer extra warmth depending on the conditions. Combined with hand warmers , your hands stay warm and responsive even during longer shoots.
Mastering Winter Light: Making the Most of Soft Northern Light
Winter light has a character of its own. The low position of the sun creates soft, diffused light that adds depth and atmosphere to landscapes. Especially in the far north, from November to early March, this often means long hours of consistently ideal shooting conditions—provided the weather cooperates.
I enjoy working with highlights. Hence, I carefully plan and pay close attention to when the sun illuminates a mountain (spotlight) or where exactly the sun rises or sets (backlighting). Soft light coming in from the side can also beautifully highlight a subject or a specific area of the frame.
Smartphone apps like PhotoPills are helpful for planning. At the same time, it's worth staying flexible on location and reacting spontaneously to light and weather—that's often when the best photos are captured.
The most magical moments often begin before sunrise. The soft pink hues of early morning and the first colors in the sky offer stunning photographic opportunities. It's also worth waiting a bit after sunset - waiting a little longer often reveals intense color displays that many miss because they leave the spot too early.


Photographing the Northern Lights: Tips & Settings
Winter photography in the far north often includes capturing the northern lights. In places like Iceland or the Lofoten Islands, conditions during winter are often ideal. Key factors are strong aurora activity, clear skies, and minimal light pollution. For planning, apps like “Polarlicht” (free) or “Viewfindr” can be very helpful.
My Northern Lights Camera Settings
• Use a tripod
• Turn off image stabilization, use a self-timer
• Fast wide-angle lens (e.g. 14 mm f/2.8)
• Aperture: f/2.8
• White balance: auto or 3500–4500 K
• Focus on a light source (e.g. star or building)
• ISO: 800–6400
Exposure depending on movement:
Fast-moving aurora → short exposure (up to ~3 sec), higher ISO
Slow aurora → longer exposure (up to ~20 sec), lower ISO
• Keep an eye on the histogram, as your eyes quickly adapt to darkness
The Right Clothing for Winter Photography
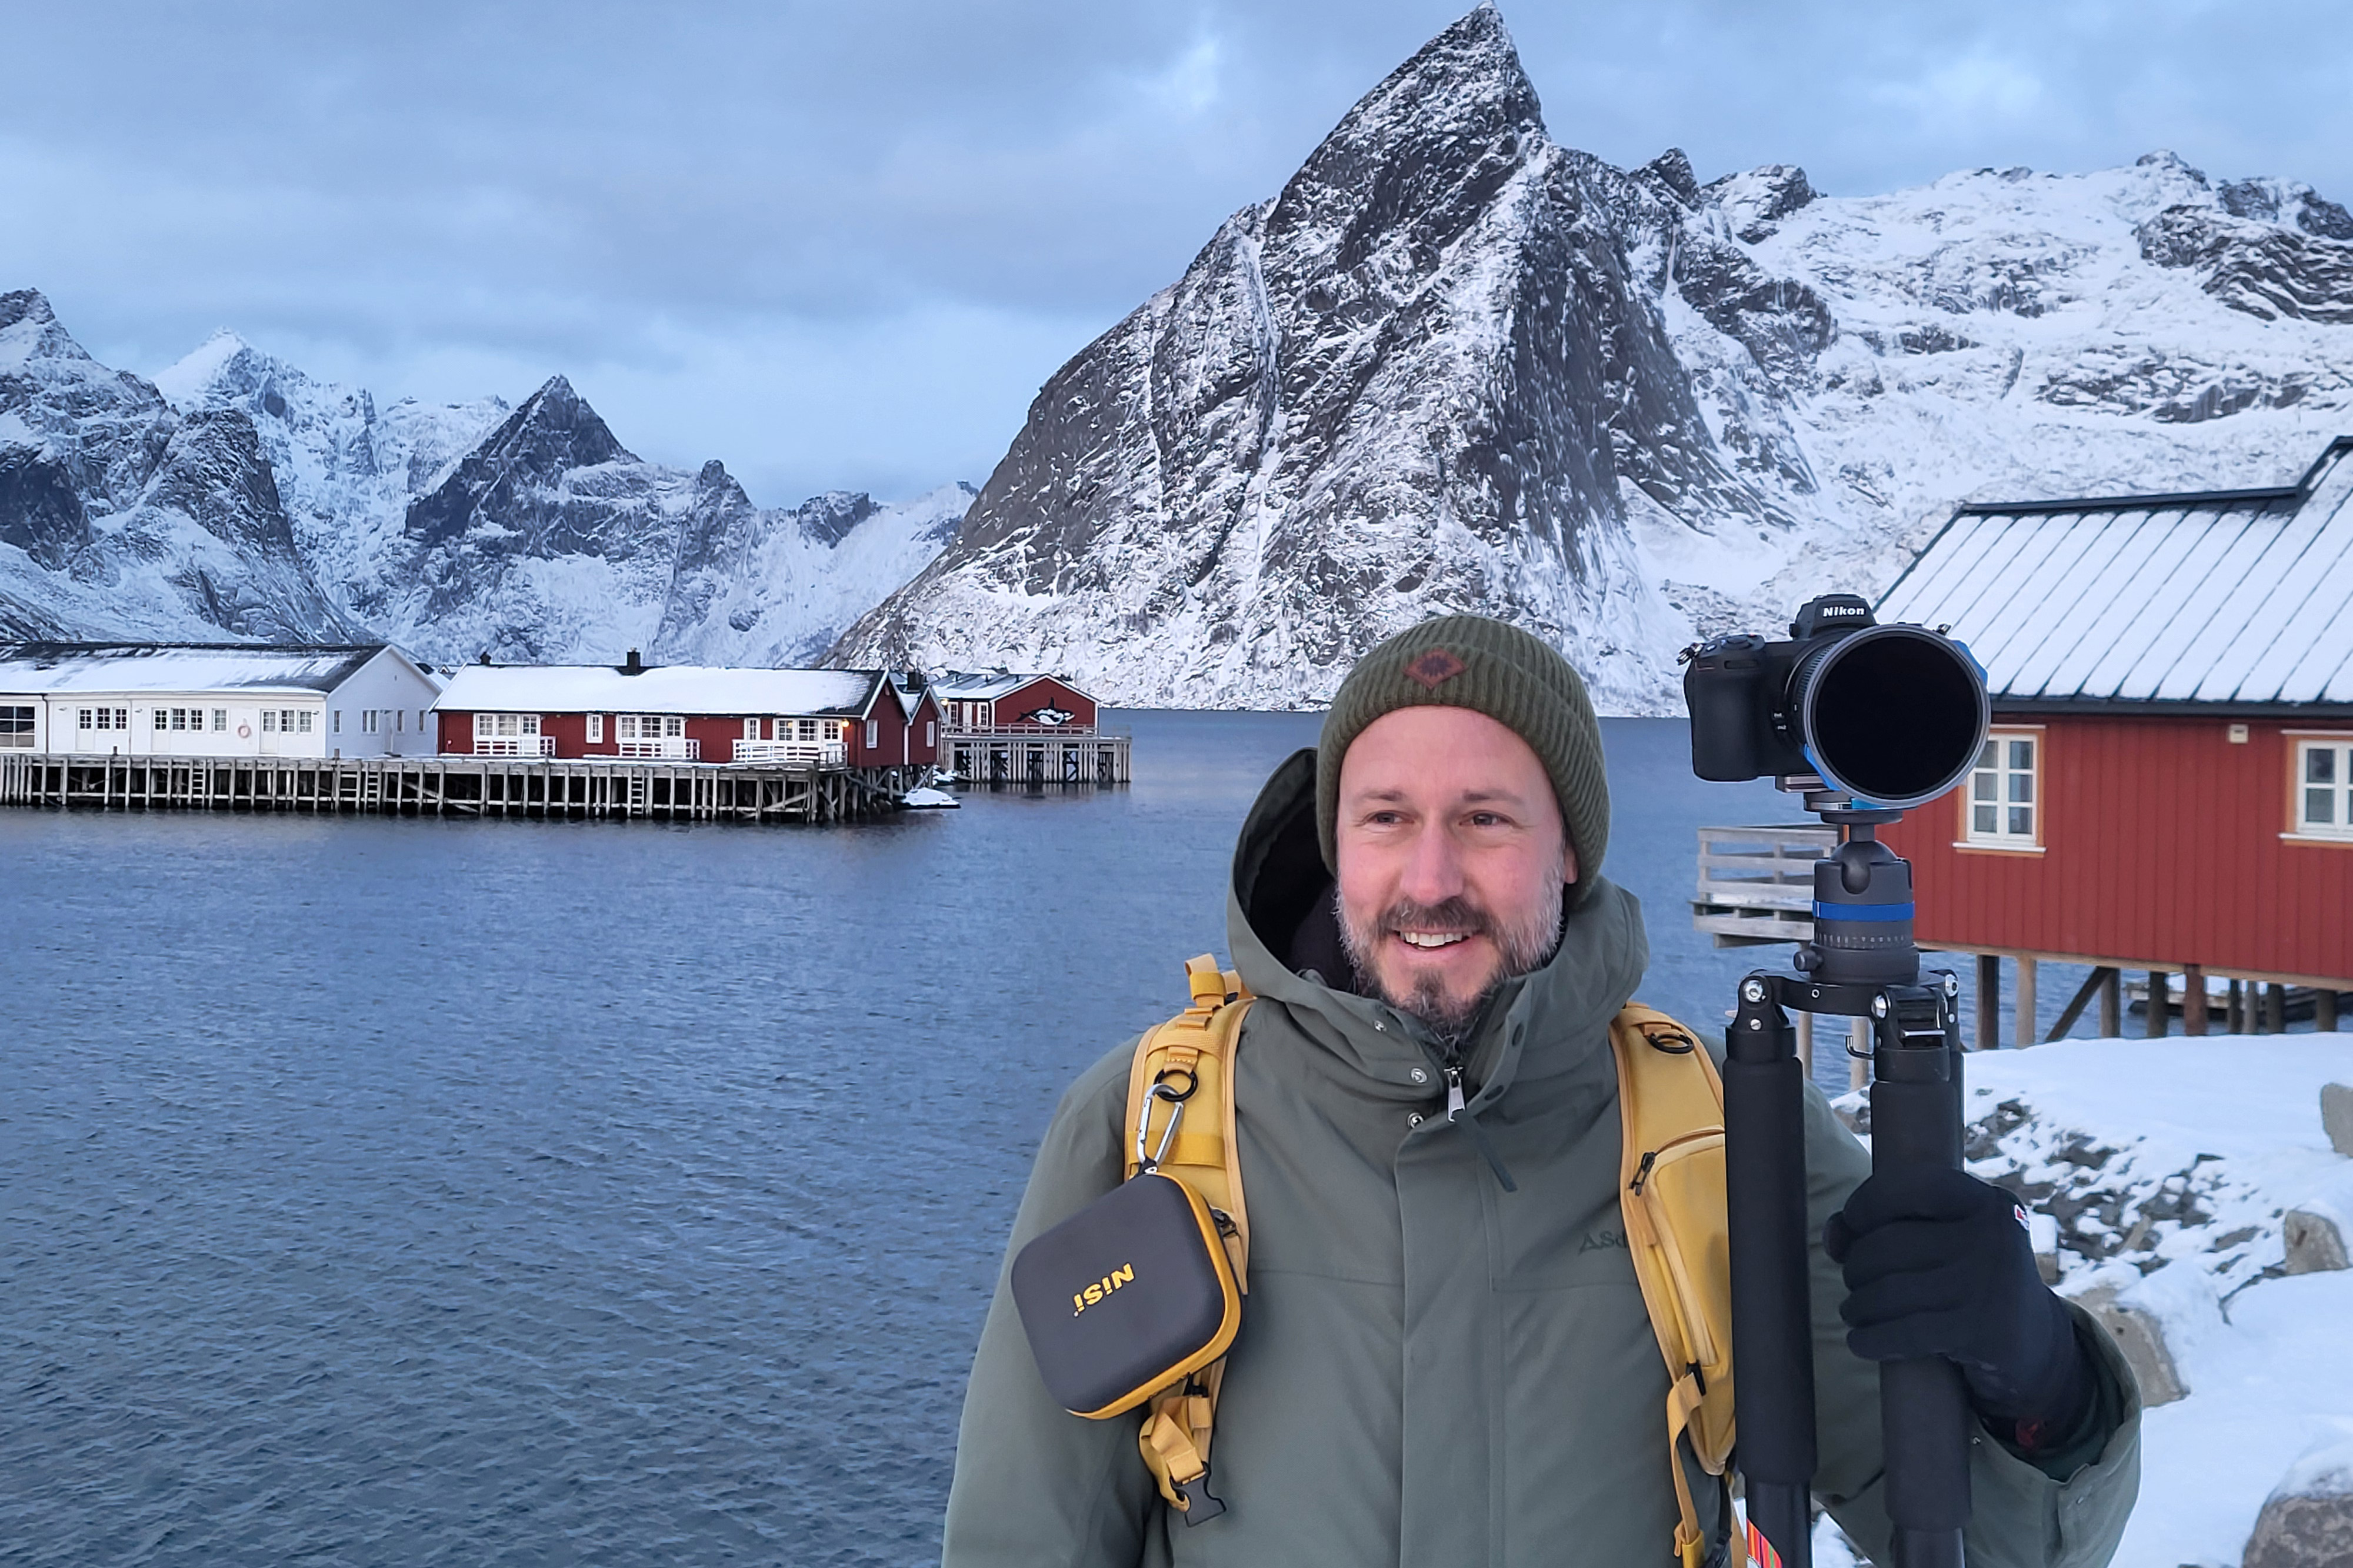
In the far north, proper clothing is essential if you want to stay outside and shoot for extended periods. A layering system has proven to work best, allowing you to adapt to changing temperatures and conditions.
Start with breathable base layers such as merino wool, add insulating layers like fleece or wool, and finish with a weather-resistant outer shell. This keeps you warm even in wind, snow, and wet conditions.
I find durable pants with reinforced knees and seat are especially helpful – perfect for kneeling or even lying down to find the best perspective. Spikes on your boots also provide better grip on icy terrain.
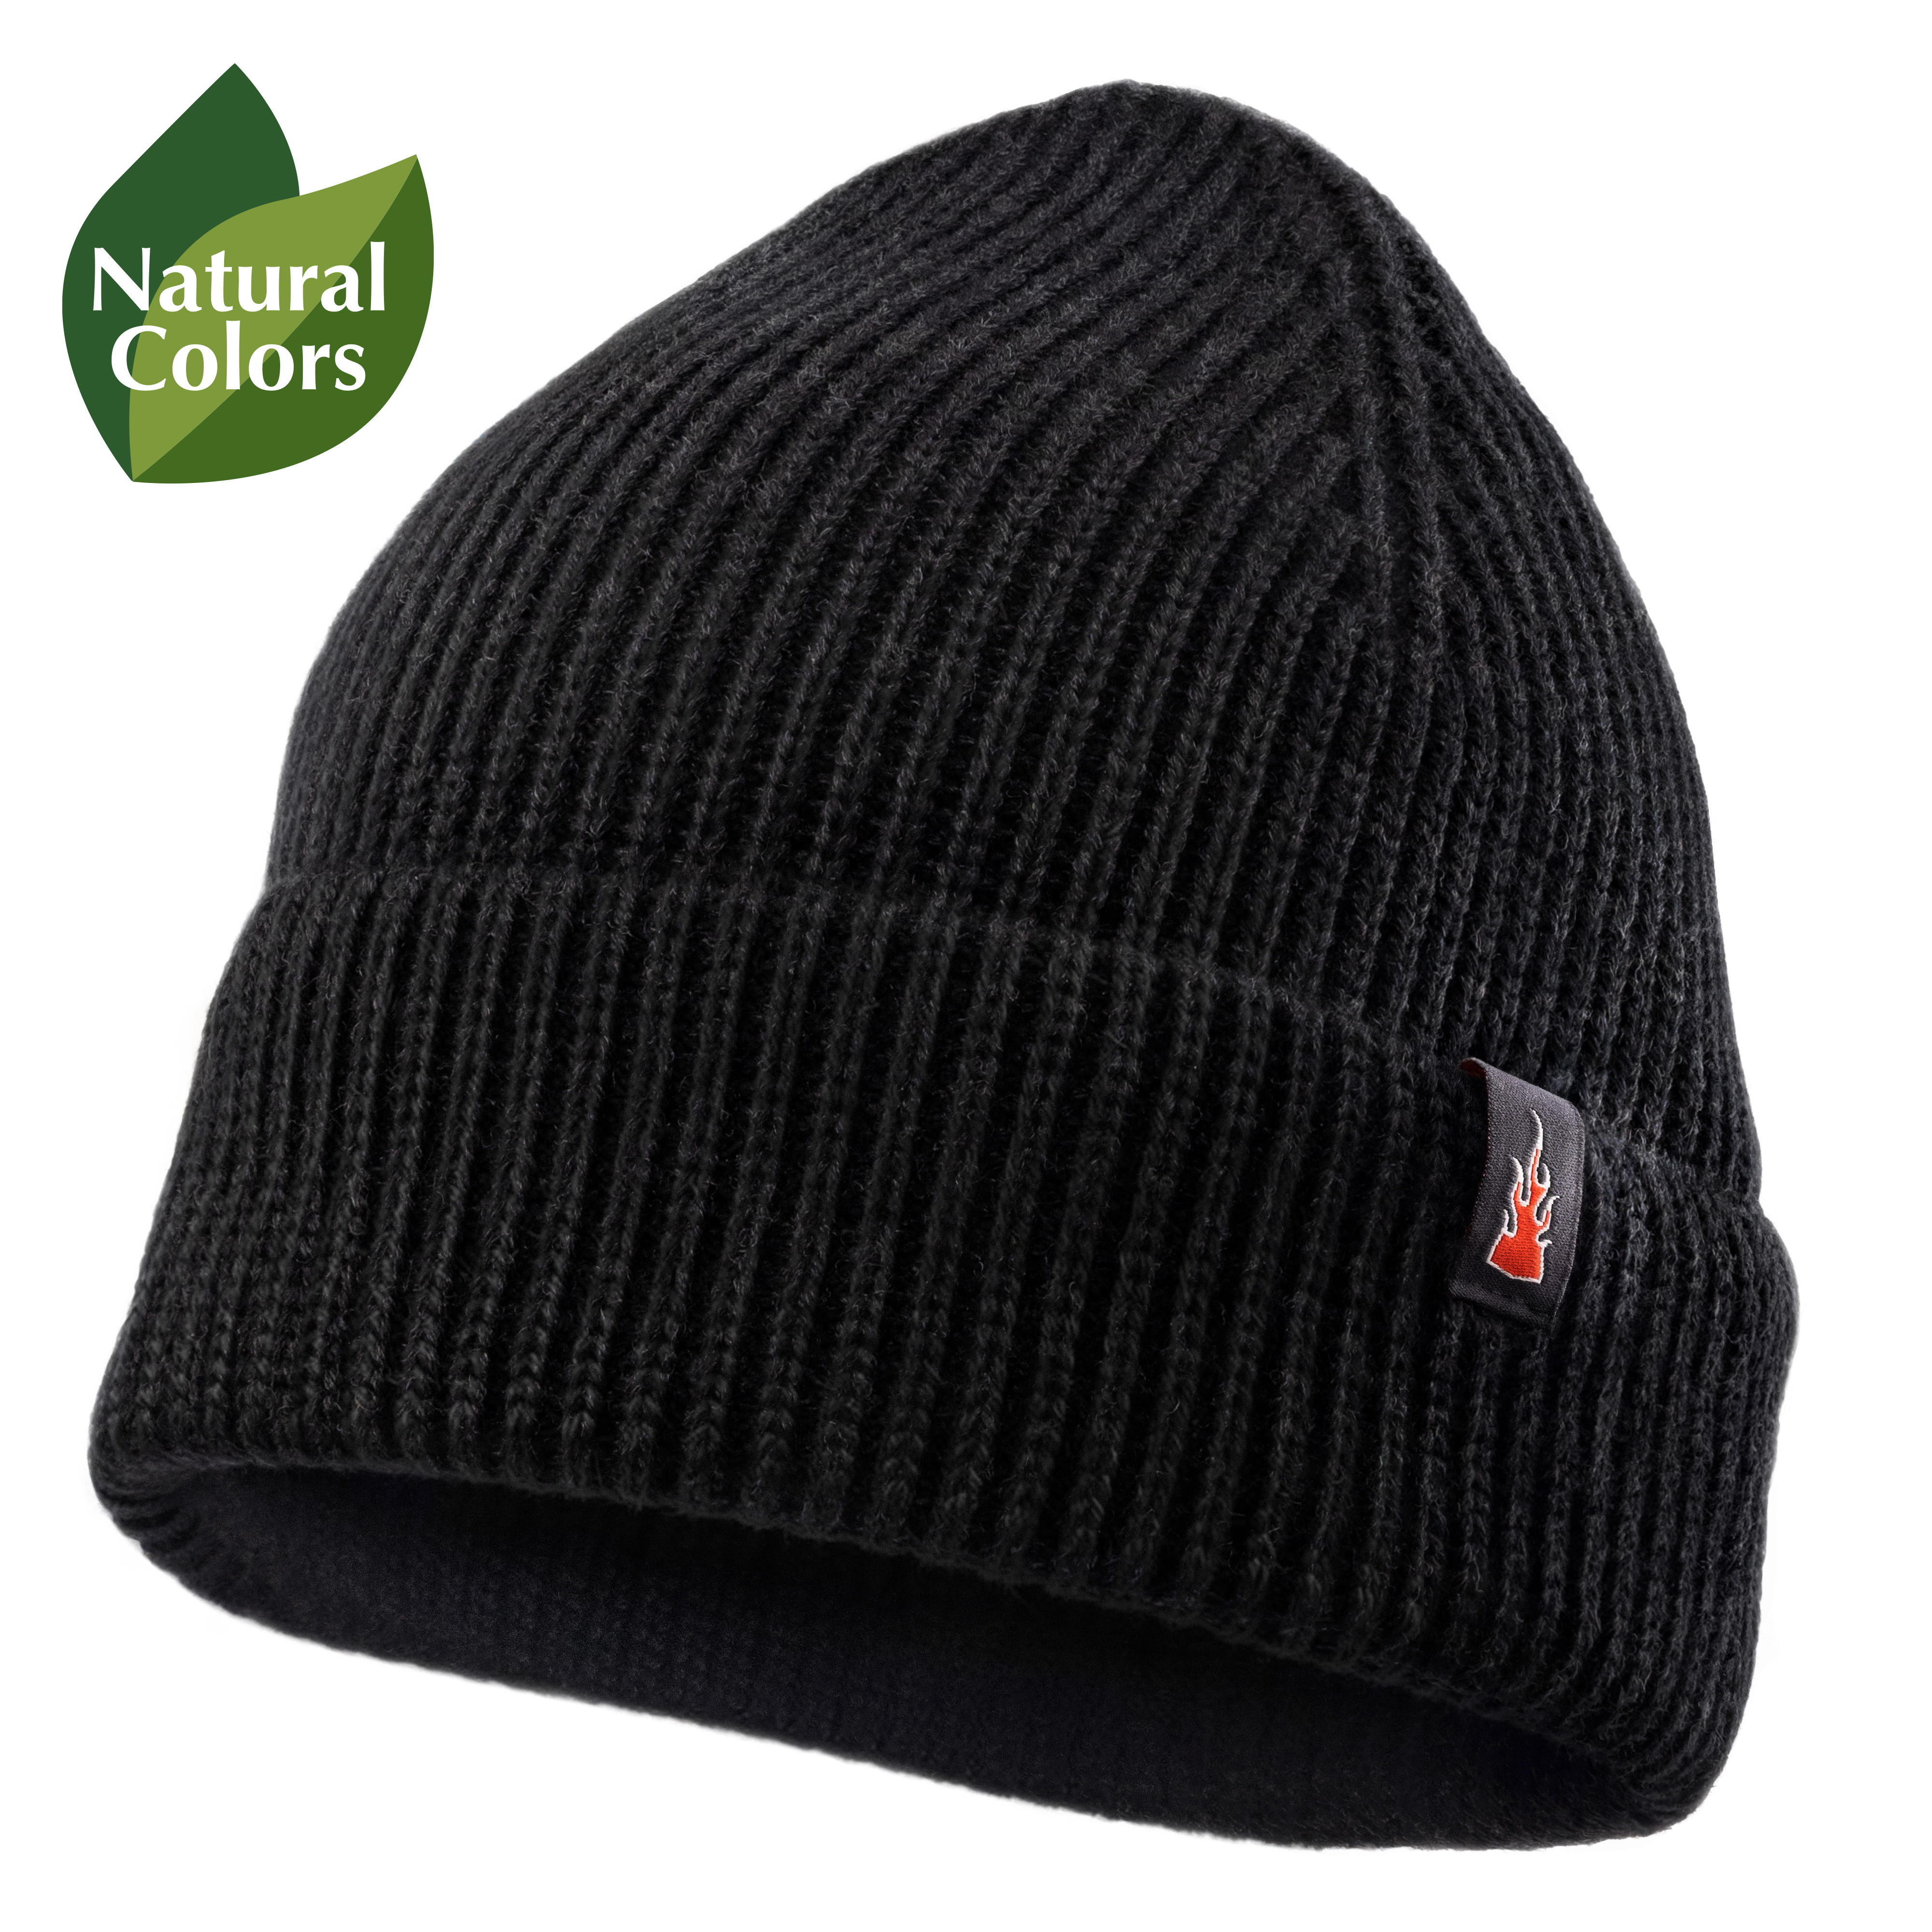
• One often underestimated factor is protecting your head and face: a high-quality beanie like the Merino Beanie , made from 100% fine merino wool, keeps you warm without itching and remains comfortable even during long shoots. When it comes to merino wool, it’s worth investing in quality – you’ll feel the difference in cold conditions.
• To keep your feet warm during longer waiting periods, I usually place heated insoles in my waterproof boots before heading out.
How to Avoid Cold Fingers
Operating your camera in winter can quickly become a challenge, as your fingers lose heat rapidly and become stiff in low temperatures.While handling the camera without gloves may feel easier at first, in icy wind, after just a few minutes your fingers can become too stiff to move properly.
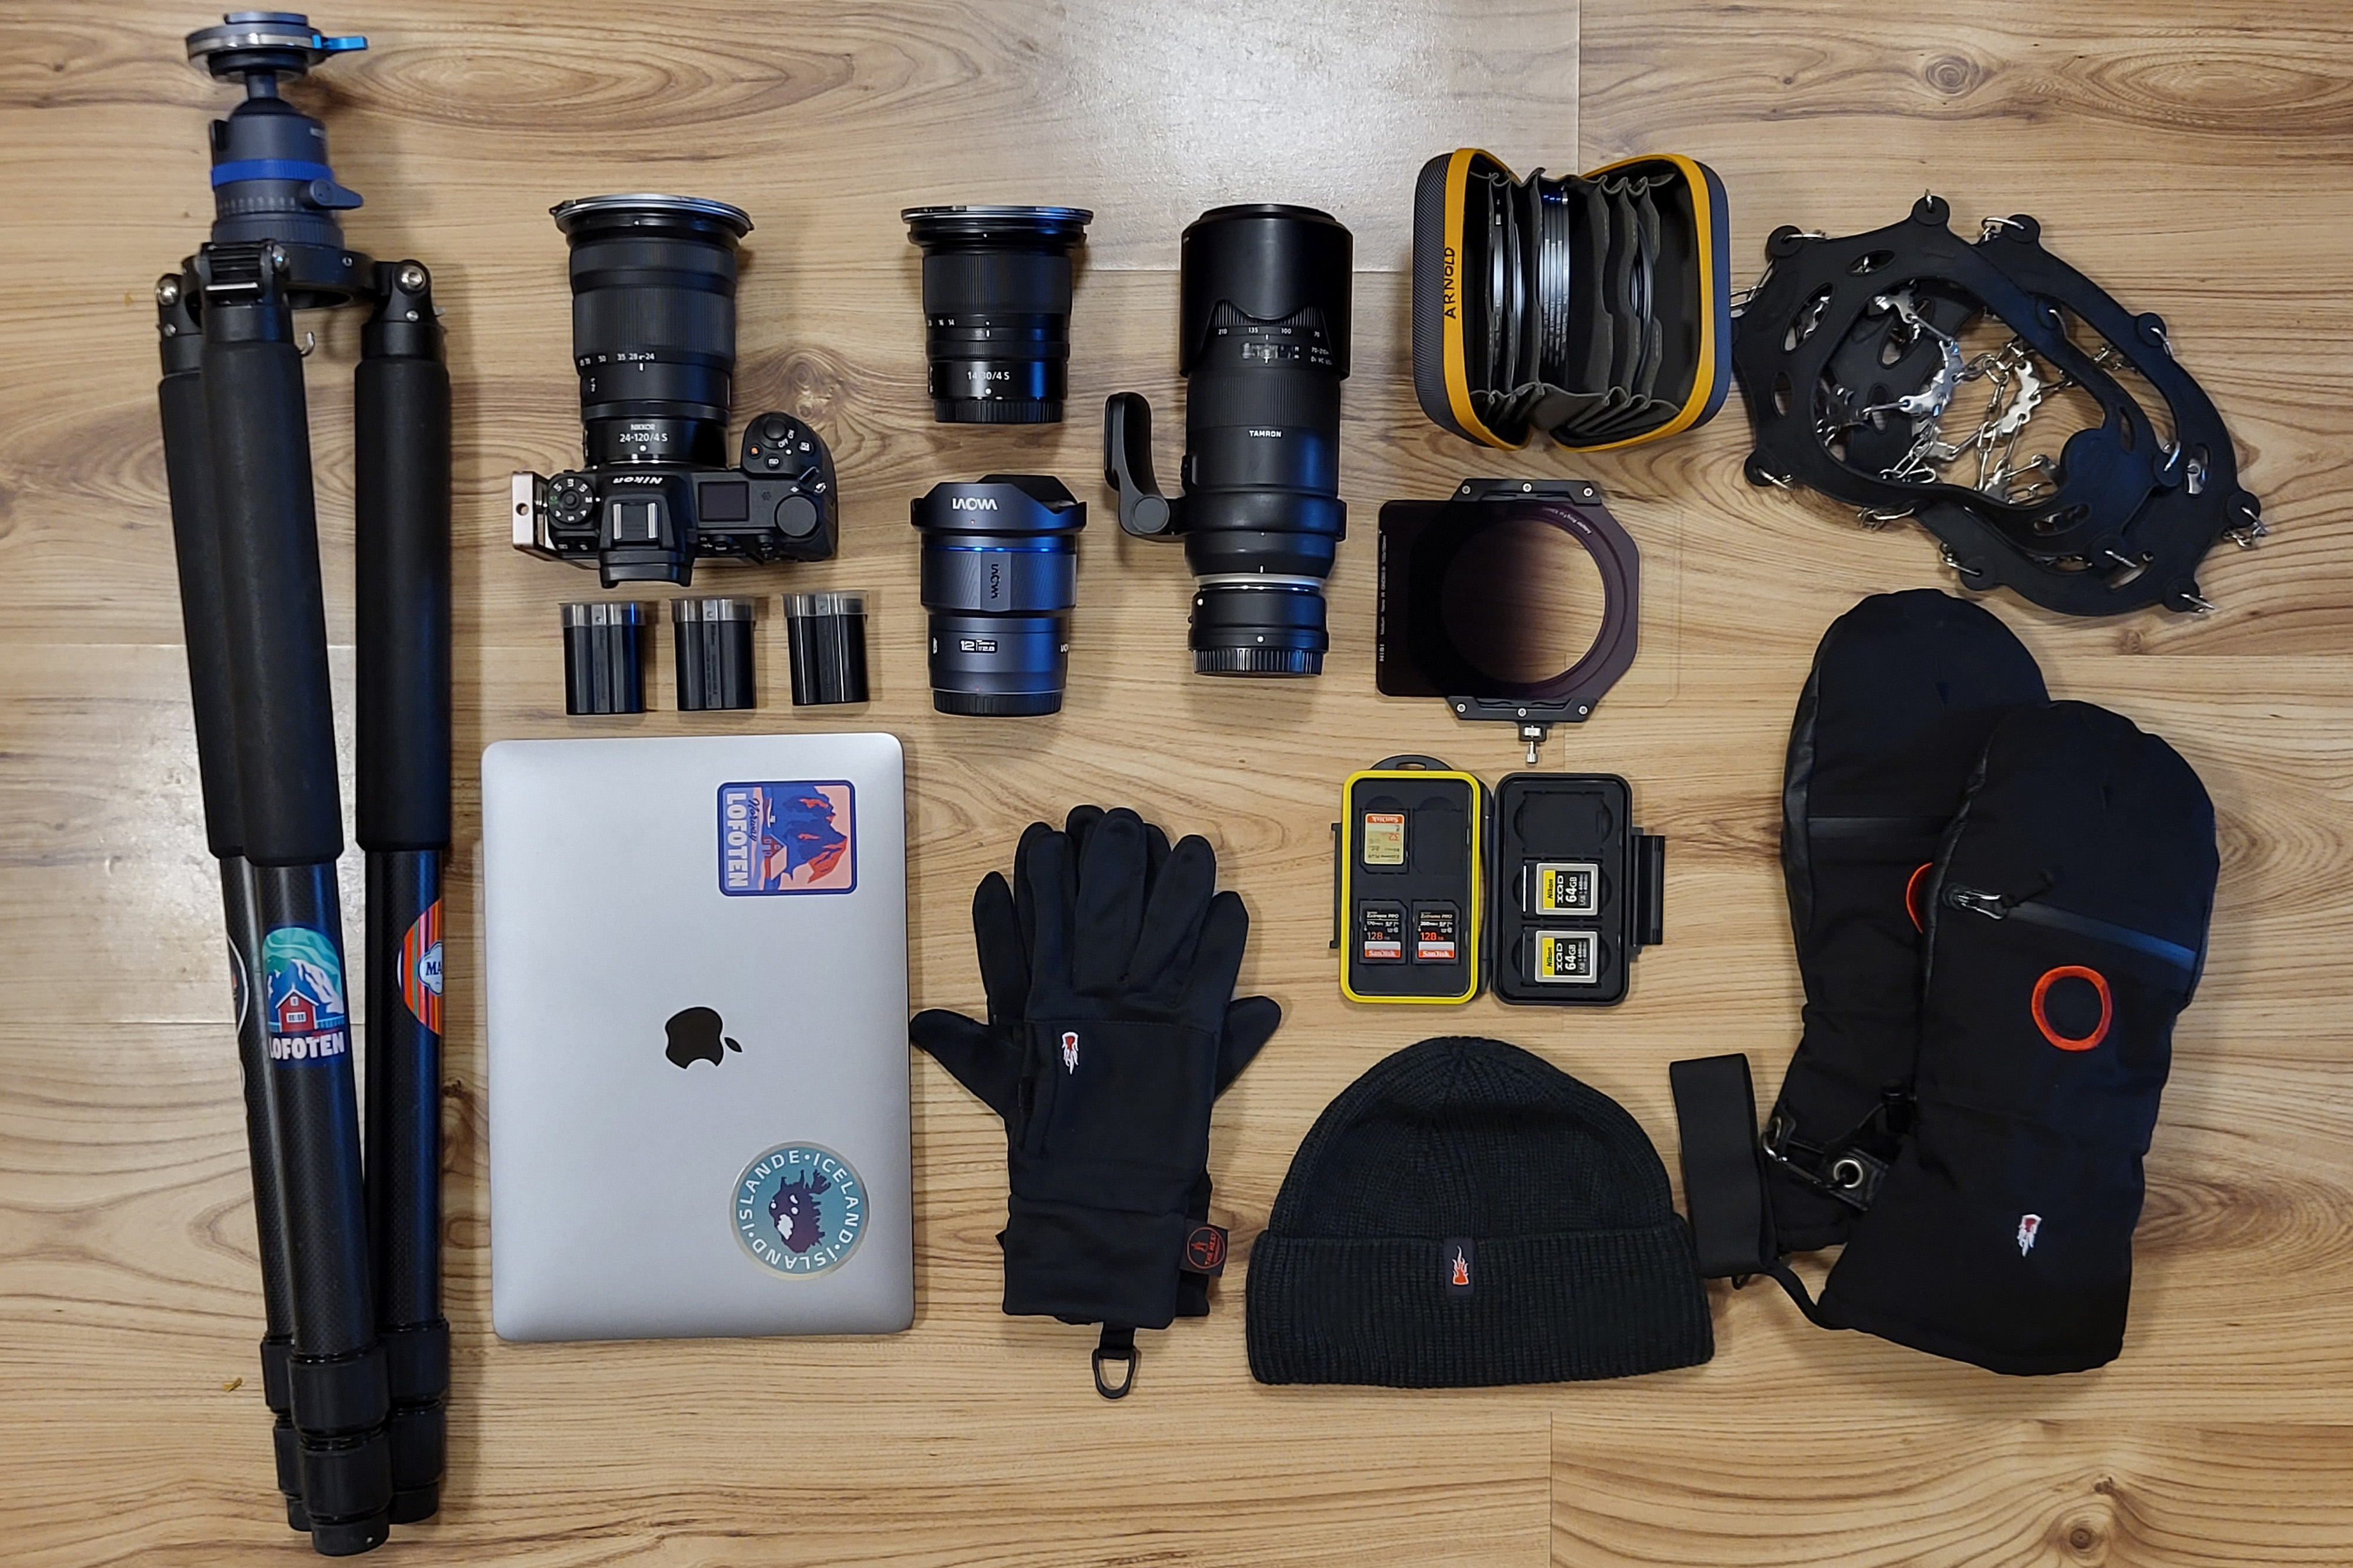
I’ve personally come to rely on the HEAT LAYER SYSTEM by THE HEAT COMPANY. On milder winter days, I often work with just the LINER, which provides enough protection while still allowing good dexterity. When temperatures drop further, I add additional layers such as the SHELL mitten and the pull-over mitten POLAR HOOD. My go-to choice in freezing conditions is the HEAT 3 SMART PRO, a mitten glove with a liner sewn into it. This way, my hands stay warm without compromising usability. The fold-back mitten covers are especially practical, allowing quick and easy control of the camera – even when using the display or a smartphone.
• For extra warmth, hand warmers can be placed directly inside the gloves, significantly improving comfort during longer shoots.
• Practical tip: The Multi Warmer is perfect for extending battery life – simply keep it together with your batteries in your jacket pocket.
Winter photography is often challenging – but that’s exactly what makes it so special. Those who embrace the conditions are rewarded with unique light and unforgettable moments.
I’ve been sharing these experiences for many years as a photography guide and coach on my workshops, where I take participants to the best locations and conditions in the far north. I wish you lots of enjoyment on your next winter photography trip and many great shots!
For more inspiration and information, visit my website and Instagram:
www.arnoldschaffer.com
arnold.schaffer.fotografie
About the Author:
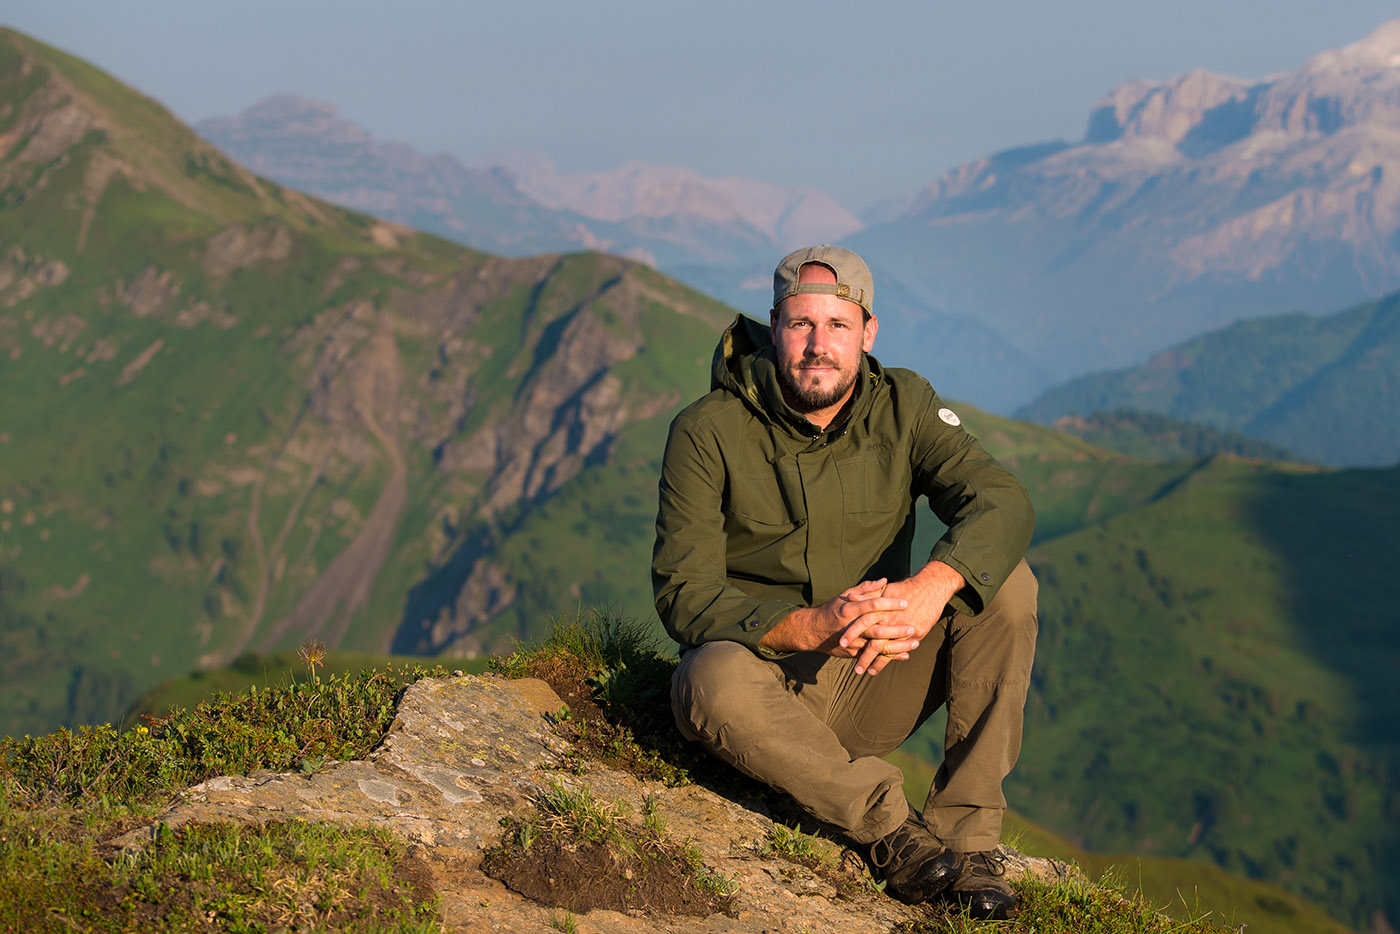
Arnold Schaffer is an Austrian nature and landscape photographer as well as a photography trainer, specializing in landscape photography in his home country Austria and across Europe. Since 2013, he has been sharing his photographic knowledge through workshops and photo tours, guiding participants to spectacular locations – including Iceland, the Lofoten Islands, Scotland, and the Dolomites.
As a passionate travel photographer, Arnold spends many weeks each year on the road, always in search of unique light conditions and extraordinary perspectives. His work is defined by atmospheric compositions and a refined sense for landscape and light. Alongside his work as a photographer and workshop leader, he also shares his experience through tutorials, blog articles, and photography books.
Arnold's Favorites: